
Mar 08: The mural begins
Intro
By now, the class is almost done with the mockup of the mural and they know what story they want to share with their community through that mural. After the mockup is done, sit around it and focus on a problem solving discussion described below.
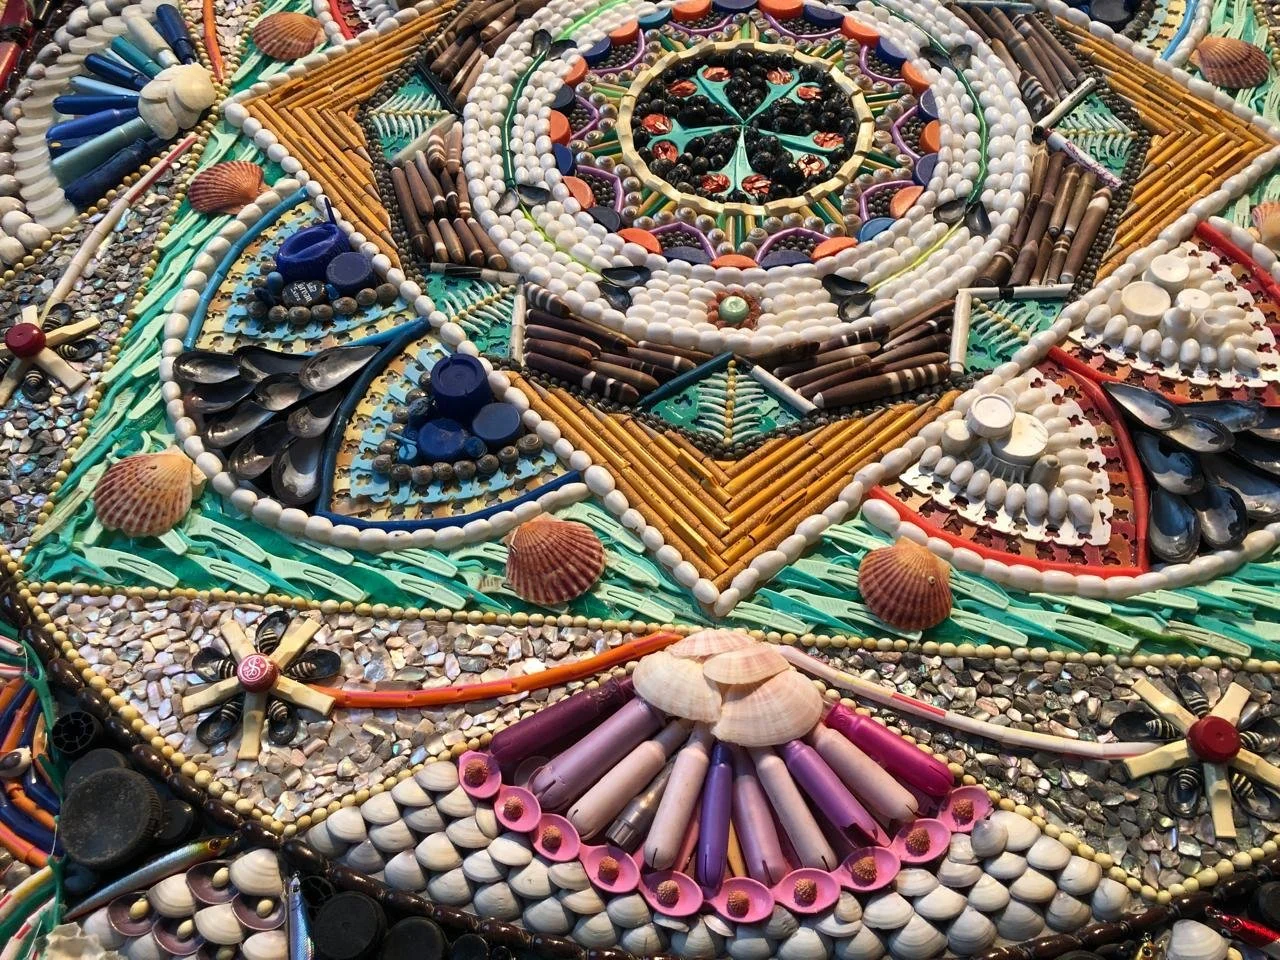
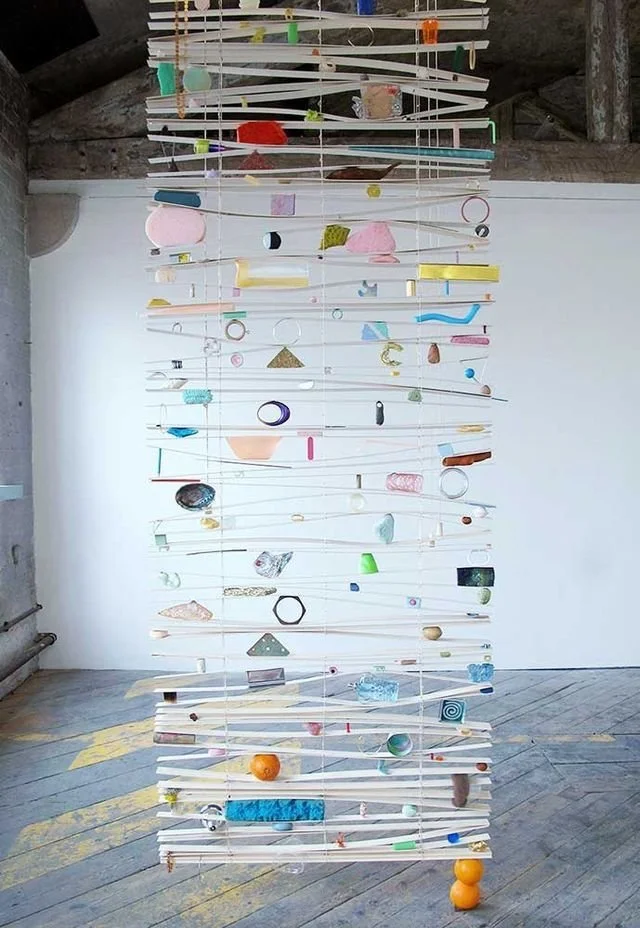
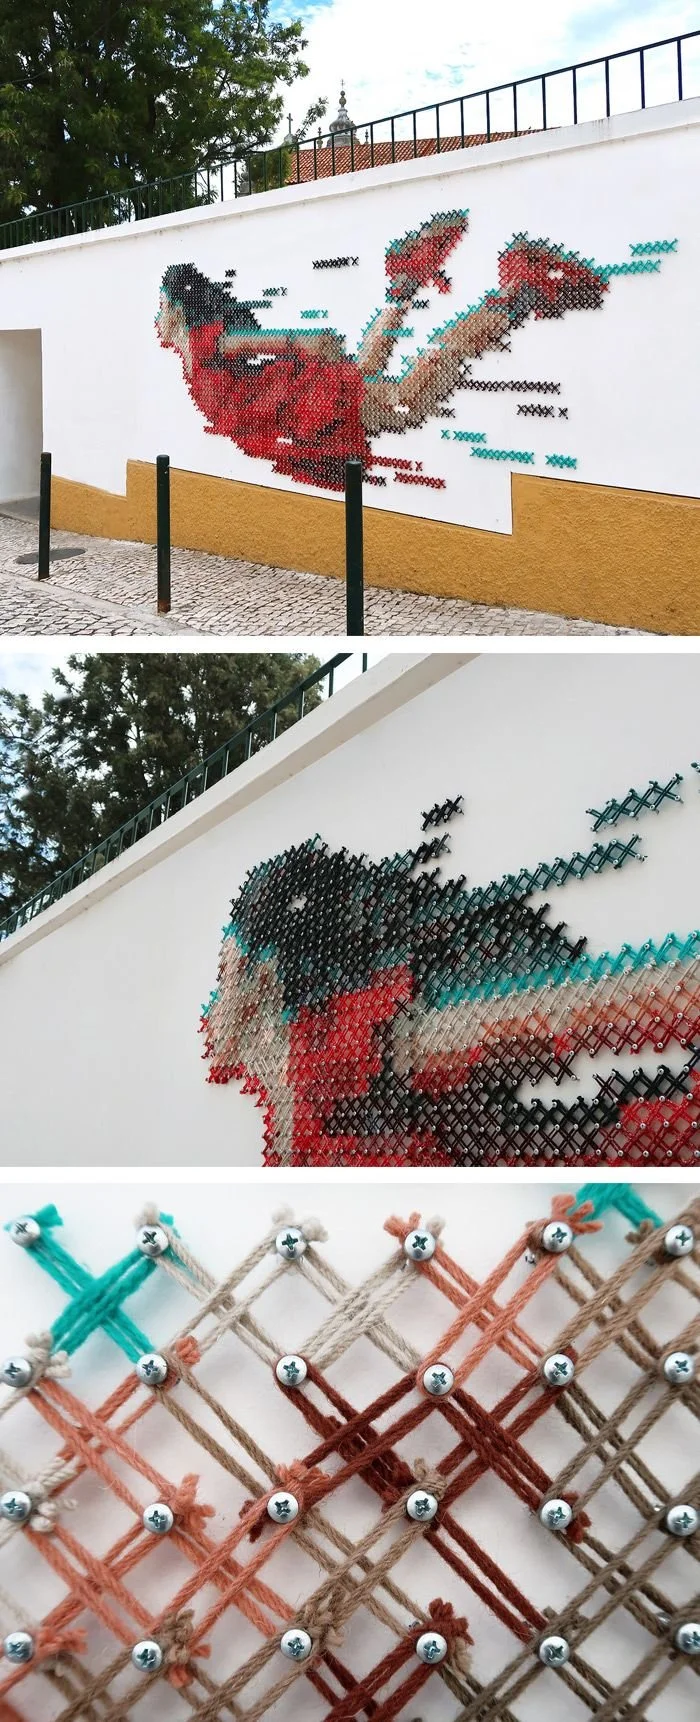
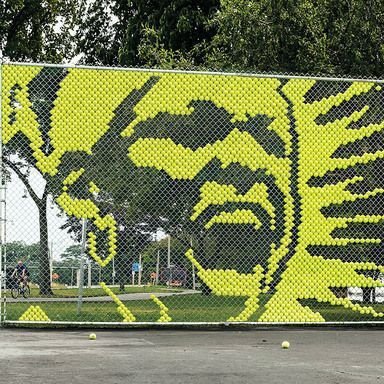
The ideas children generate about how they want to construct their mural will set the stage for the coming weeks. Remember that a mural can be more than paint on a wall—it might include different materials, textures, or elements that extend beyond a flat surface.
SIDE NOTE FOR FACILITATORS: The goal is to hold a finale celebration event April 26th, after avurudu break between April 05-19. We are trying to invite the Mayor and show her the value of keeping the children’s center dedicated to children’s wellbeing.
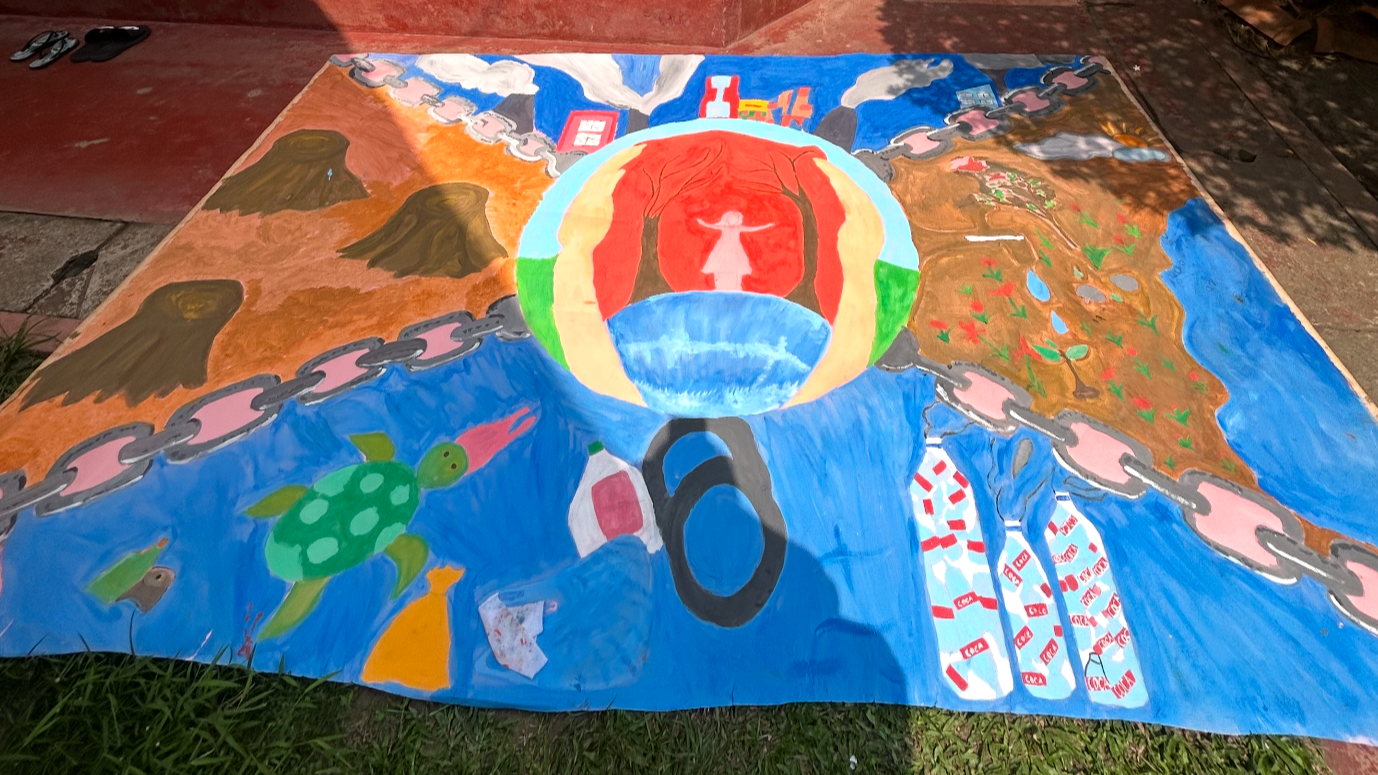
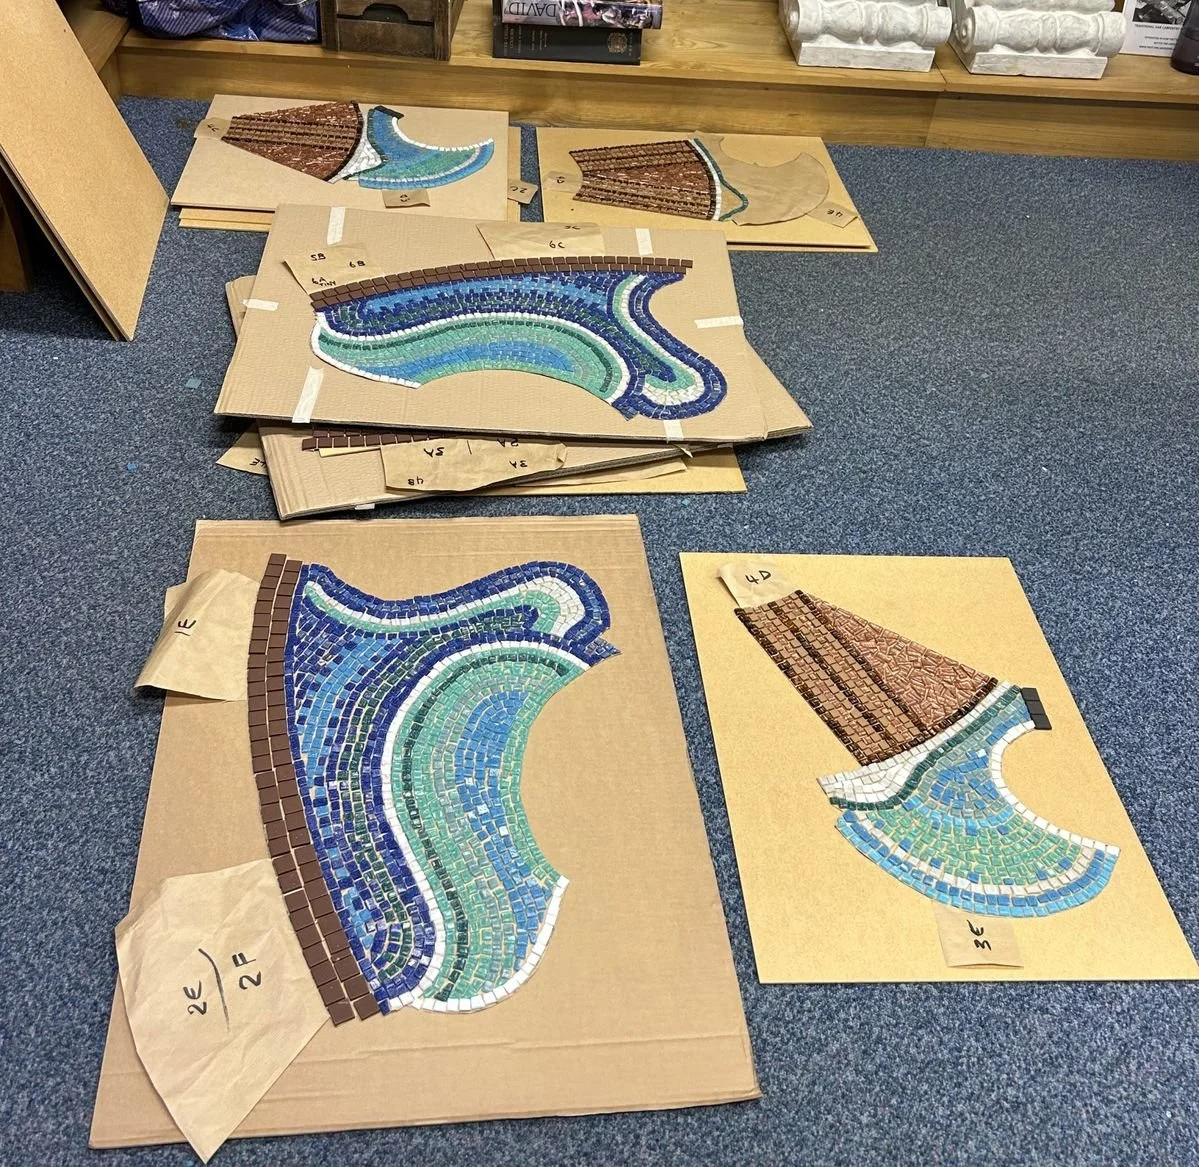
Step 1: Finish mockup mural
Step 2: Take it outside
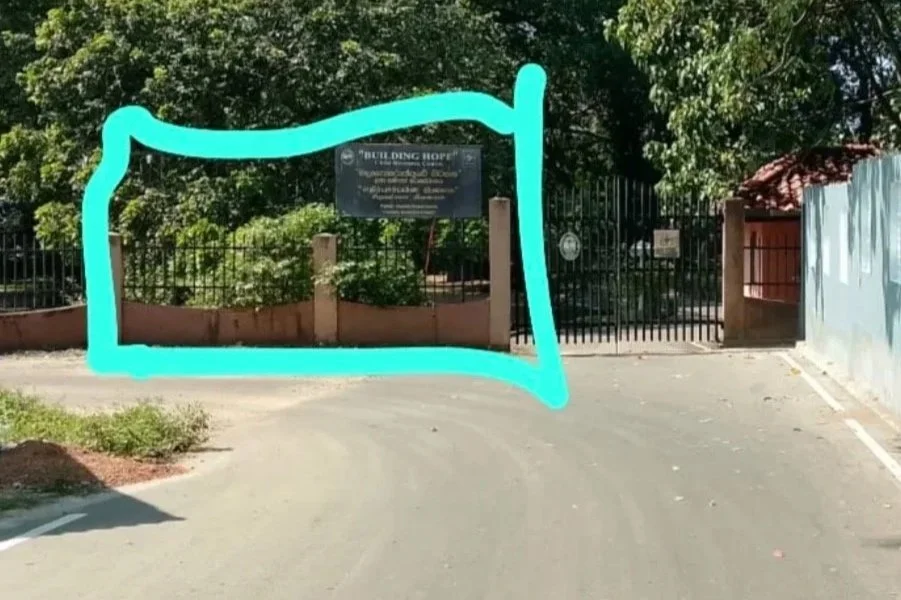
Take it to the selected location and temporarily hang it up and take a look.
Location:
Step 3: Problem solving discussion:
We have decided on the location of the mural, but it has some challenges.
1 .We are not allowed to paint directly on the wall.
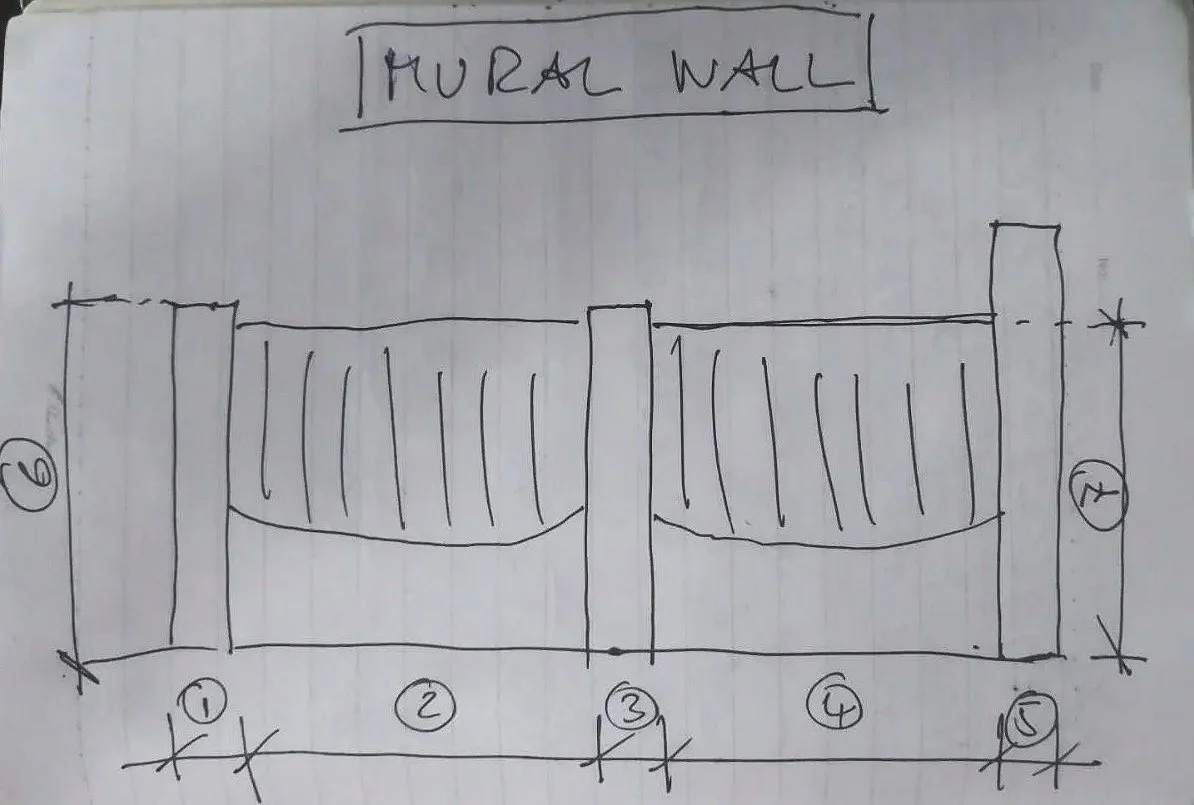
2. The wall is very low, and there is a lot of fence area
3. we want to ensure the mural will last at least a month without getting damaged by the rain.
Our initial idea was to paint on expensive marine plywood and hang it up on the fence. However we also want to open the idea up to you children to get the most creative input
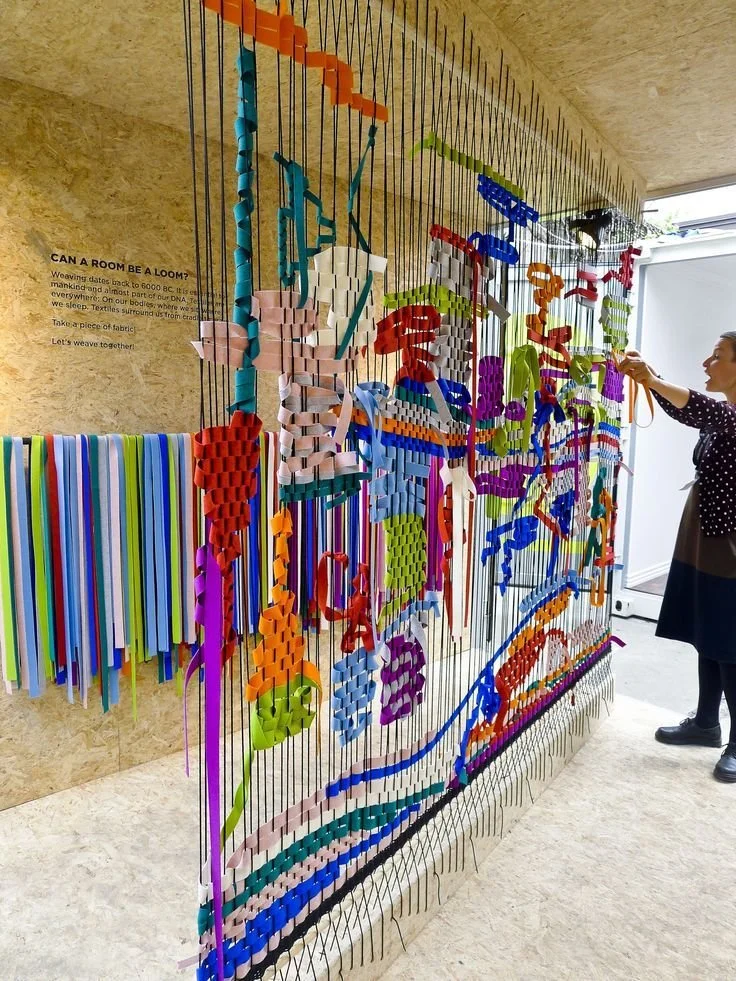
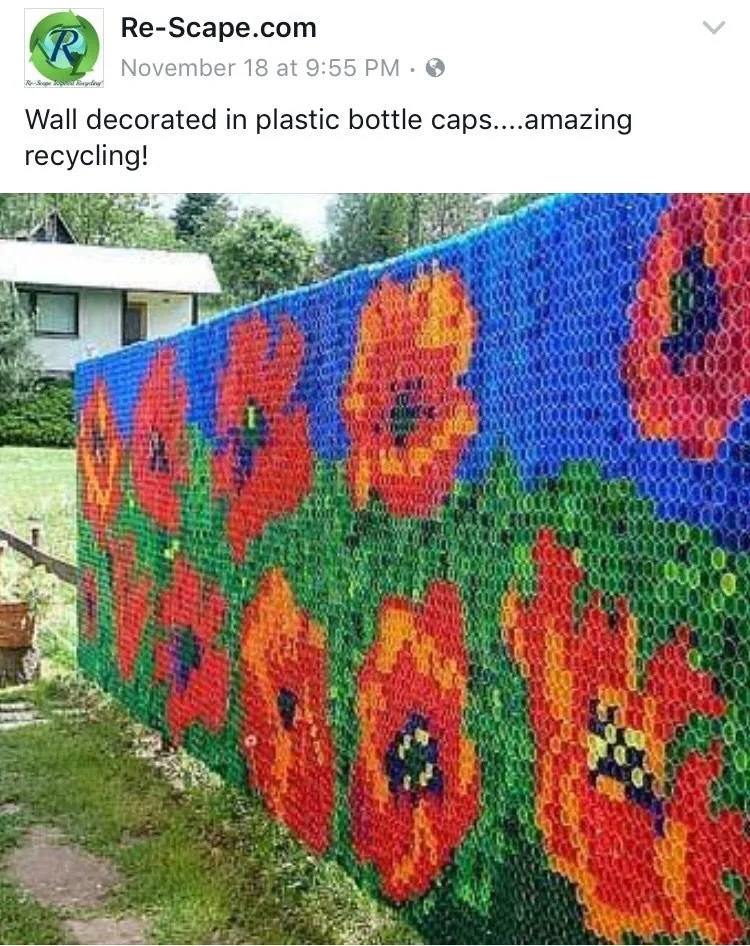
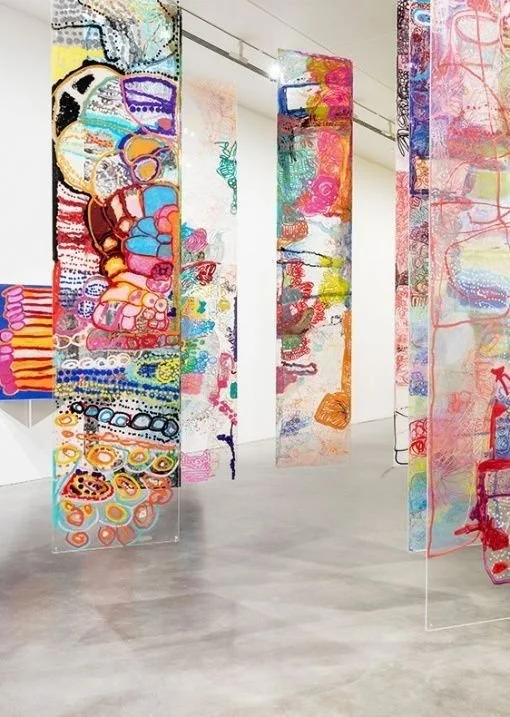
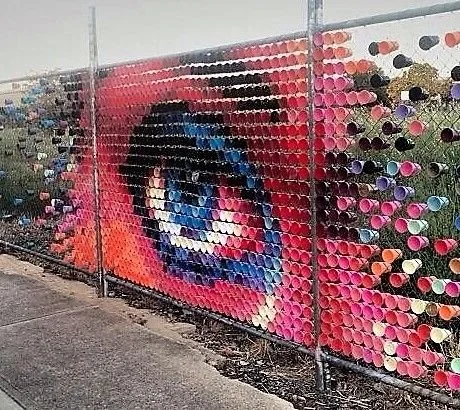
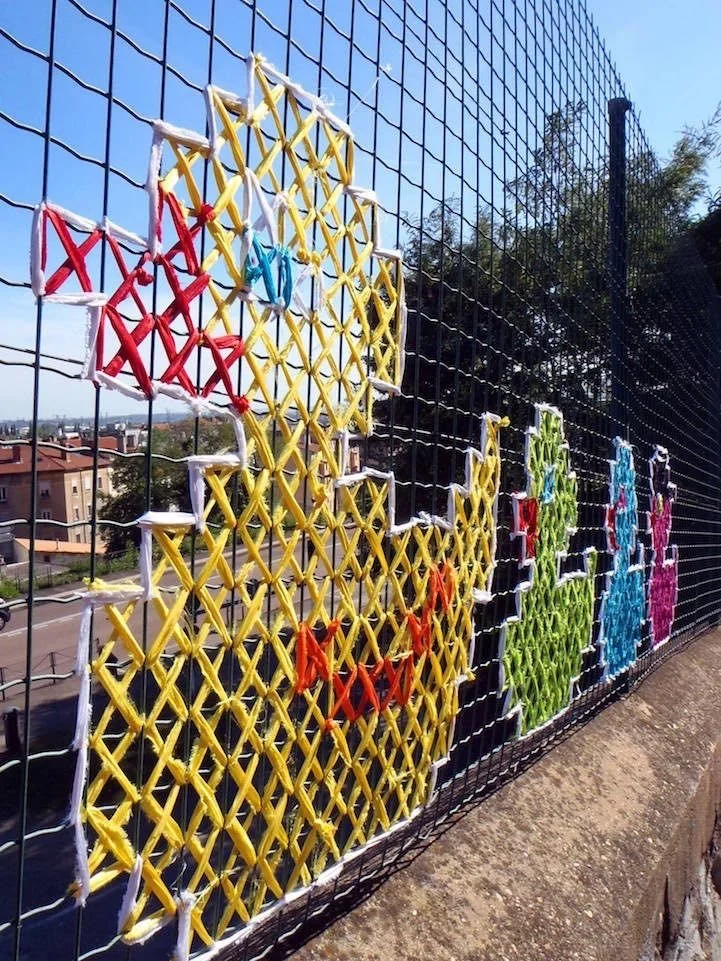
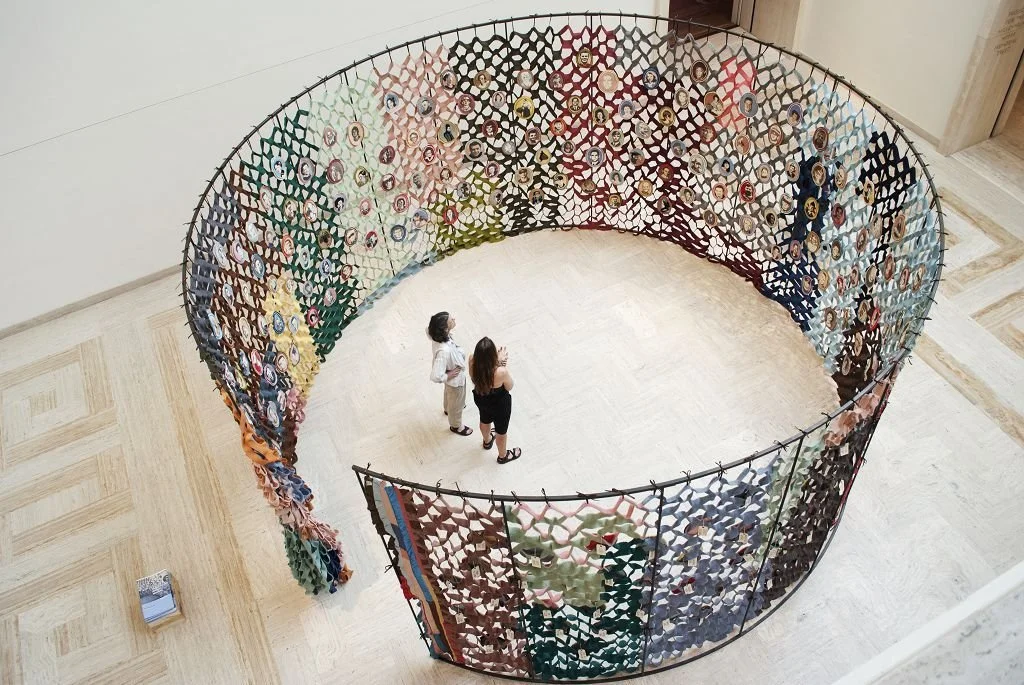
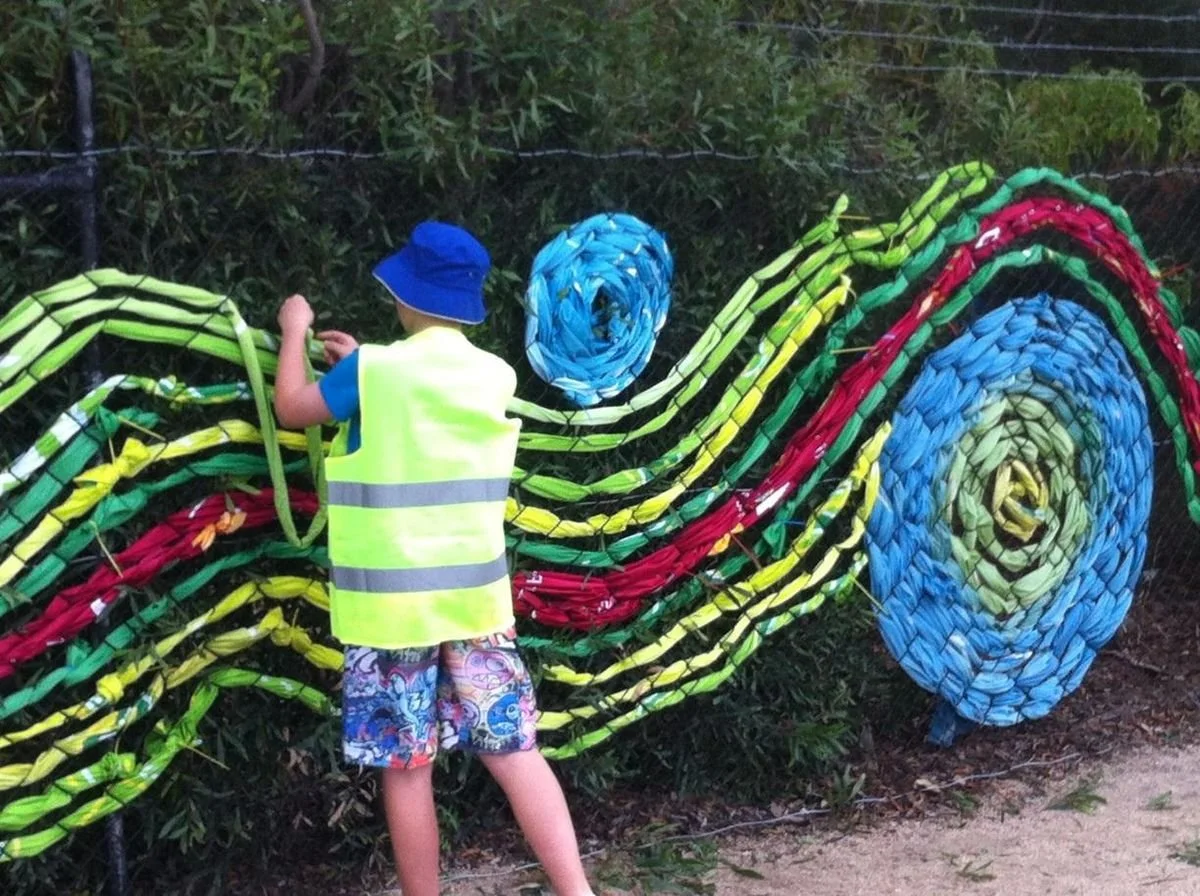
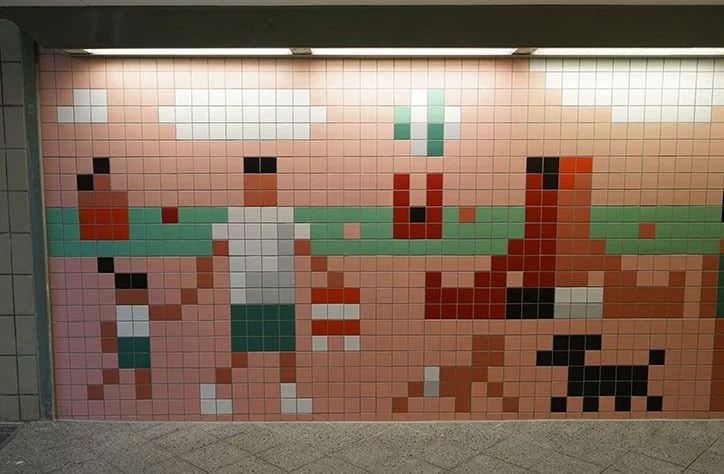
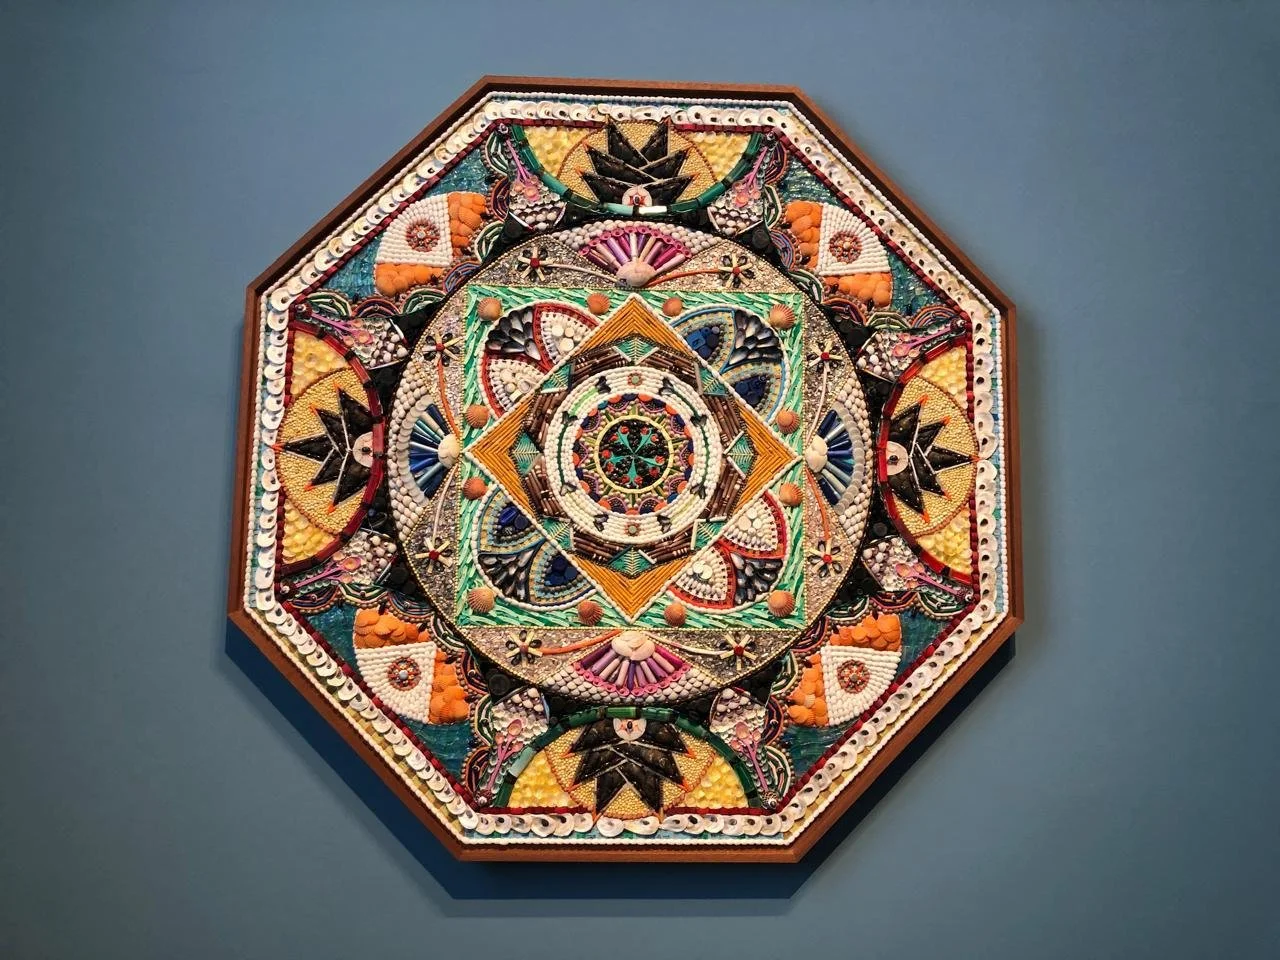
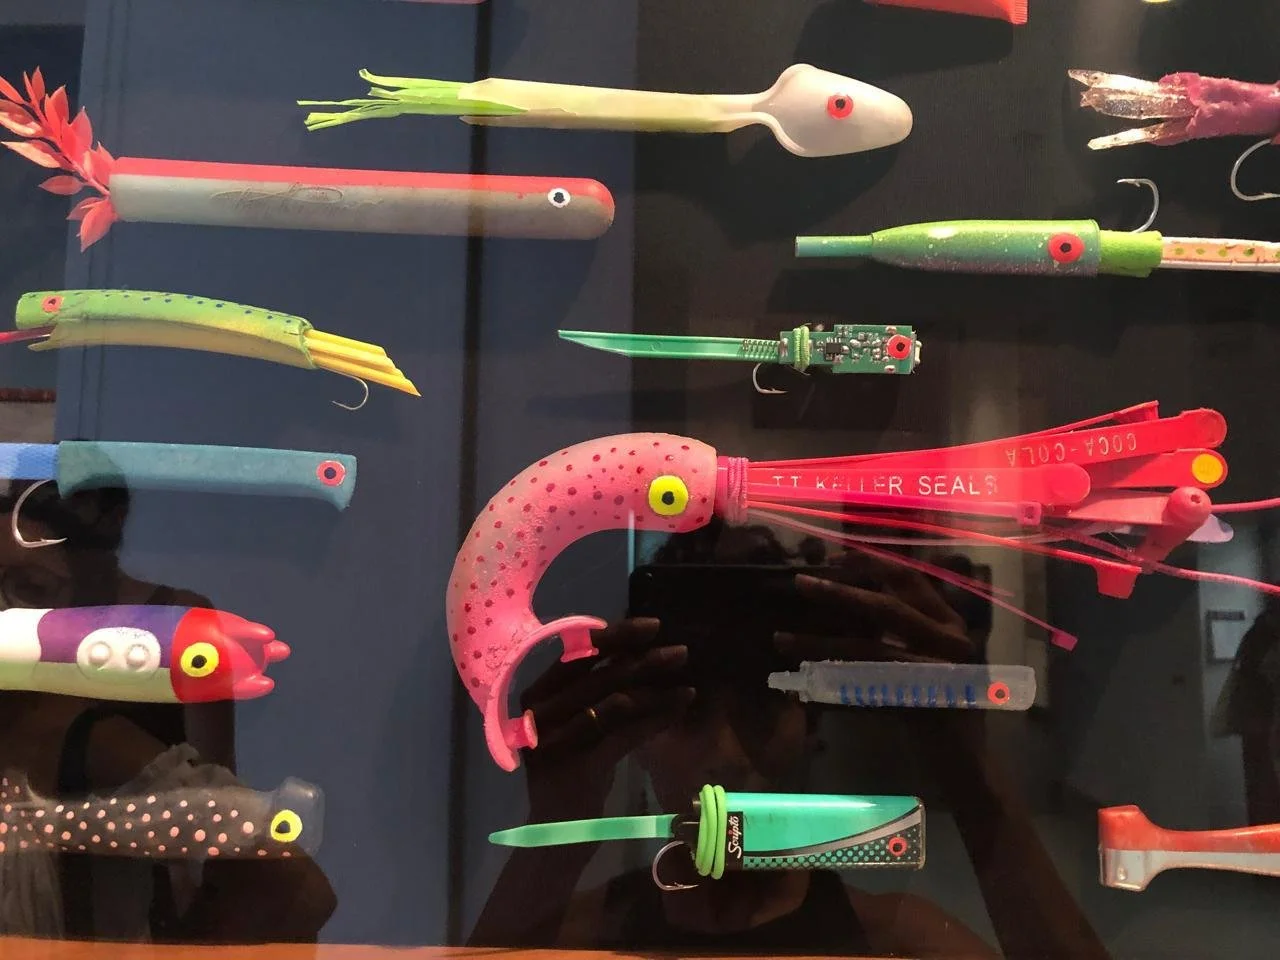
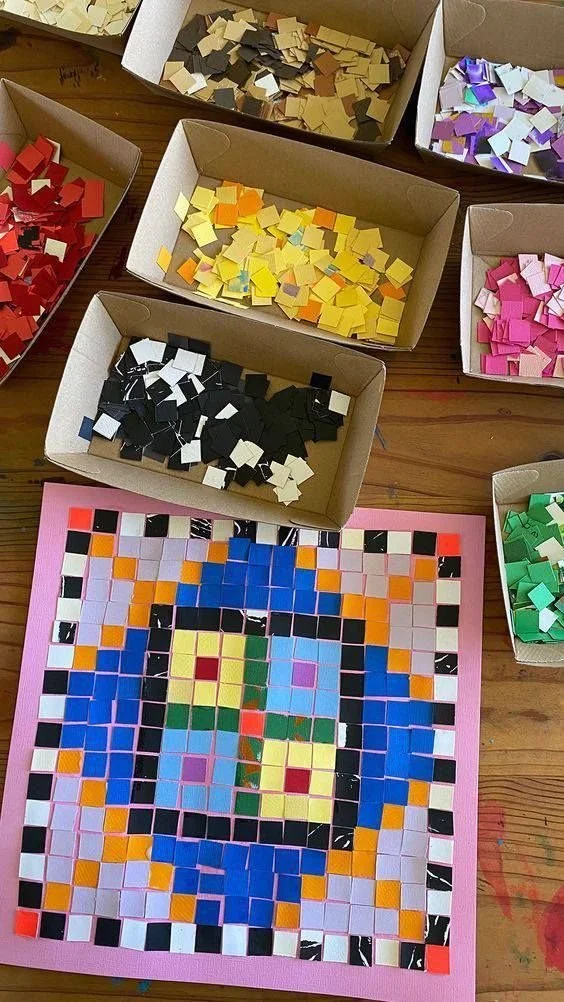
Inspiration
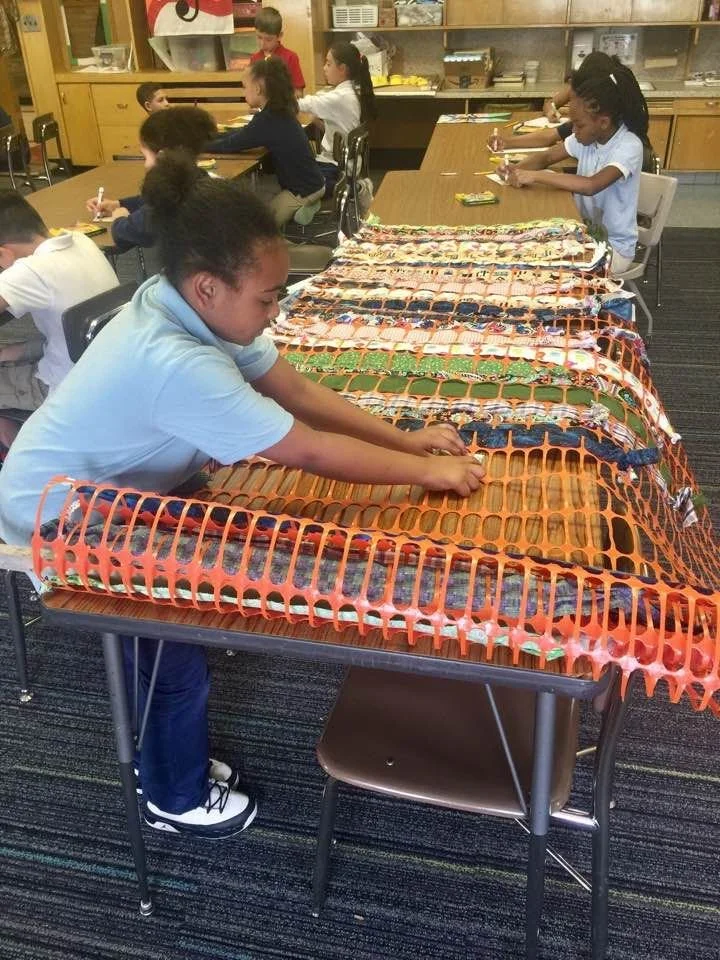

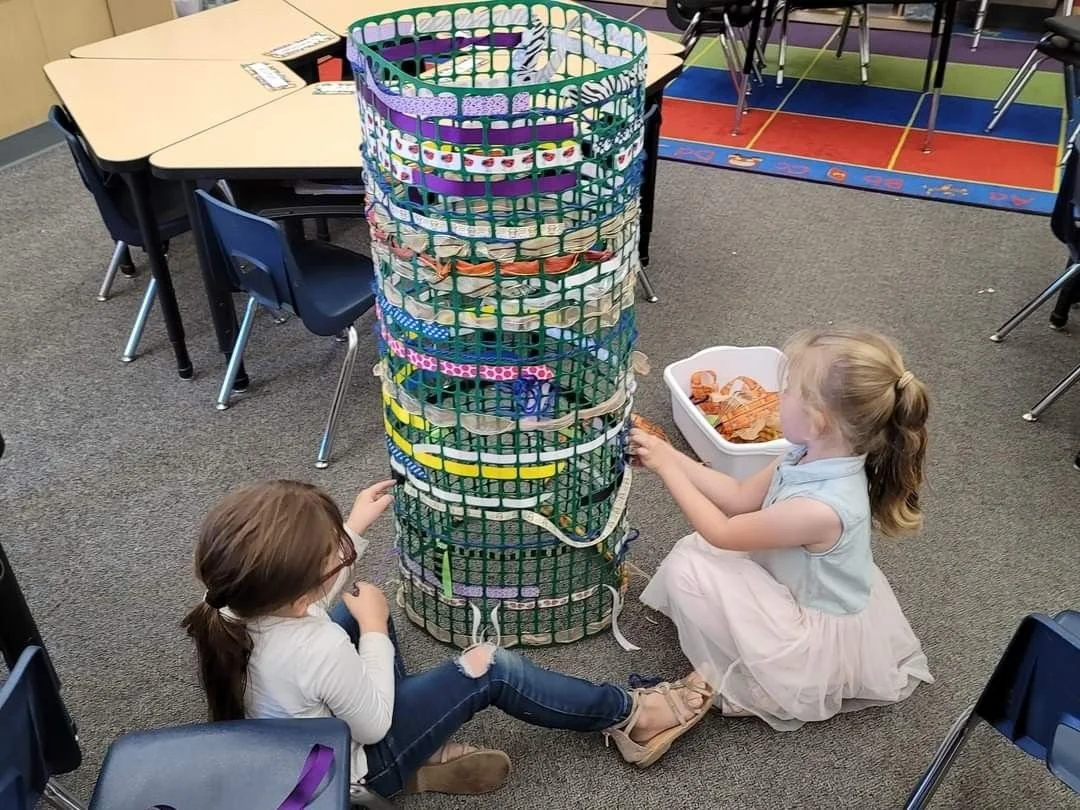

Step 4: Test ideas
Invite students to try small tests of their ideas. Encourage them to talk about what works, what is easy to build, and what might last outdoors.
Discuss the ideas as a group and notice which solutions many students agree on. Help the class choose one approach together.
Once a direction is decided, make a materials list for the next session:
Items students can bring from home
Items the facilitator will need to purchase or prepare..
Suggested material options (to discuss):
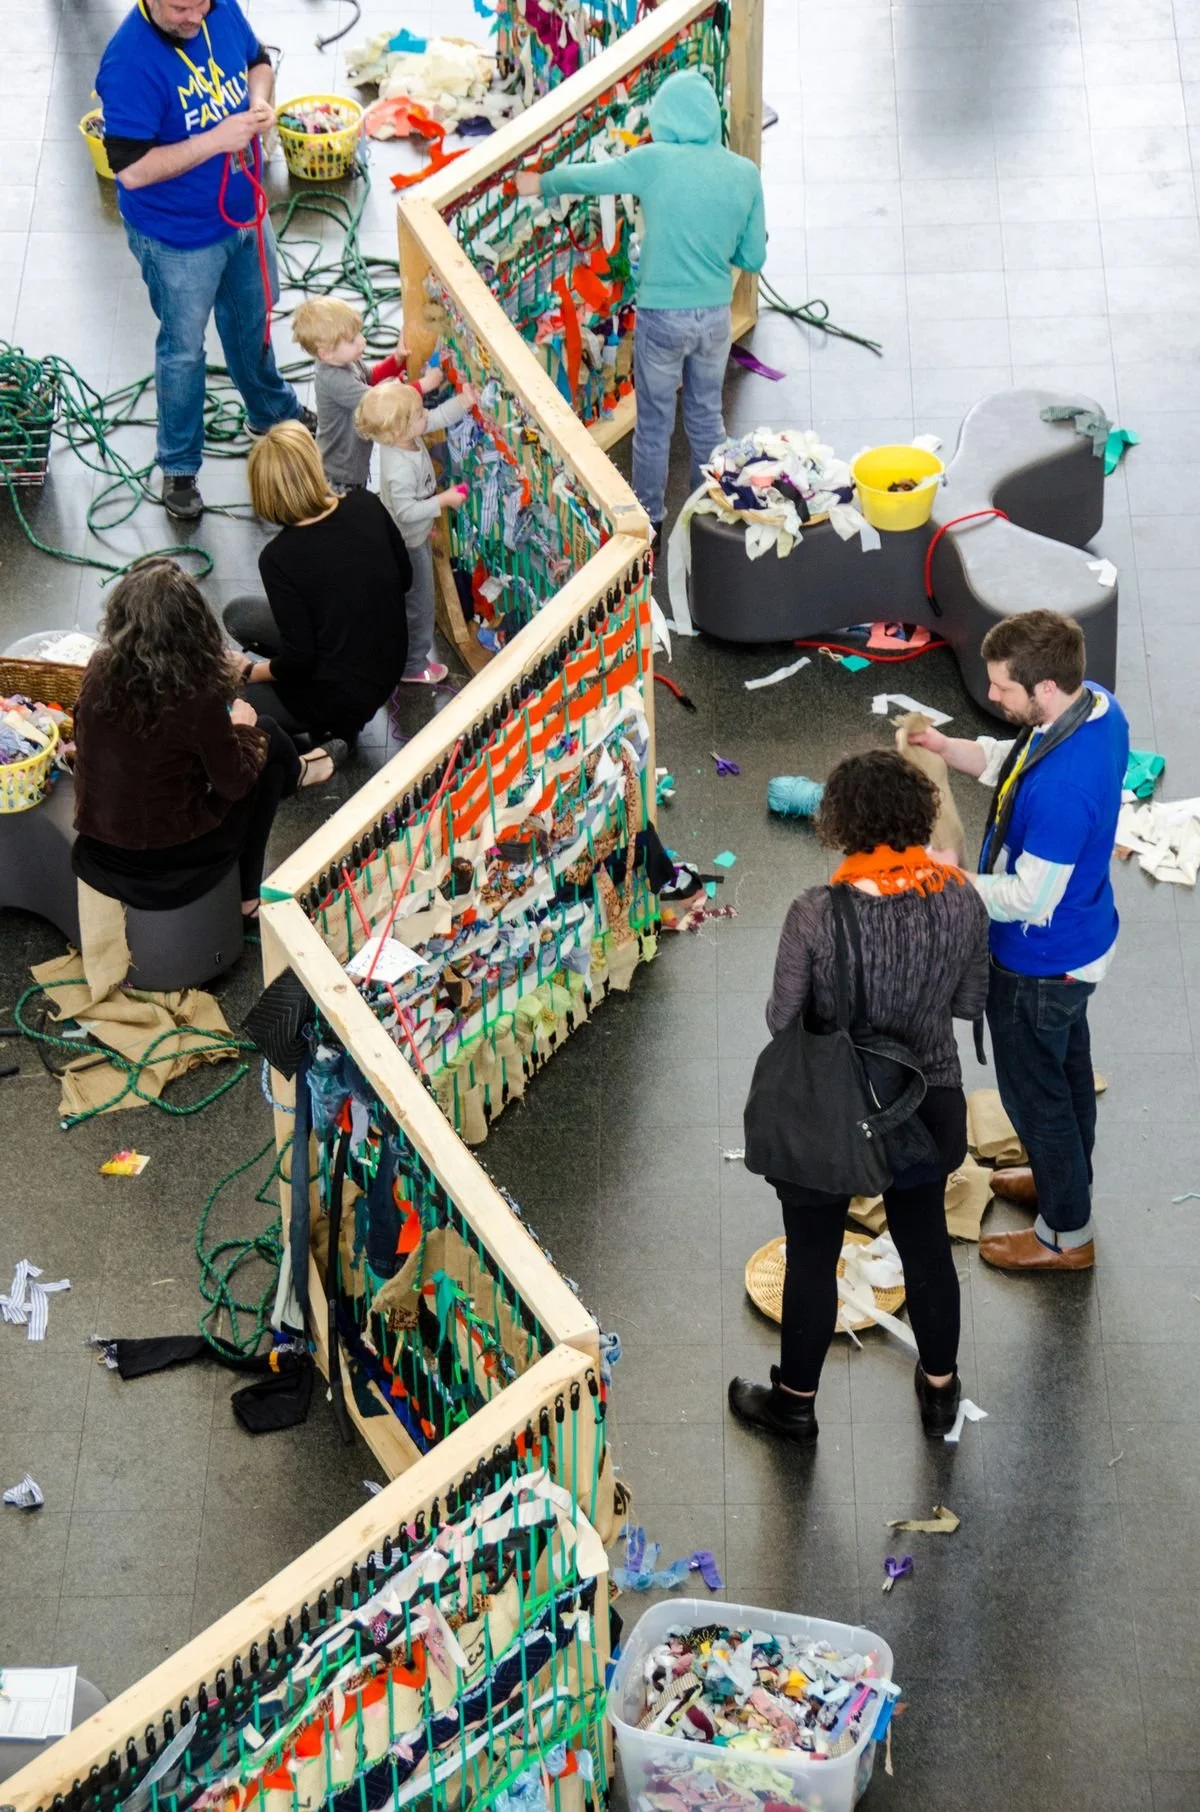
Structure
Chicken wire / wire mesh
Wooden frame or support boards
Jute rope or twine
Mural Materials
Fabric strips or cloth scraps
Sticks / small branches
Scrap wood pieces
Pebbles or small stones
Small recyclable materials
outdoor paint
Step 5: build your mural!
(this will take several sessions) Use a grid system to transfer the mural from the mock-up to the final surface.