
July 04/05 @ SAT : Wrkshp 7/8: Let's Build it Big (prototype)
Duration: 3 hours
Time: 10am - 1pm
Location: SAT
Facilitators: Priyanka, Sahil, Laura, Miley, Lizzie, Jess, Varsha
-
Identify commonalities in all 3 designs: as ultimately we will be designing a single build that combines everyone’s ideas.
Start looking at important elements in each design such as: Cat houses, bird houses, cave, maze, plants/ forests, waterfall, murals etc.. and detail it by designing it 4x larger.
-
Warm up
Pin up on the blue board (the commonalities between each team)
Main activity
Model making materials (same as before)
Design journal (blank pages)
Lots of hot glue and white glue
Scissors, pliers and cutters
A hand saw (to use under supervision only, to cut pipes if needed)
Safety gloves for kids
FOLLOWING MATERIALS GET AS MUCH AS YOU CAN, ALL NOT NEEDED FOR DAY 1. ASSESS THE NEEDS AT THE WORKSHOP AND PROCURE FOR THE NEXT DAY. ALSO ASK KIDS TO BRING MATERIALS THEY CAN FIND FROM HOME.
Cat house / Bird house: Cardboard, safety cutters
Waterfall: Metal Mesh?, Cardboard, Large plastic containers, Gallon water jugs, small water pump, piece of hose to fit (see YouTube video)
Cave: Paper off cuts, cardboard, Old milk cartons, plastic bottles, metal mesh (we call it chicken mesh)
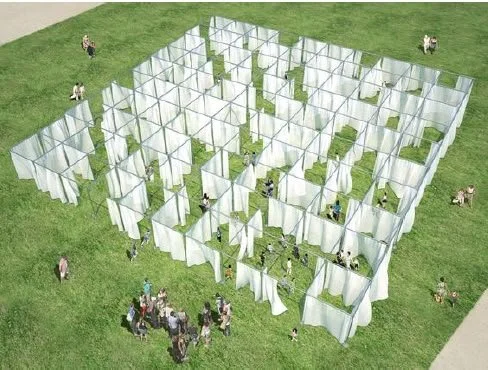
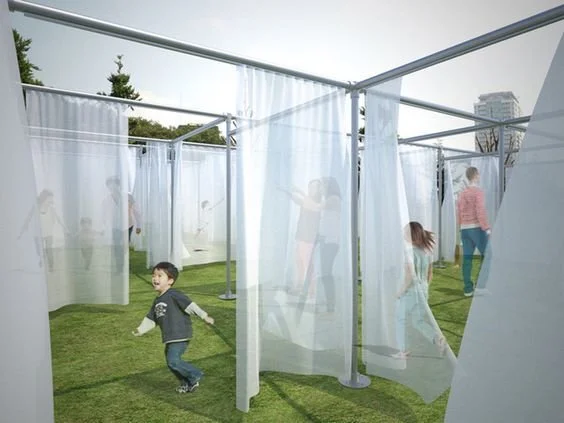
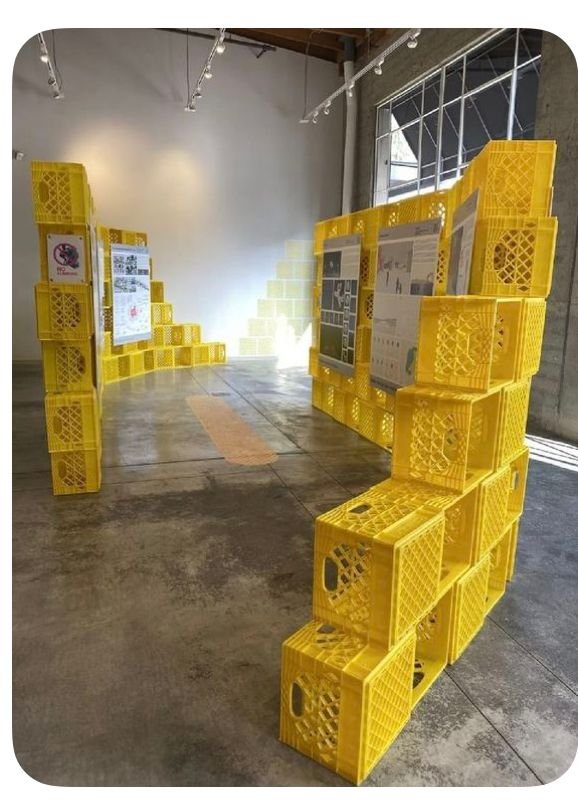
Maze: PVC pipes and crates, fabric, old sarees, cardboard
Hammock: Macrame rope and string???
discuss with kids and see what natural or recycled materials can be used.
-
As is.
For workshop 7 and 8: 3 tables formed in the letter C so that the floor space in between can be used for model making.. TBC via WhatsApp
Warm up
The intro presentation covers this also. There will be 2 main activities / discussions.
Warm up 1: Identify and discuss commonalities between each team and ask if any elements were left out (Miley lead)
Warm up 2: Introduce the new 6 bay plan and ask groups to mark them up. Starting with team 2 (as the overall layout is inspired by them), then team 3, then team 1
Main Activity
Divide each group into 2 sub groups. (total 6 or 7 teams, 1 adult per team)
Over the next 3 sessions we will be designing a prototype of our favorite elements in our design, with a focus on 4 major elements that are common in all our designs:
Maze
Cave
Art
Nature (including cats and birds)
Select elements that are important to all 3 teams. (see google slides)
Design each element 4 times bigger than what is shown in your model. Add more details than your smaller model.
You might need to do a little research with an adult to understand how some elements like waterfalls or birdhouses work. You might even find there is more than one way to accomplish your goals.
Tomorrow we are going to start to build it in life size (full scale)
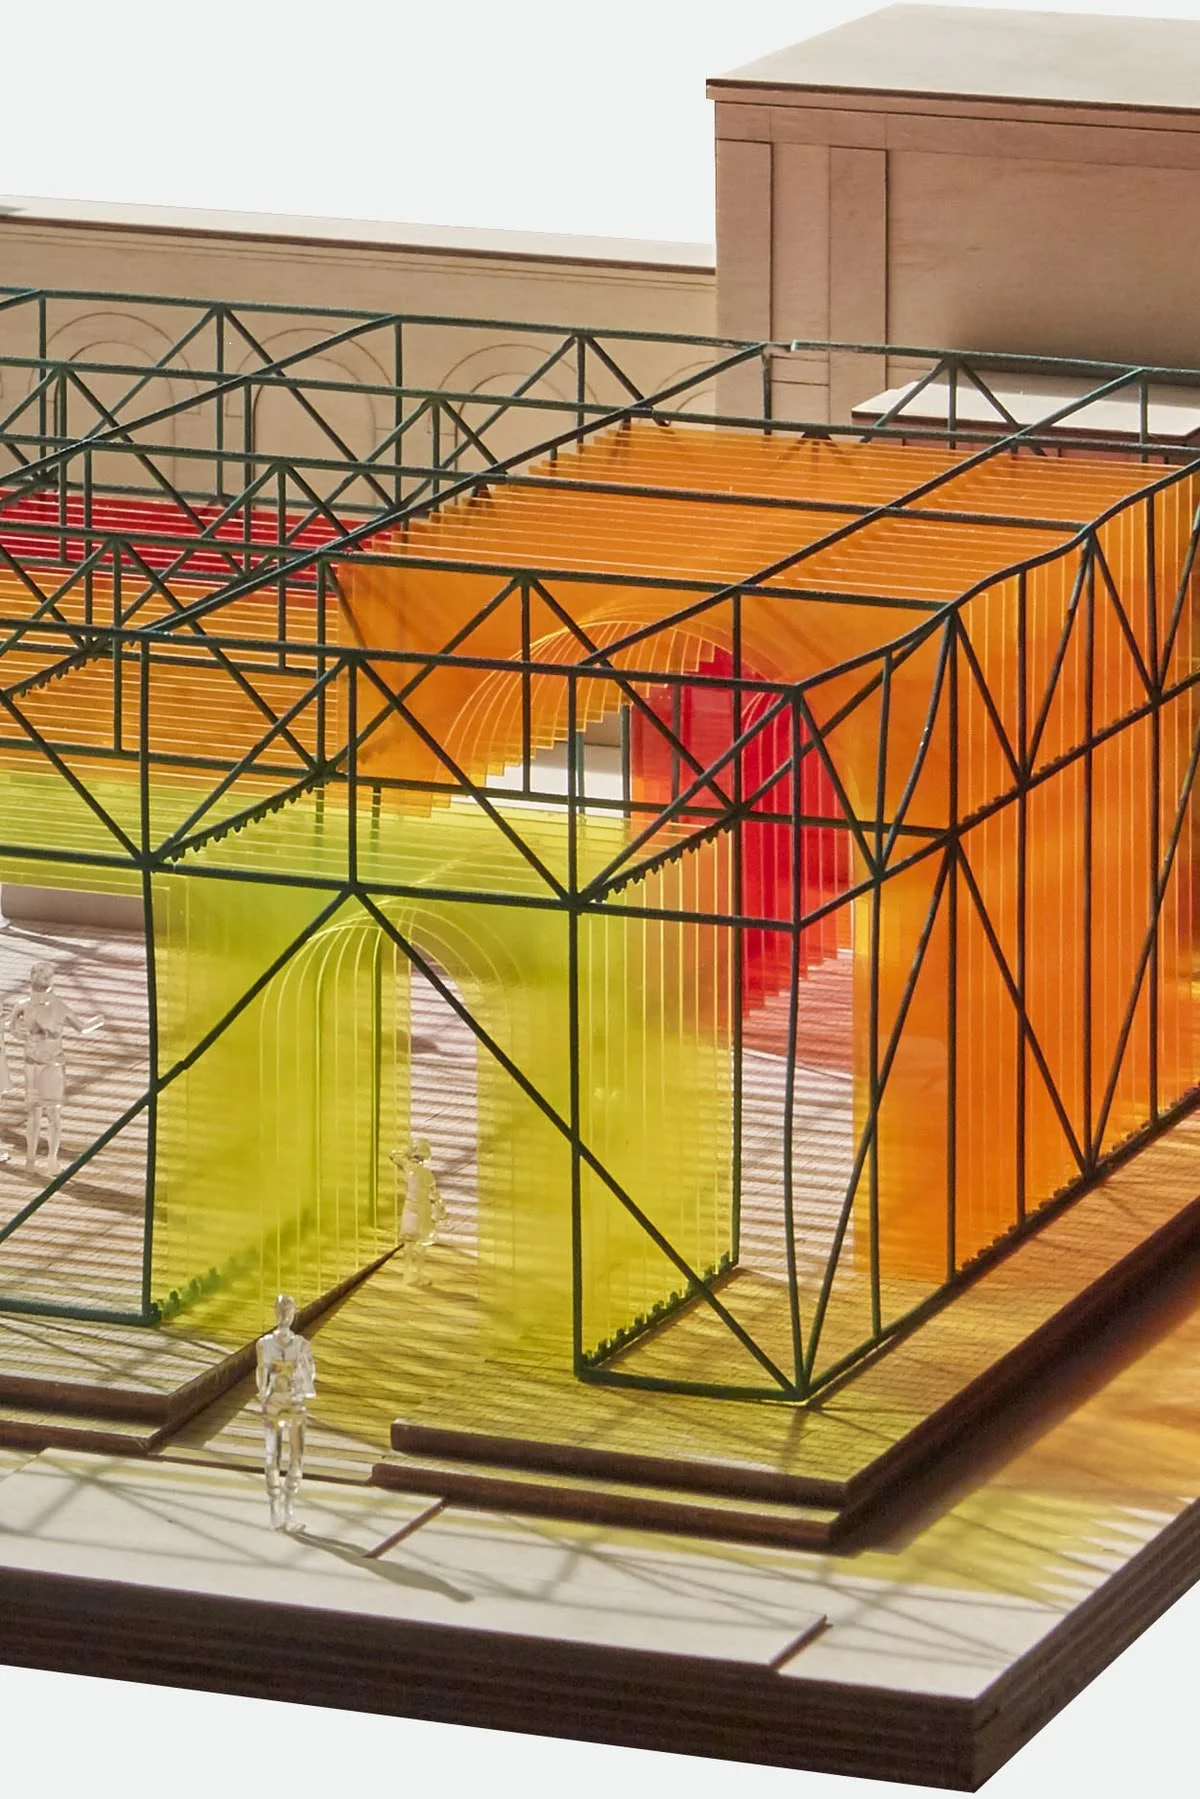
Inspiration for Volunteers
(listed in priority order, if teams are happy with their prototypes, they can move onto developing a prototype of another element):
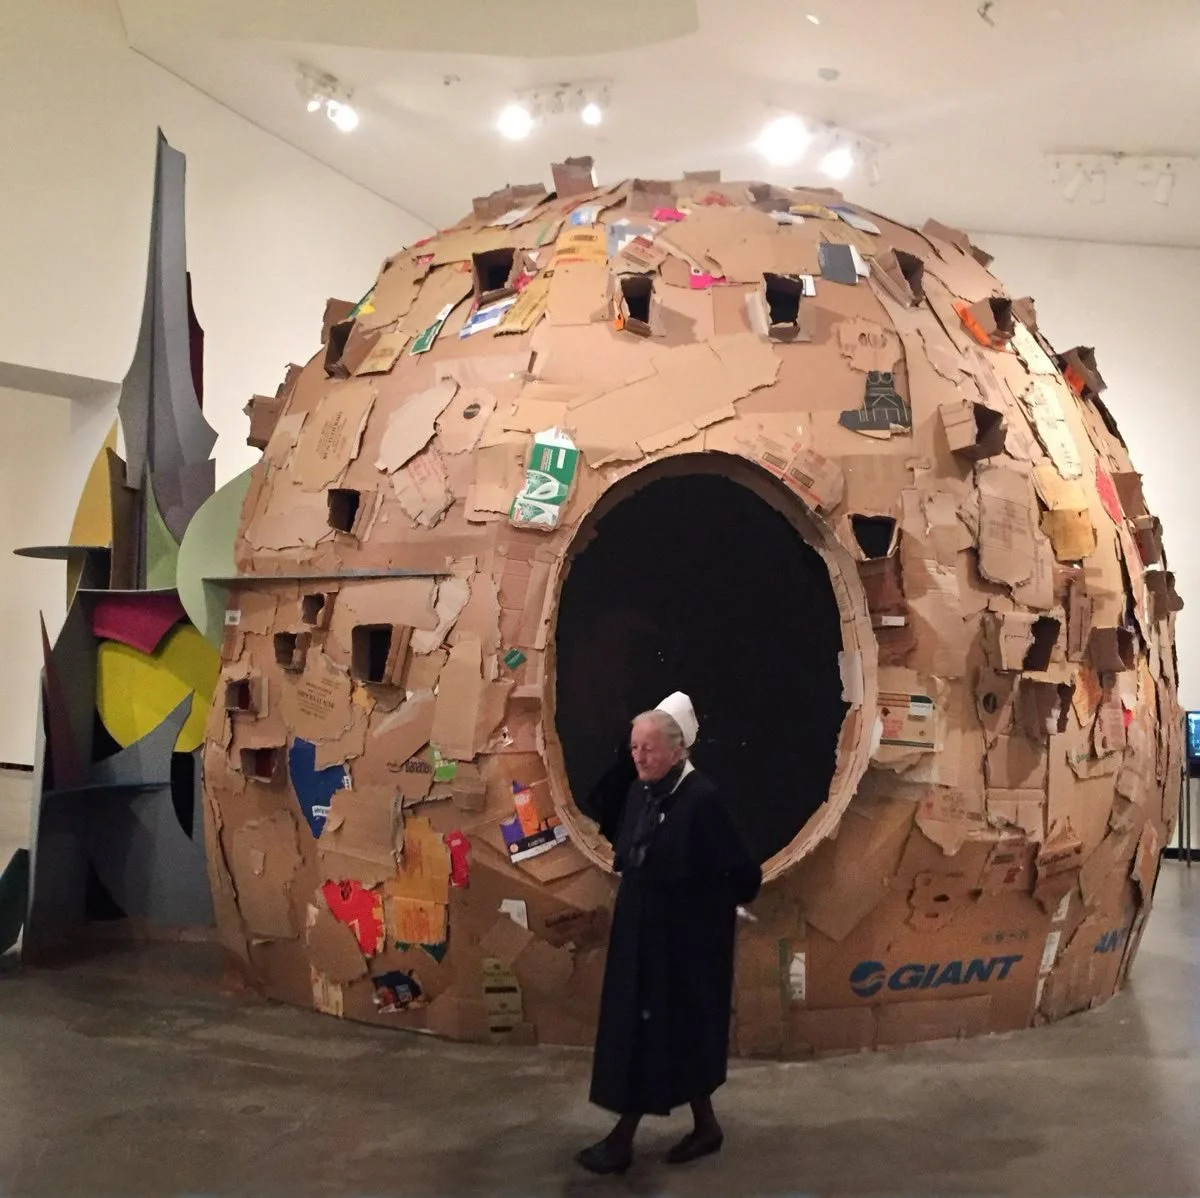
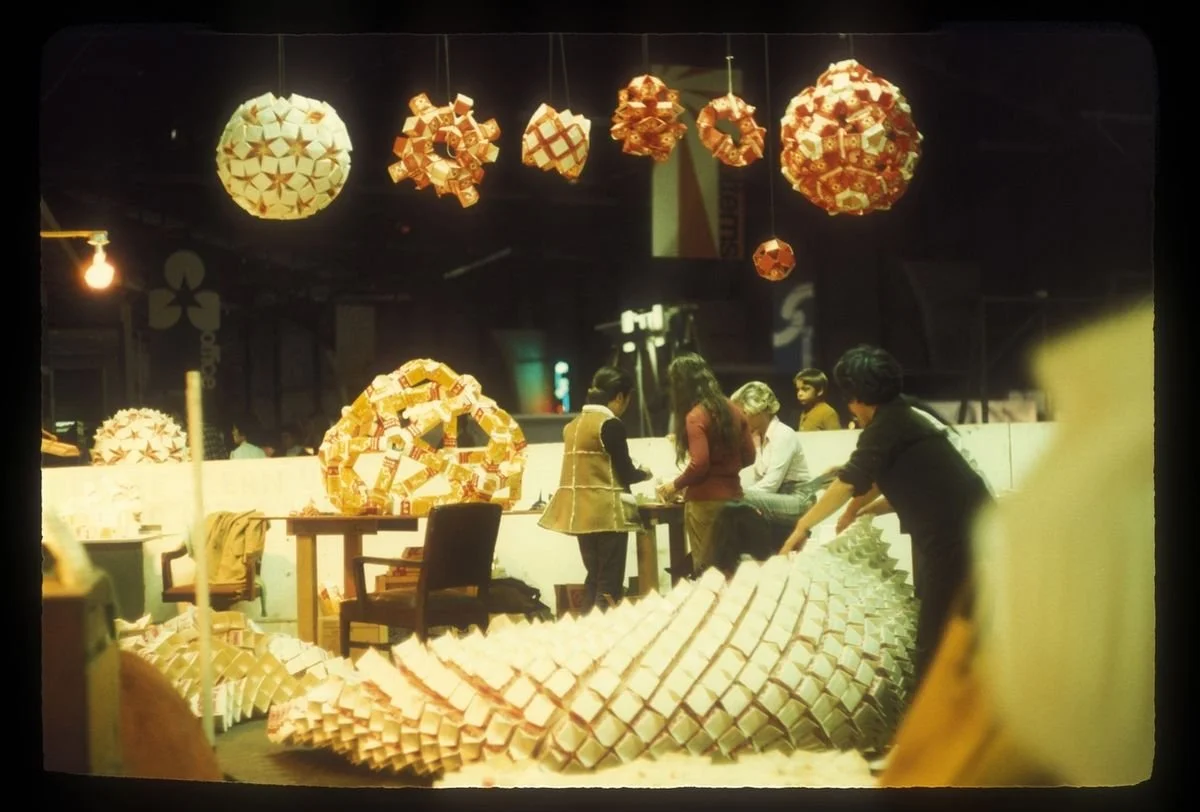
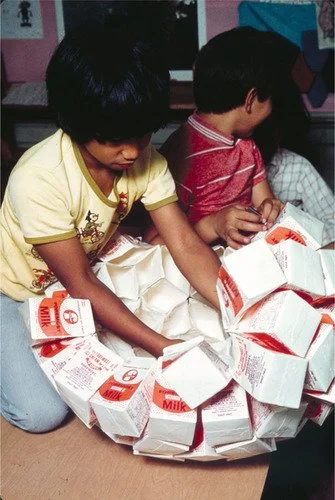
Cave
Cardboard, paper mache, chicken wire, paper pulp are all options.
Also see Bard studio’s ‘Belly of the Strange’
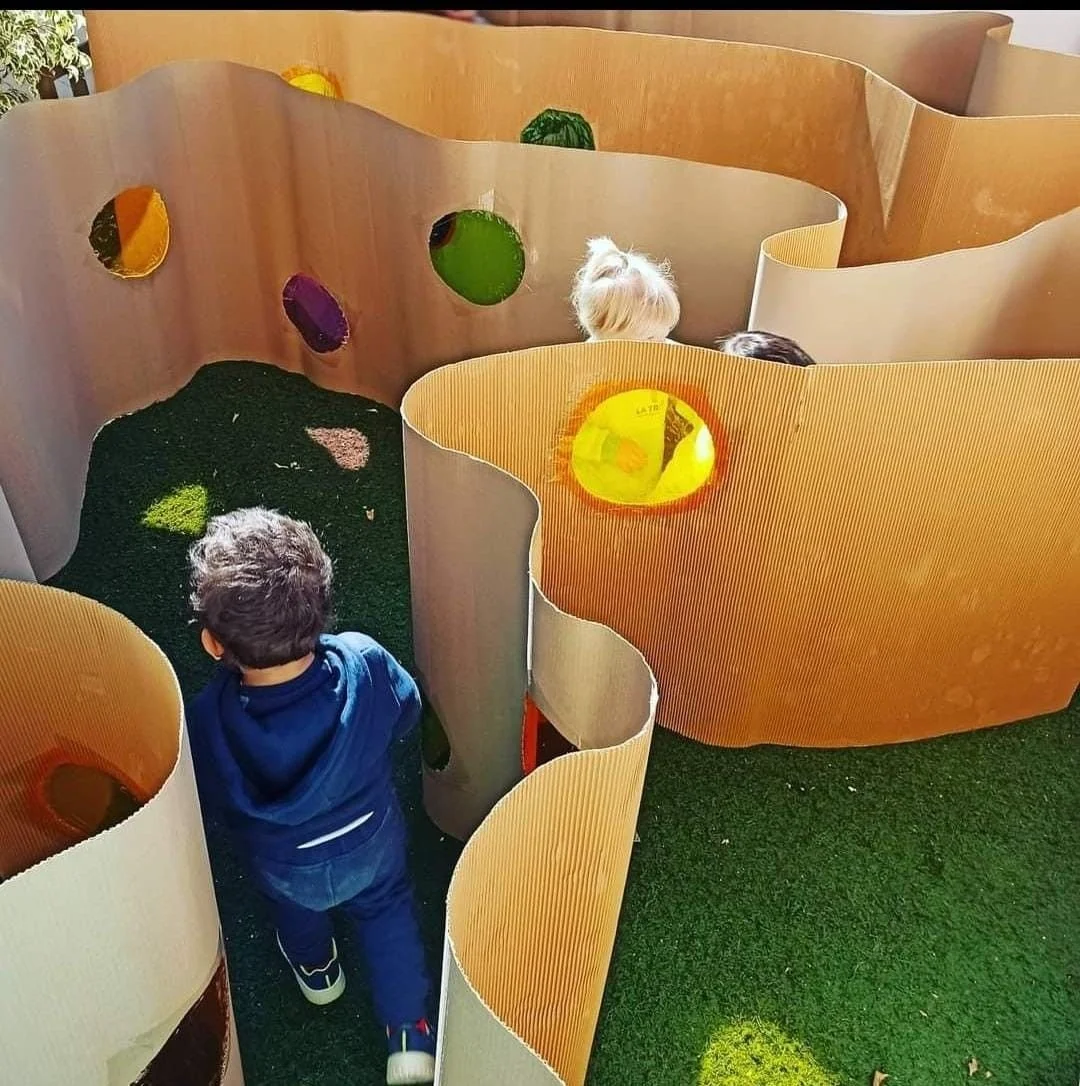
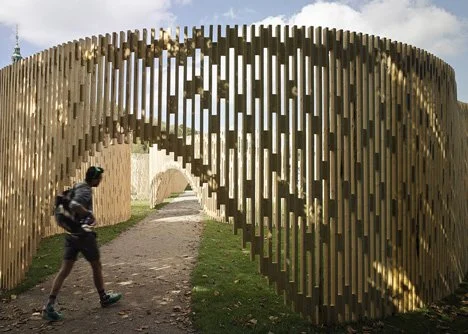
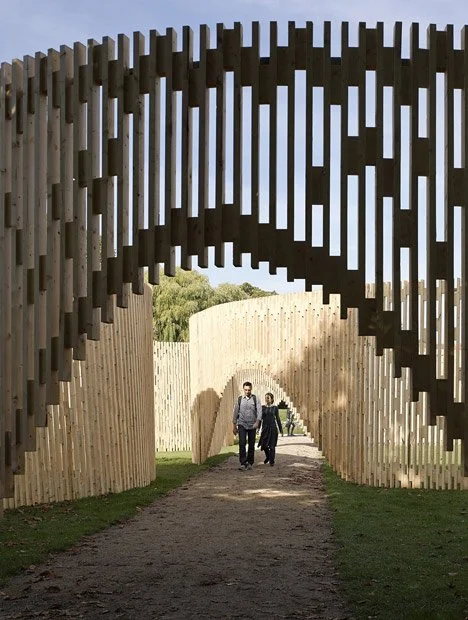
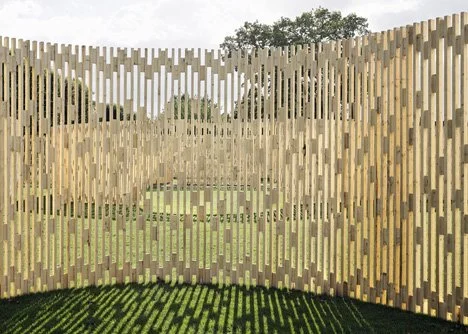
2. Life size maze
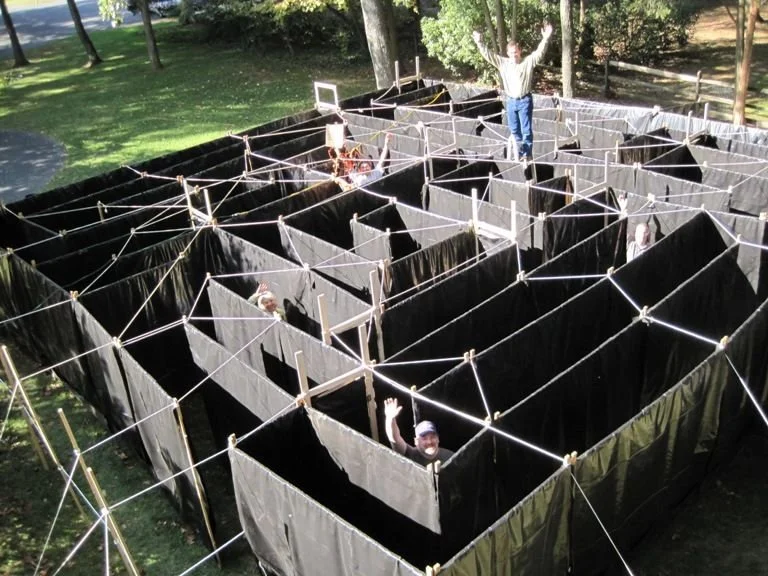
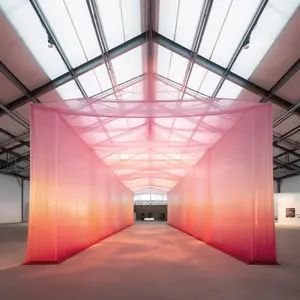
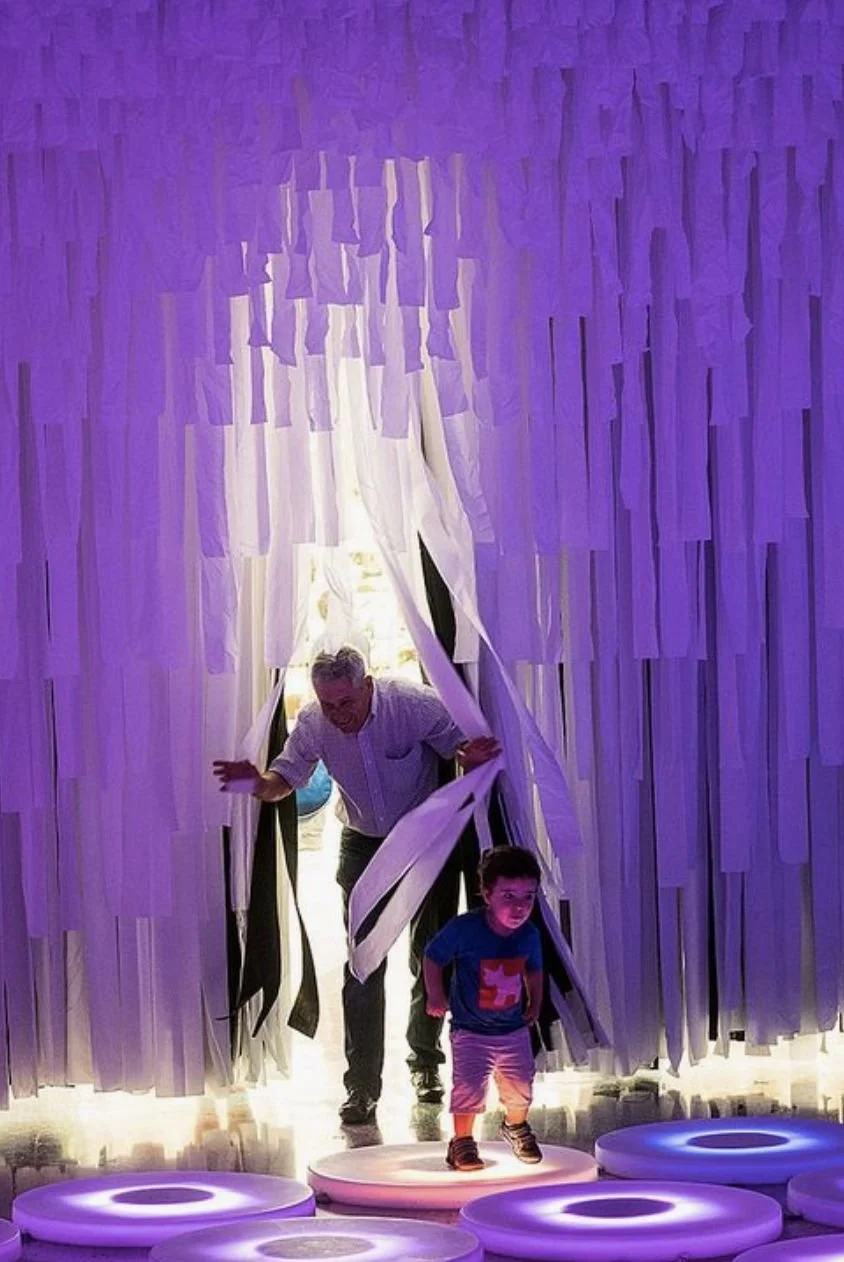
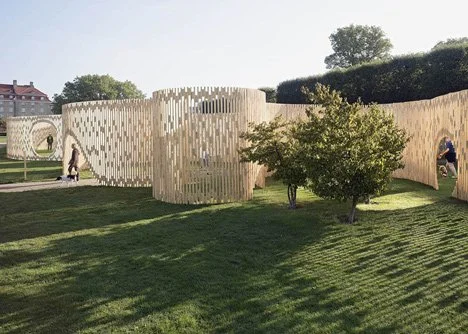
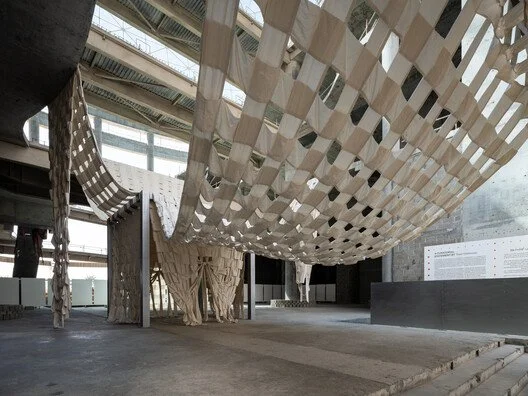
Fabric, paper tubes or corrugated cardboard like the model from Team 2
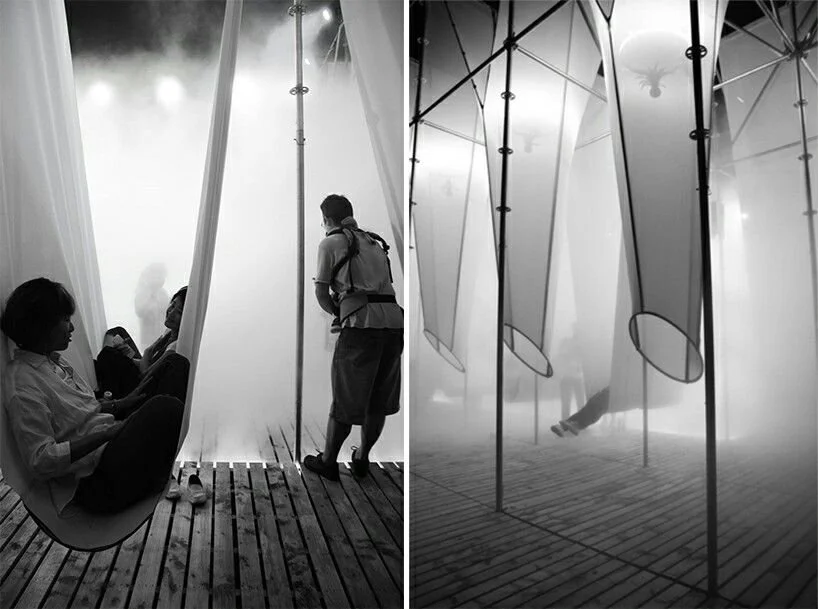
Design 3 ways to build a maze. include a hanging version and a standing version and prototype many ways to accomplish it.
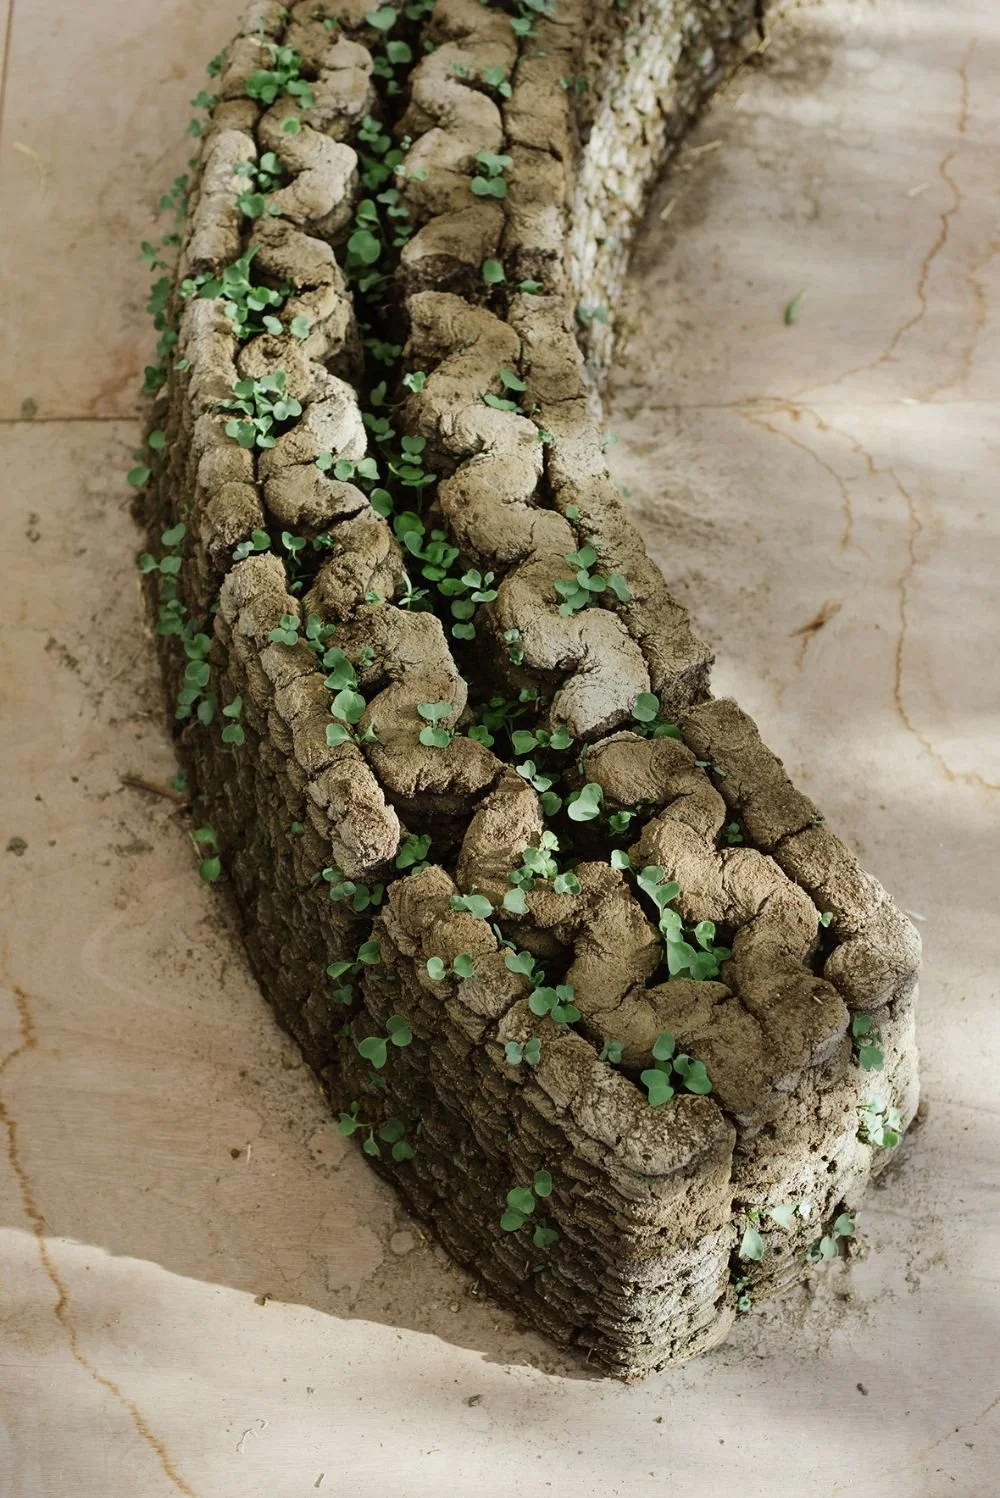
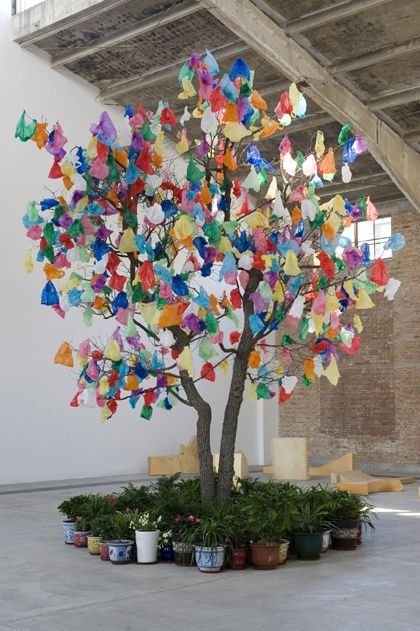
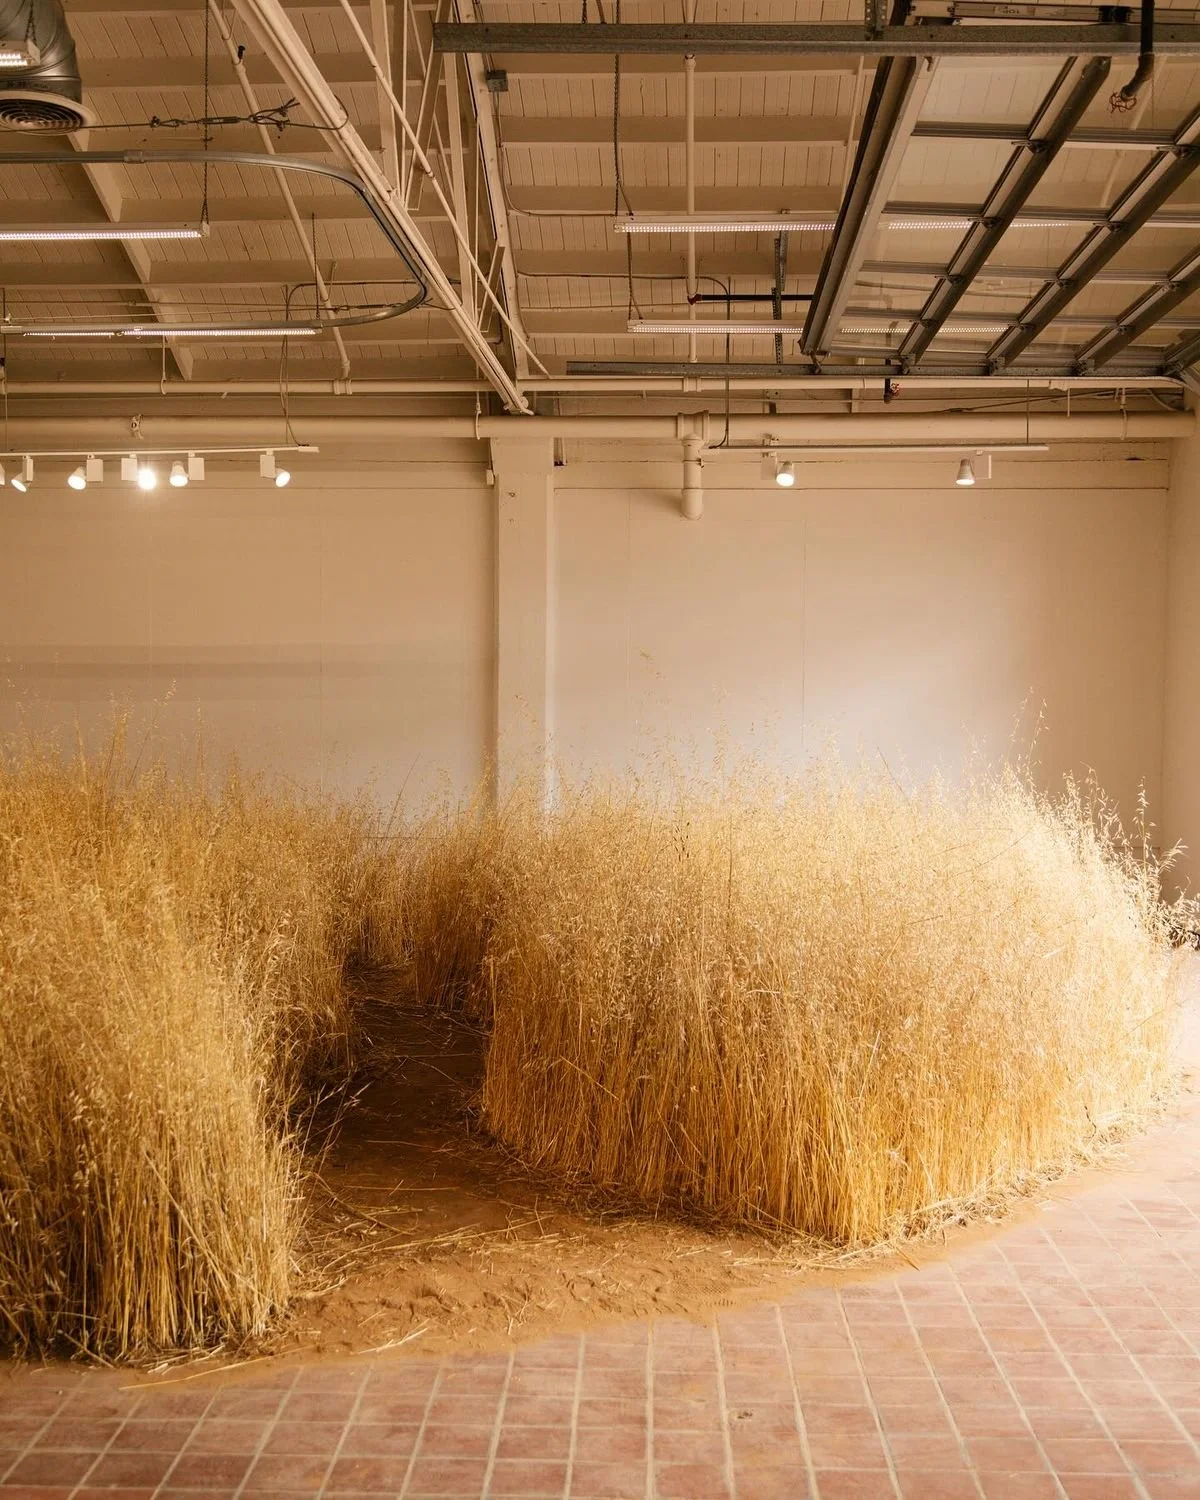
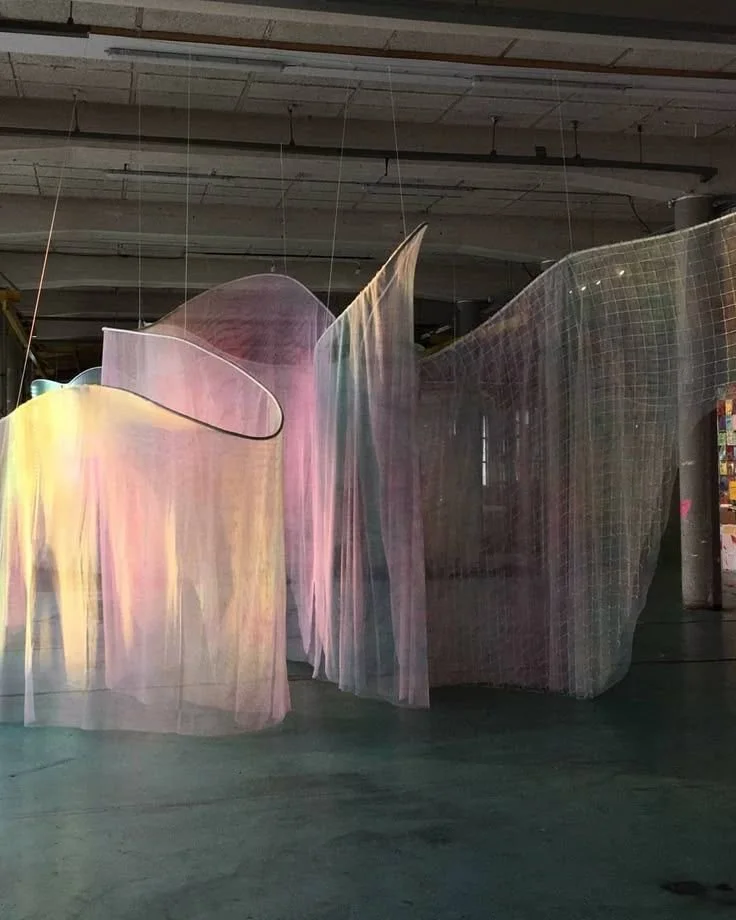
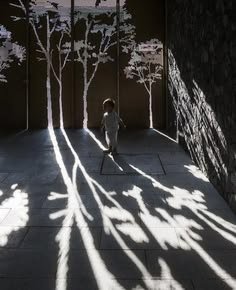
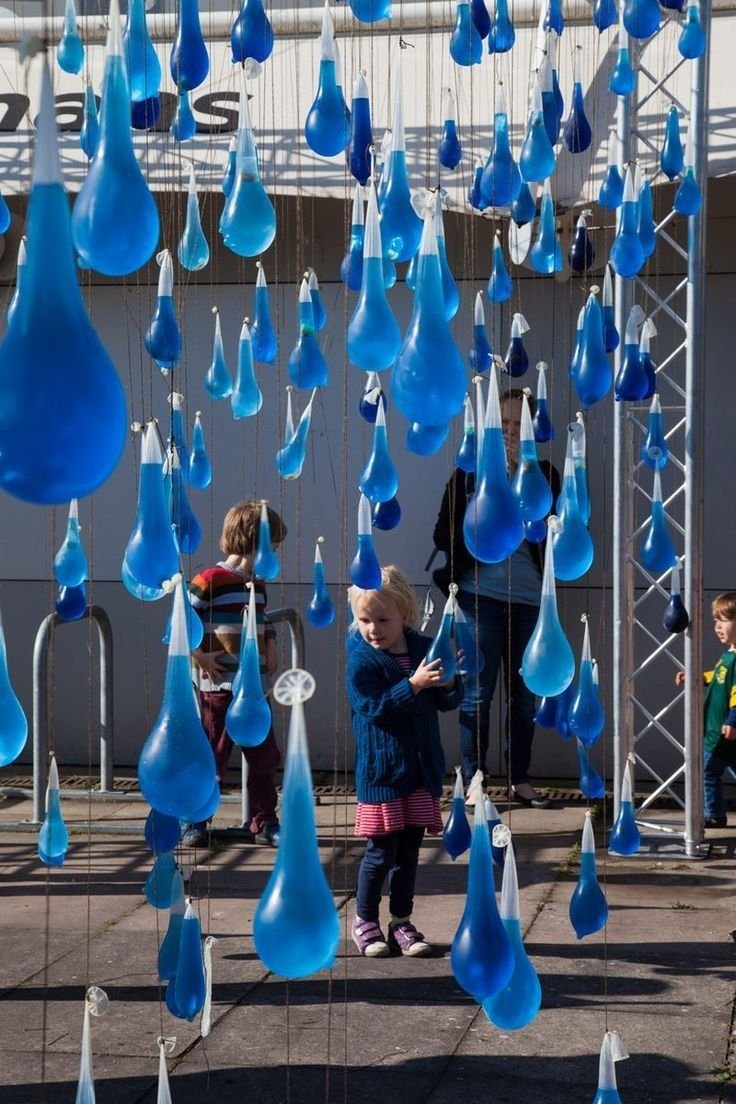
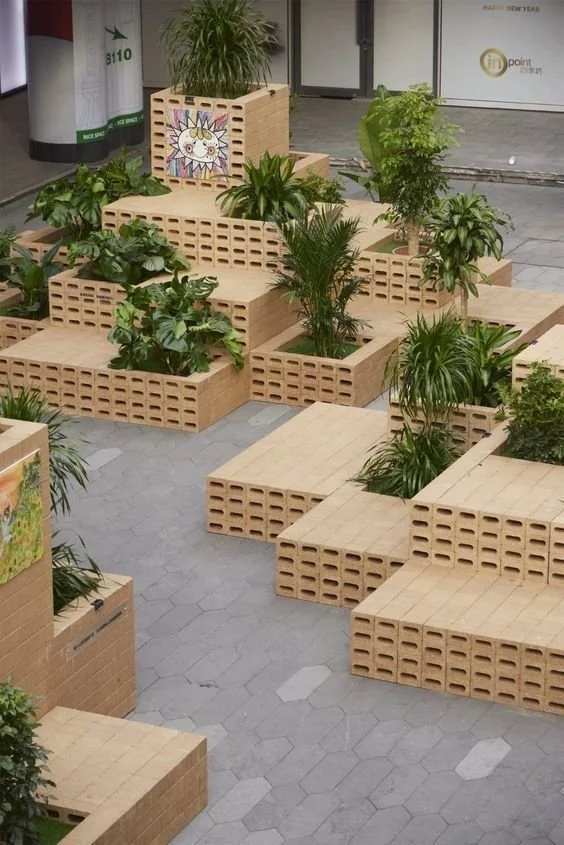
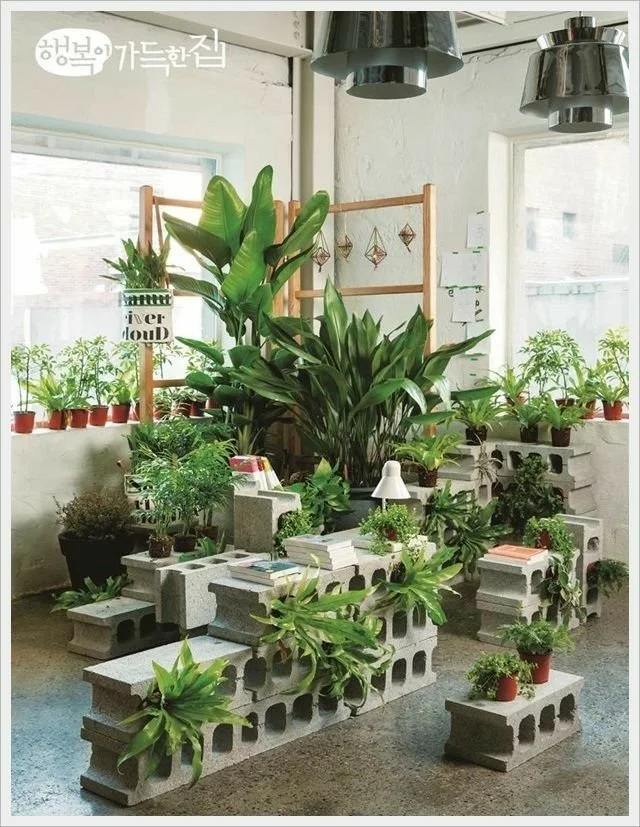
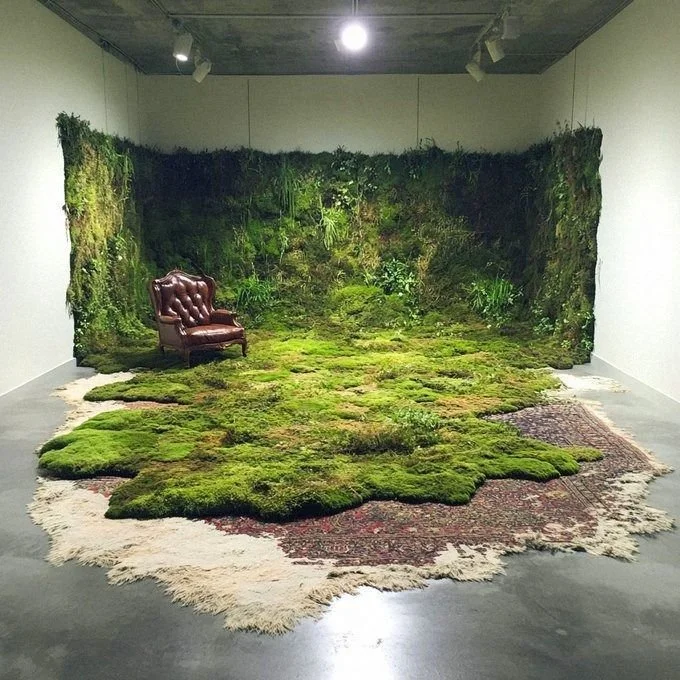
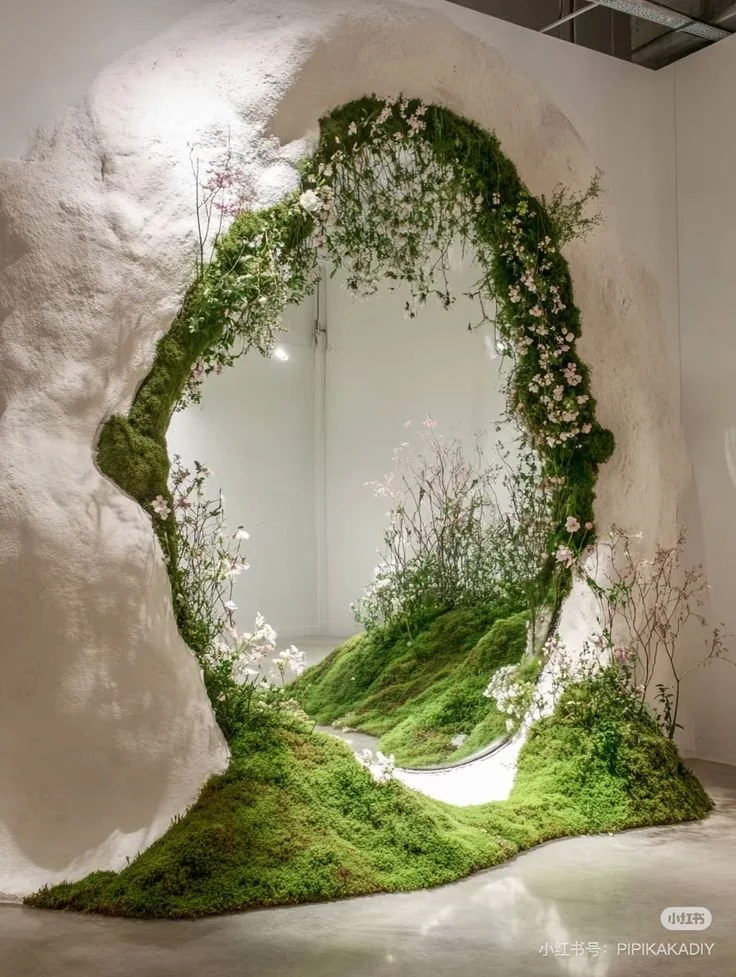
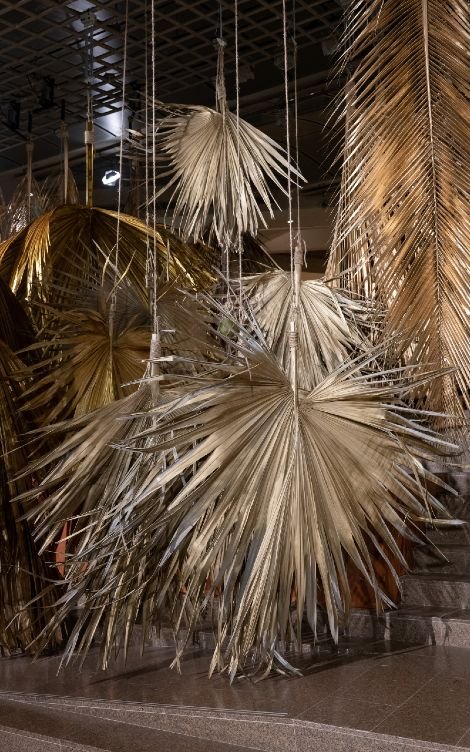
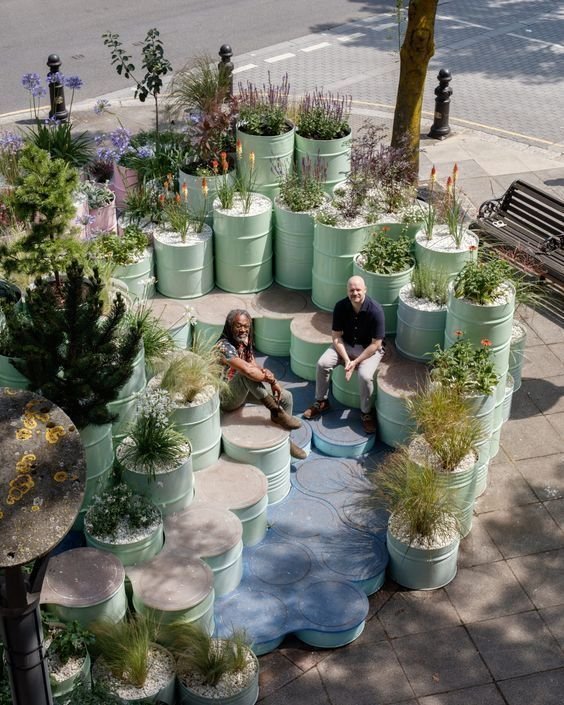
3. Nature Atmosphere
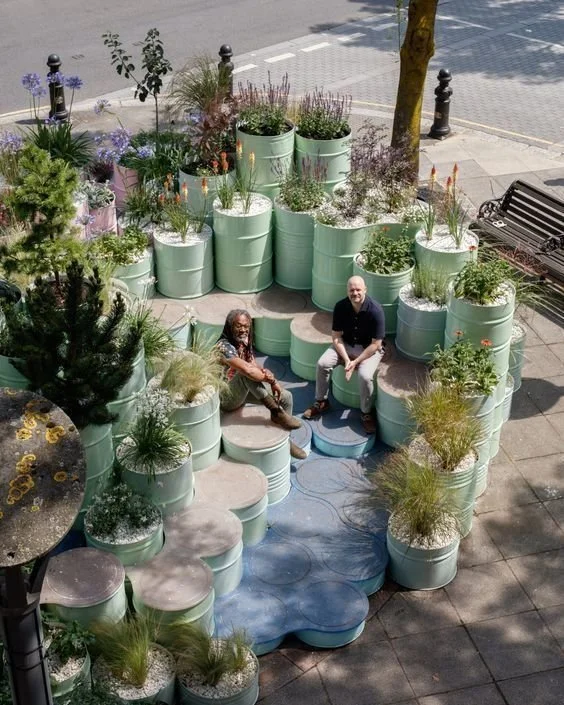
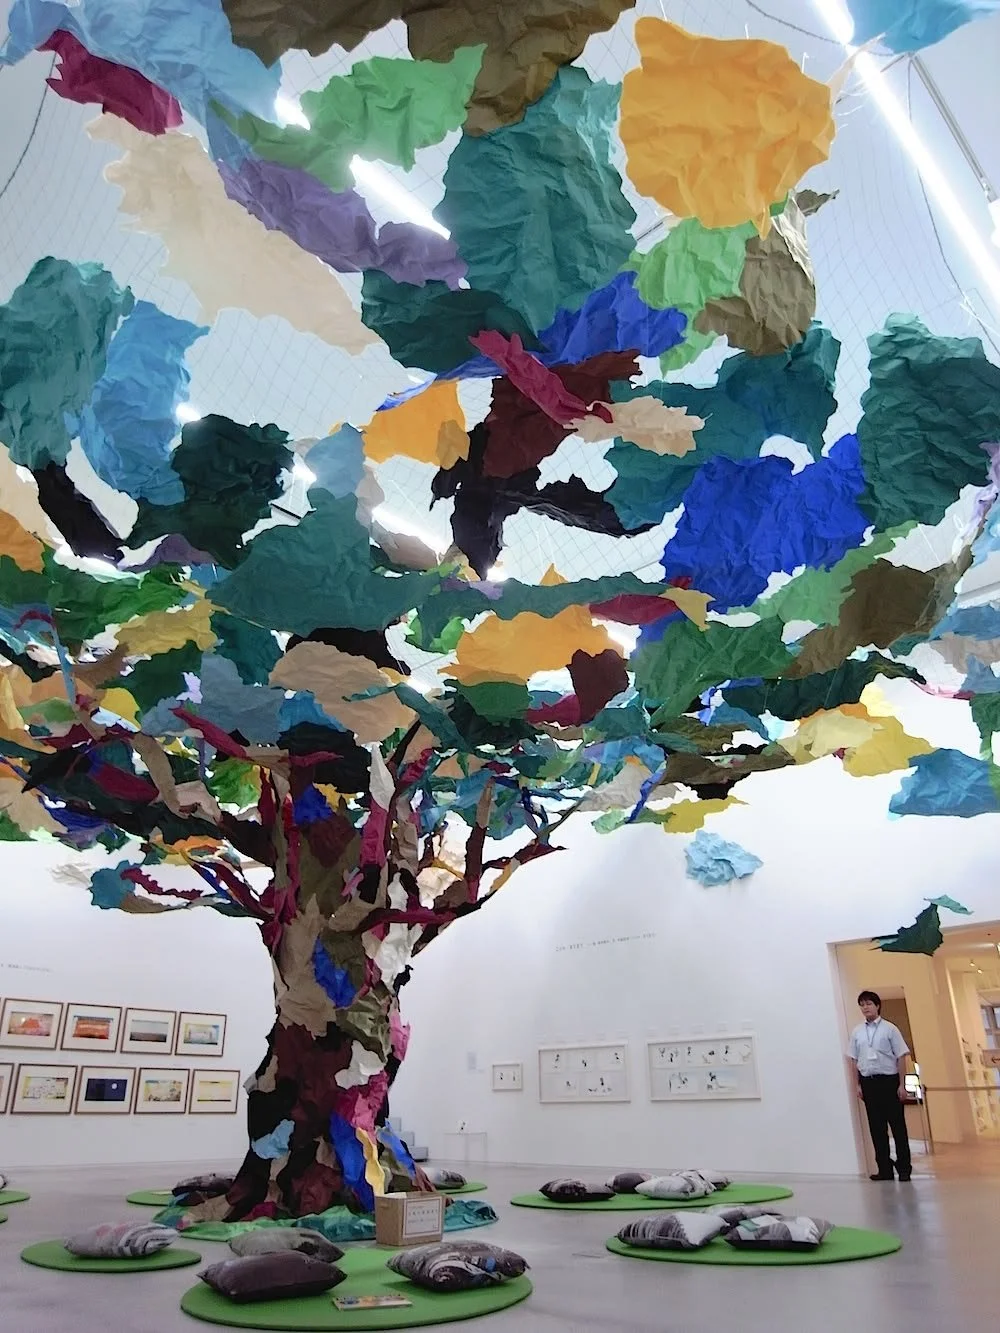
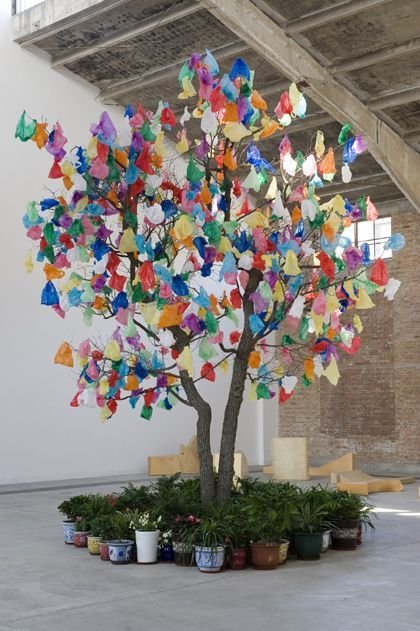
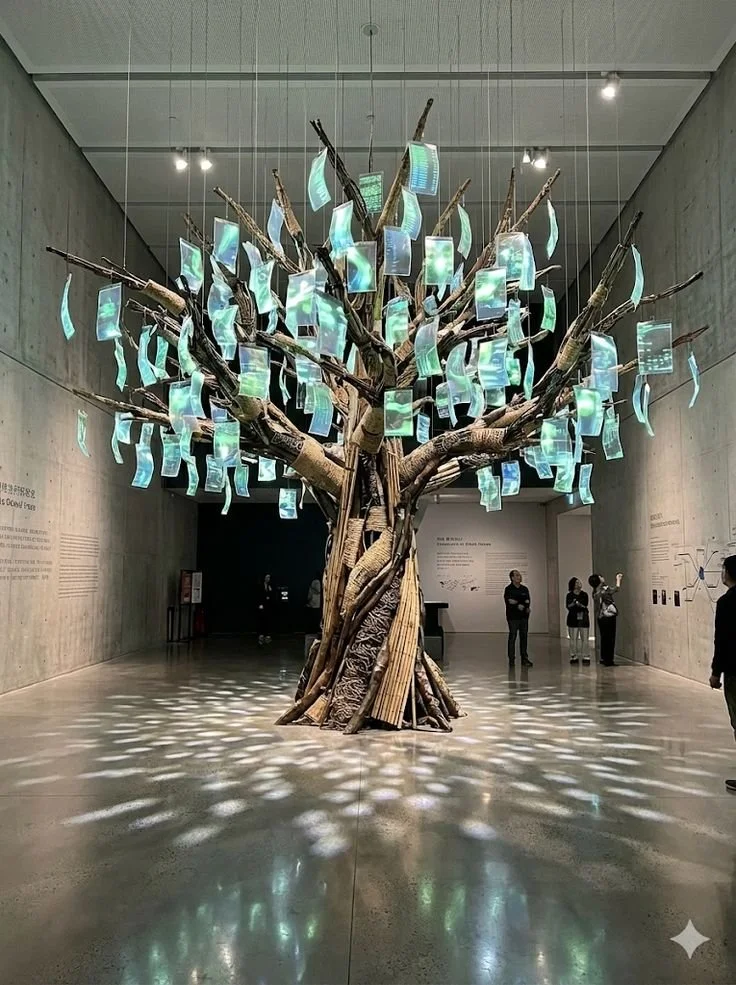
3.1 Artificial / art based
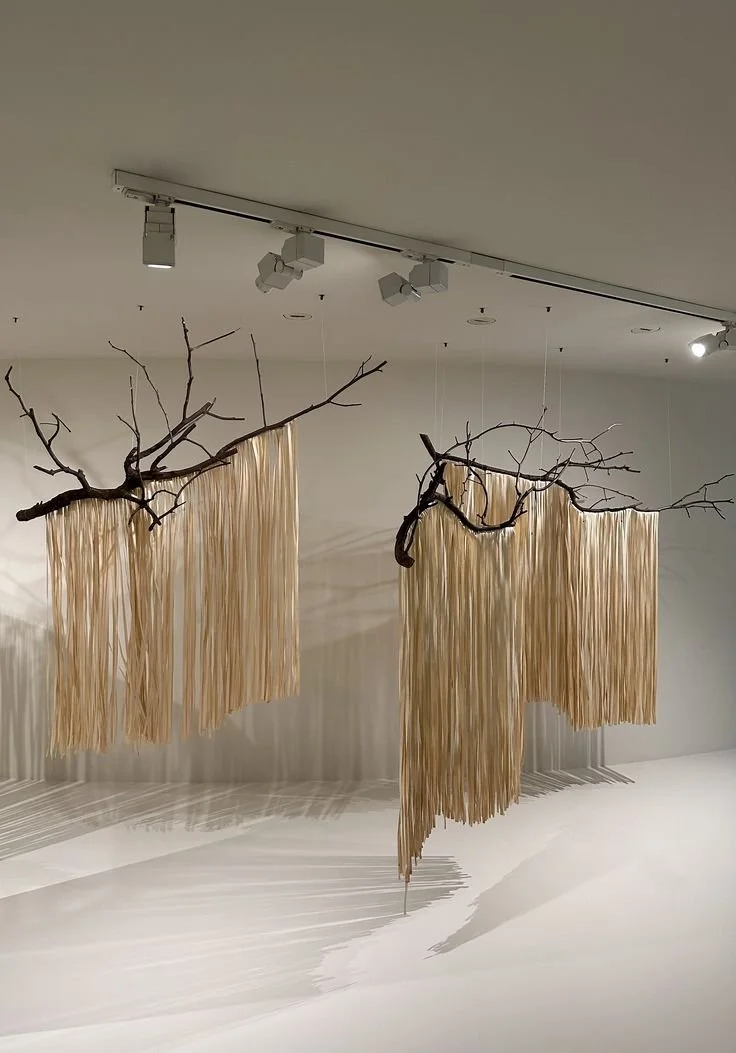
In our class we painted dried Kos leaves (a bit like fig leaves) and hung it on a branch)
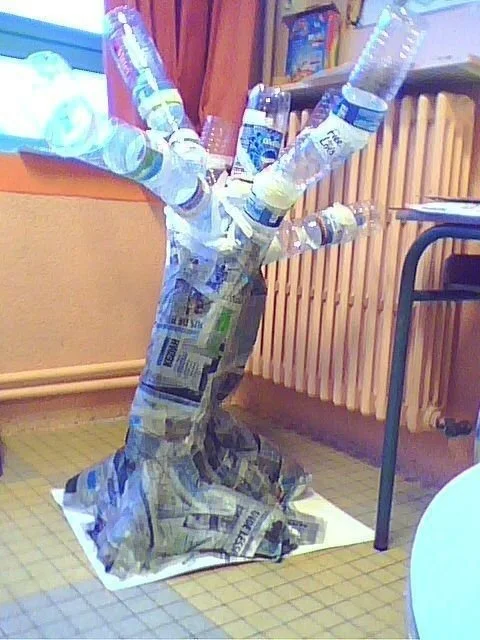
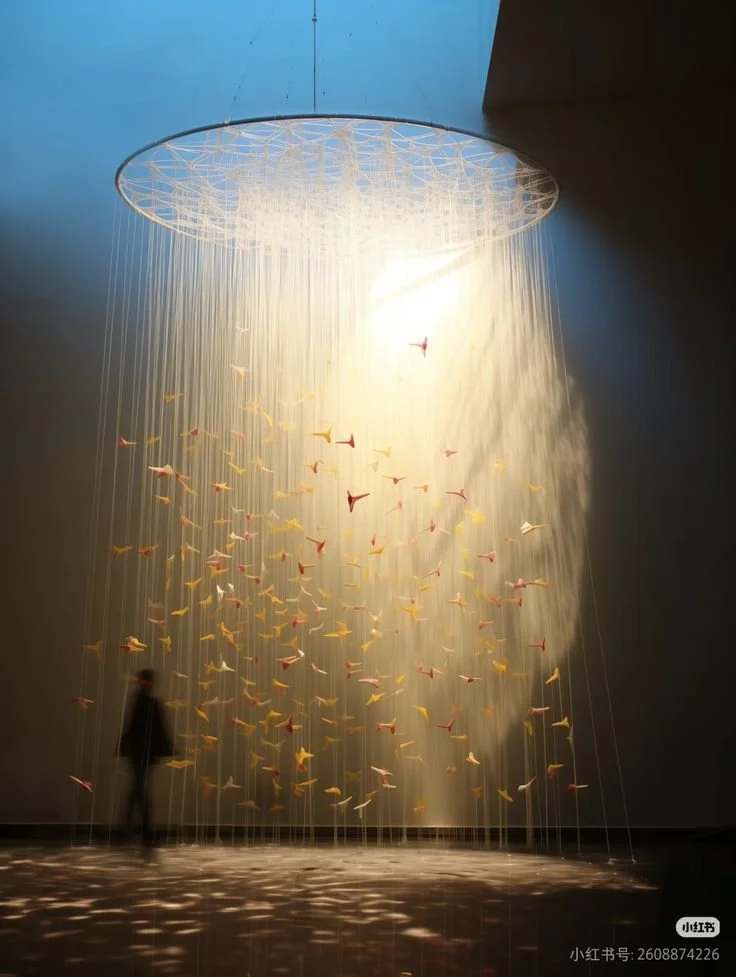
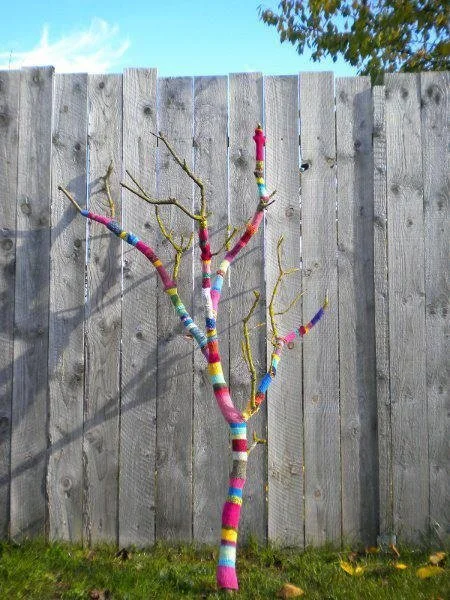
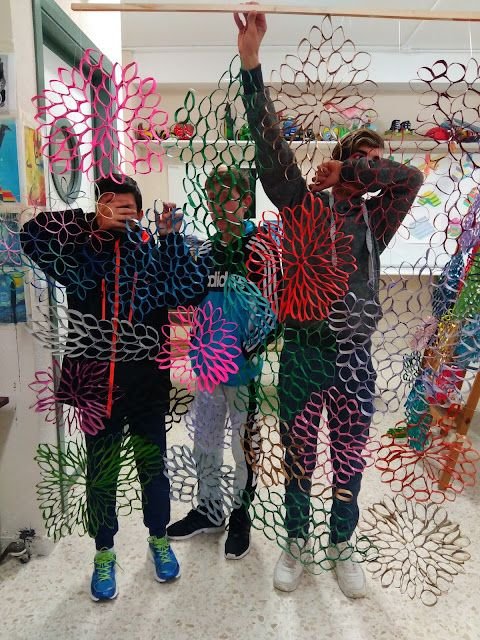
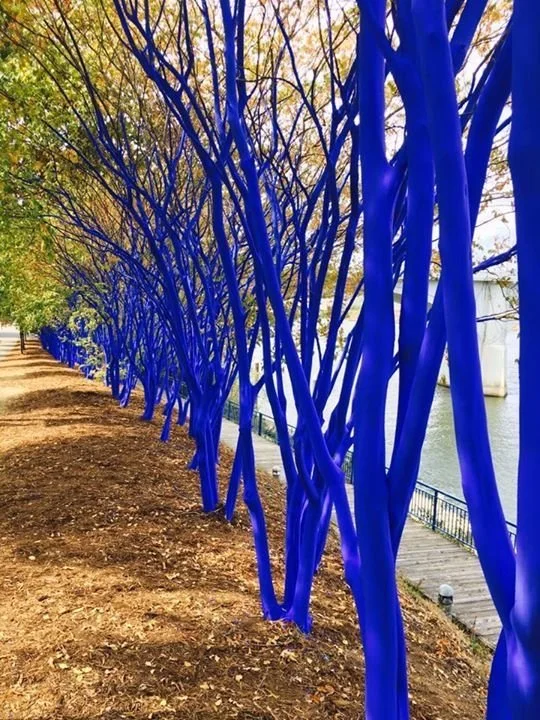
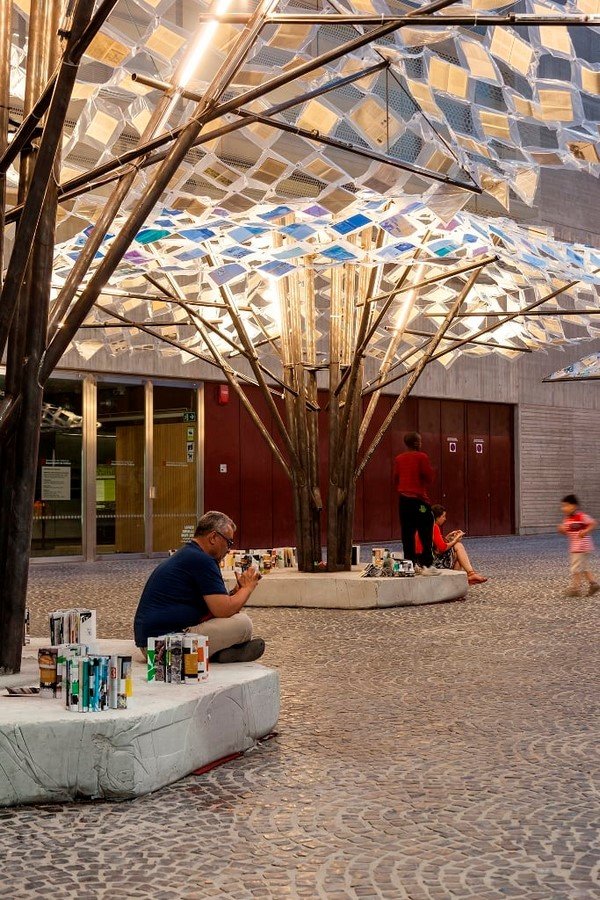
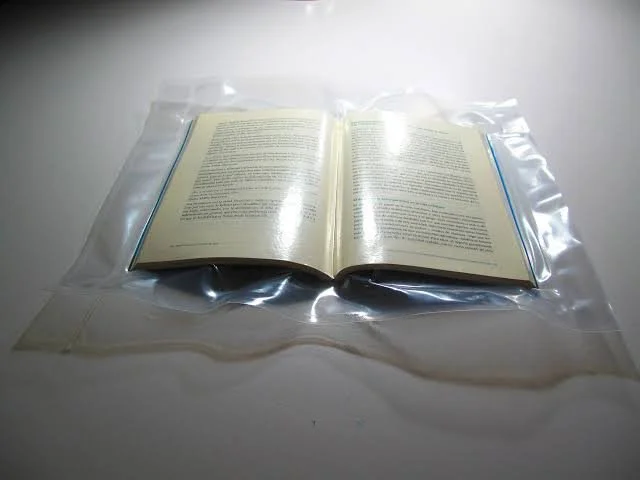
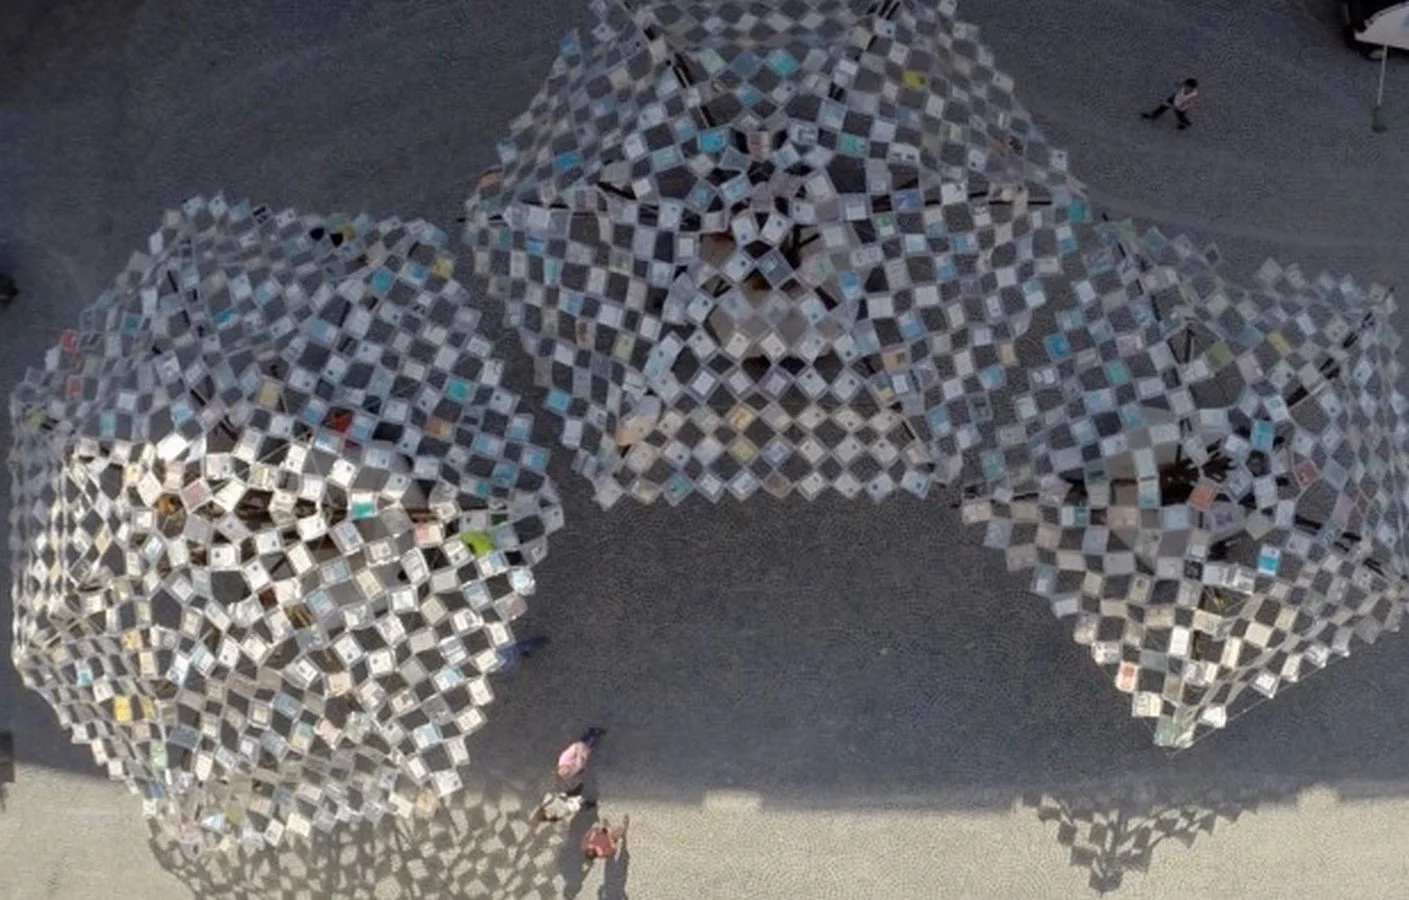
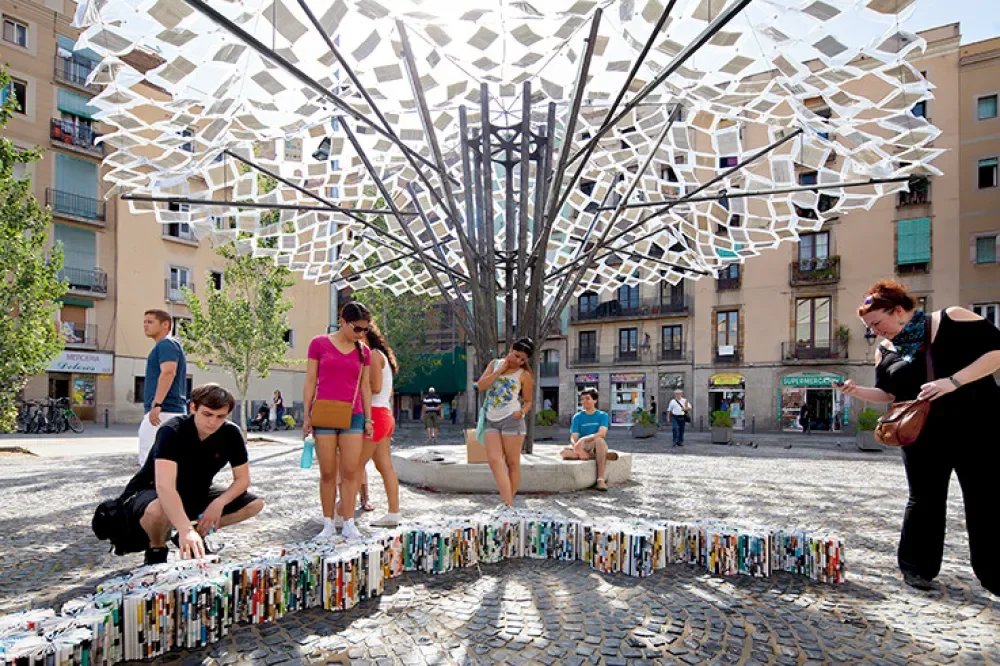
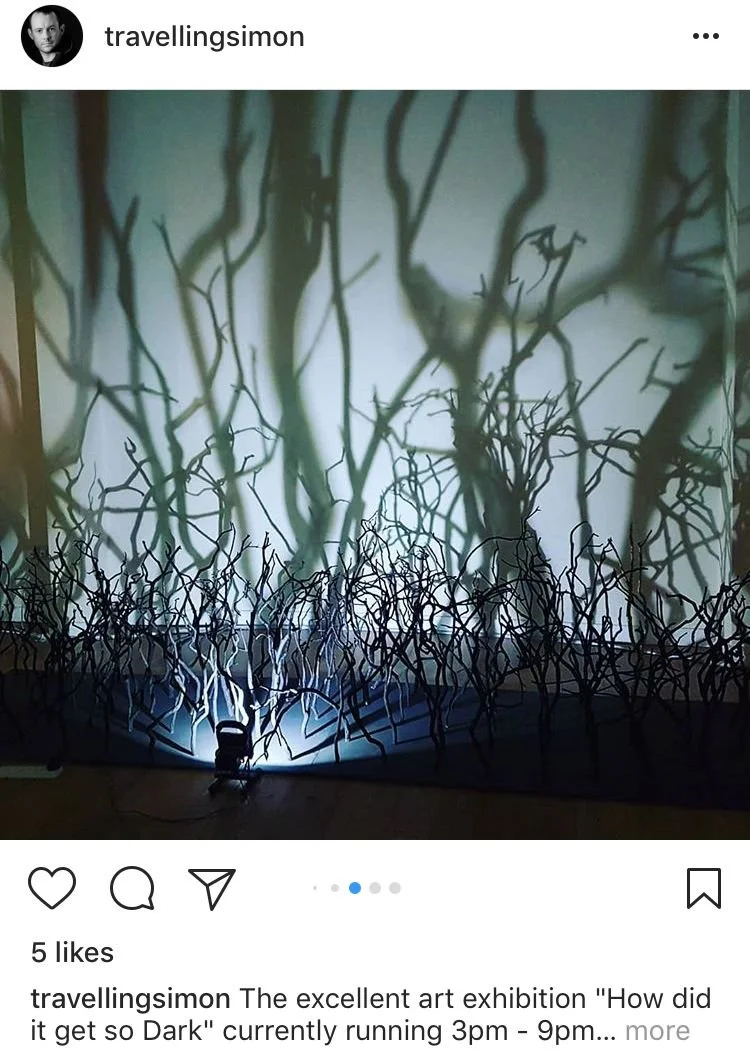
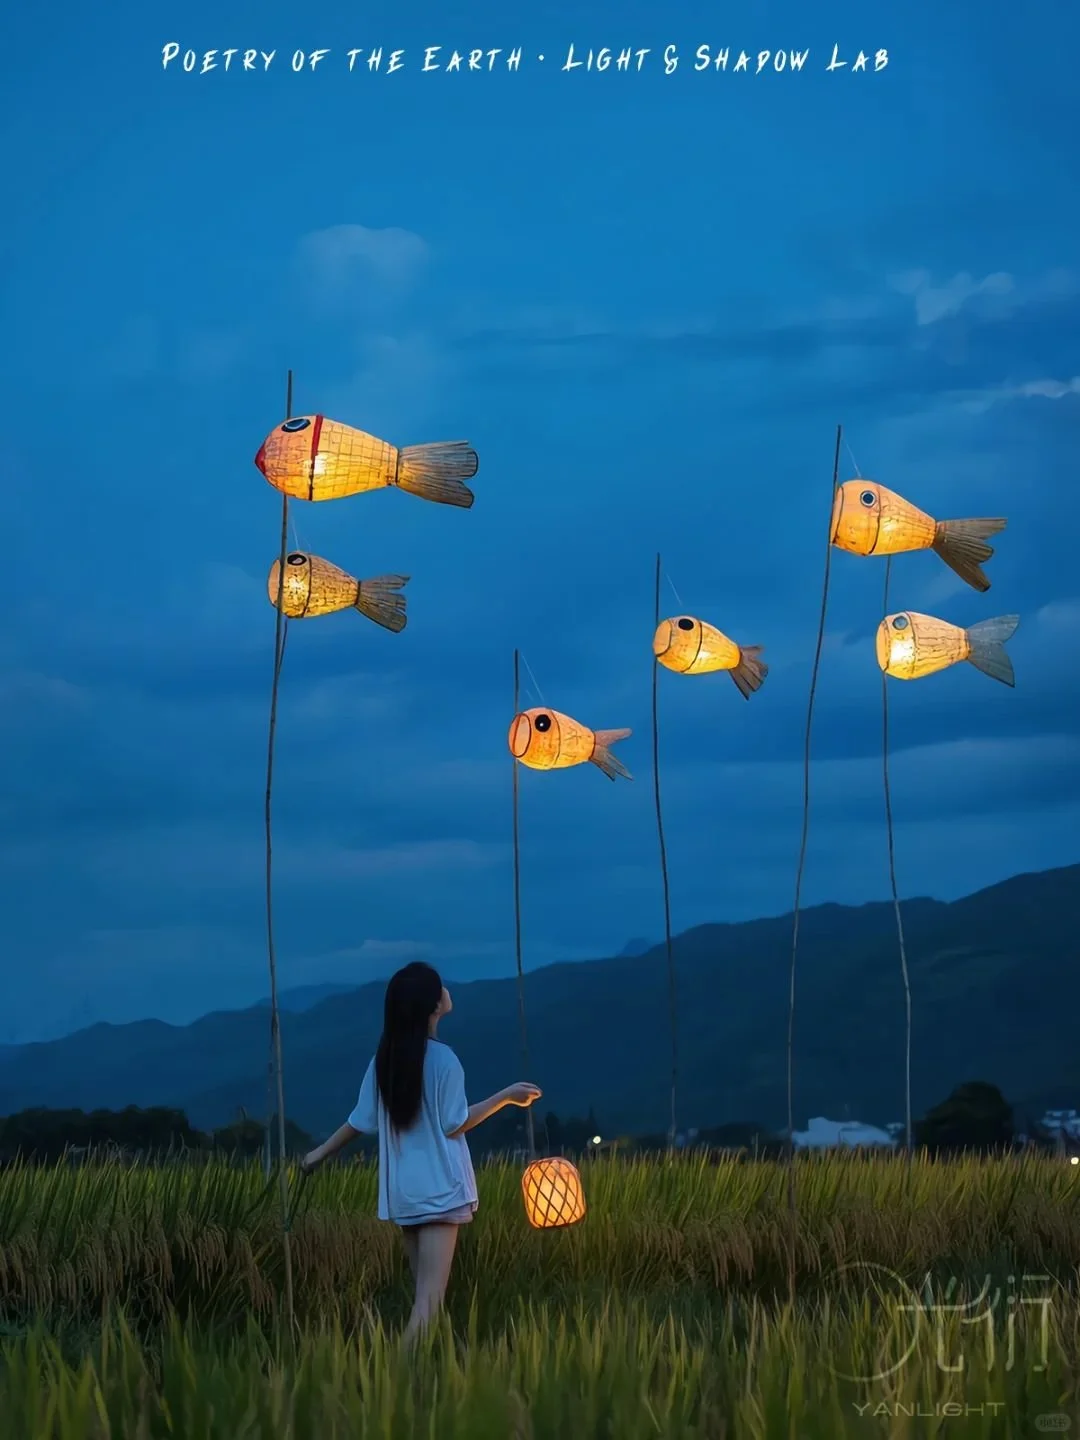
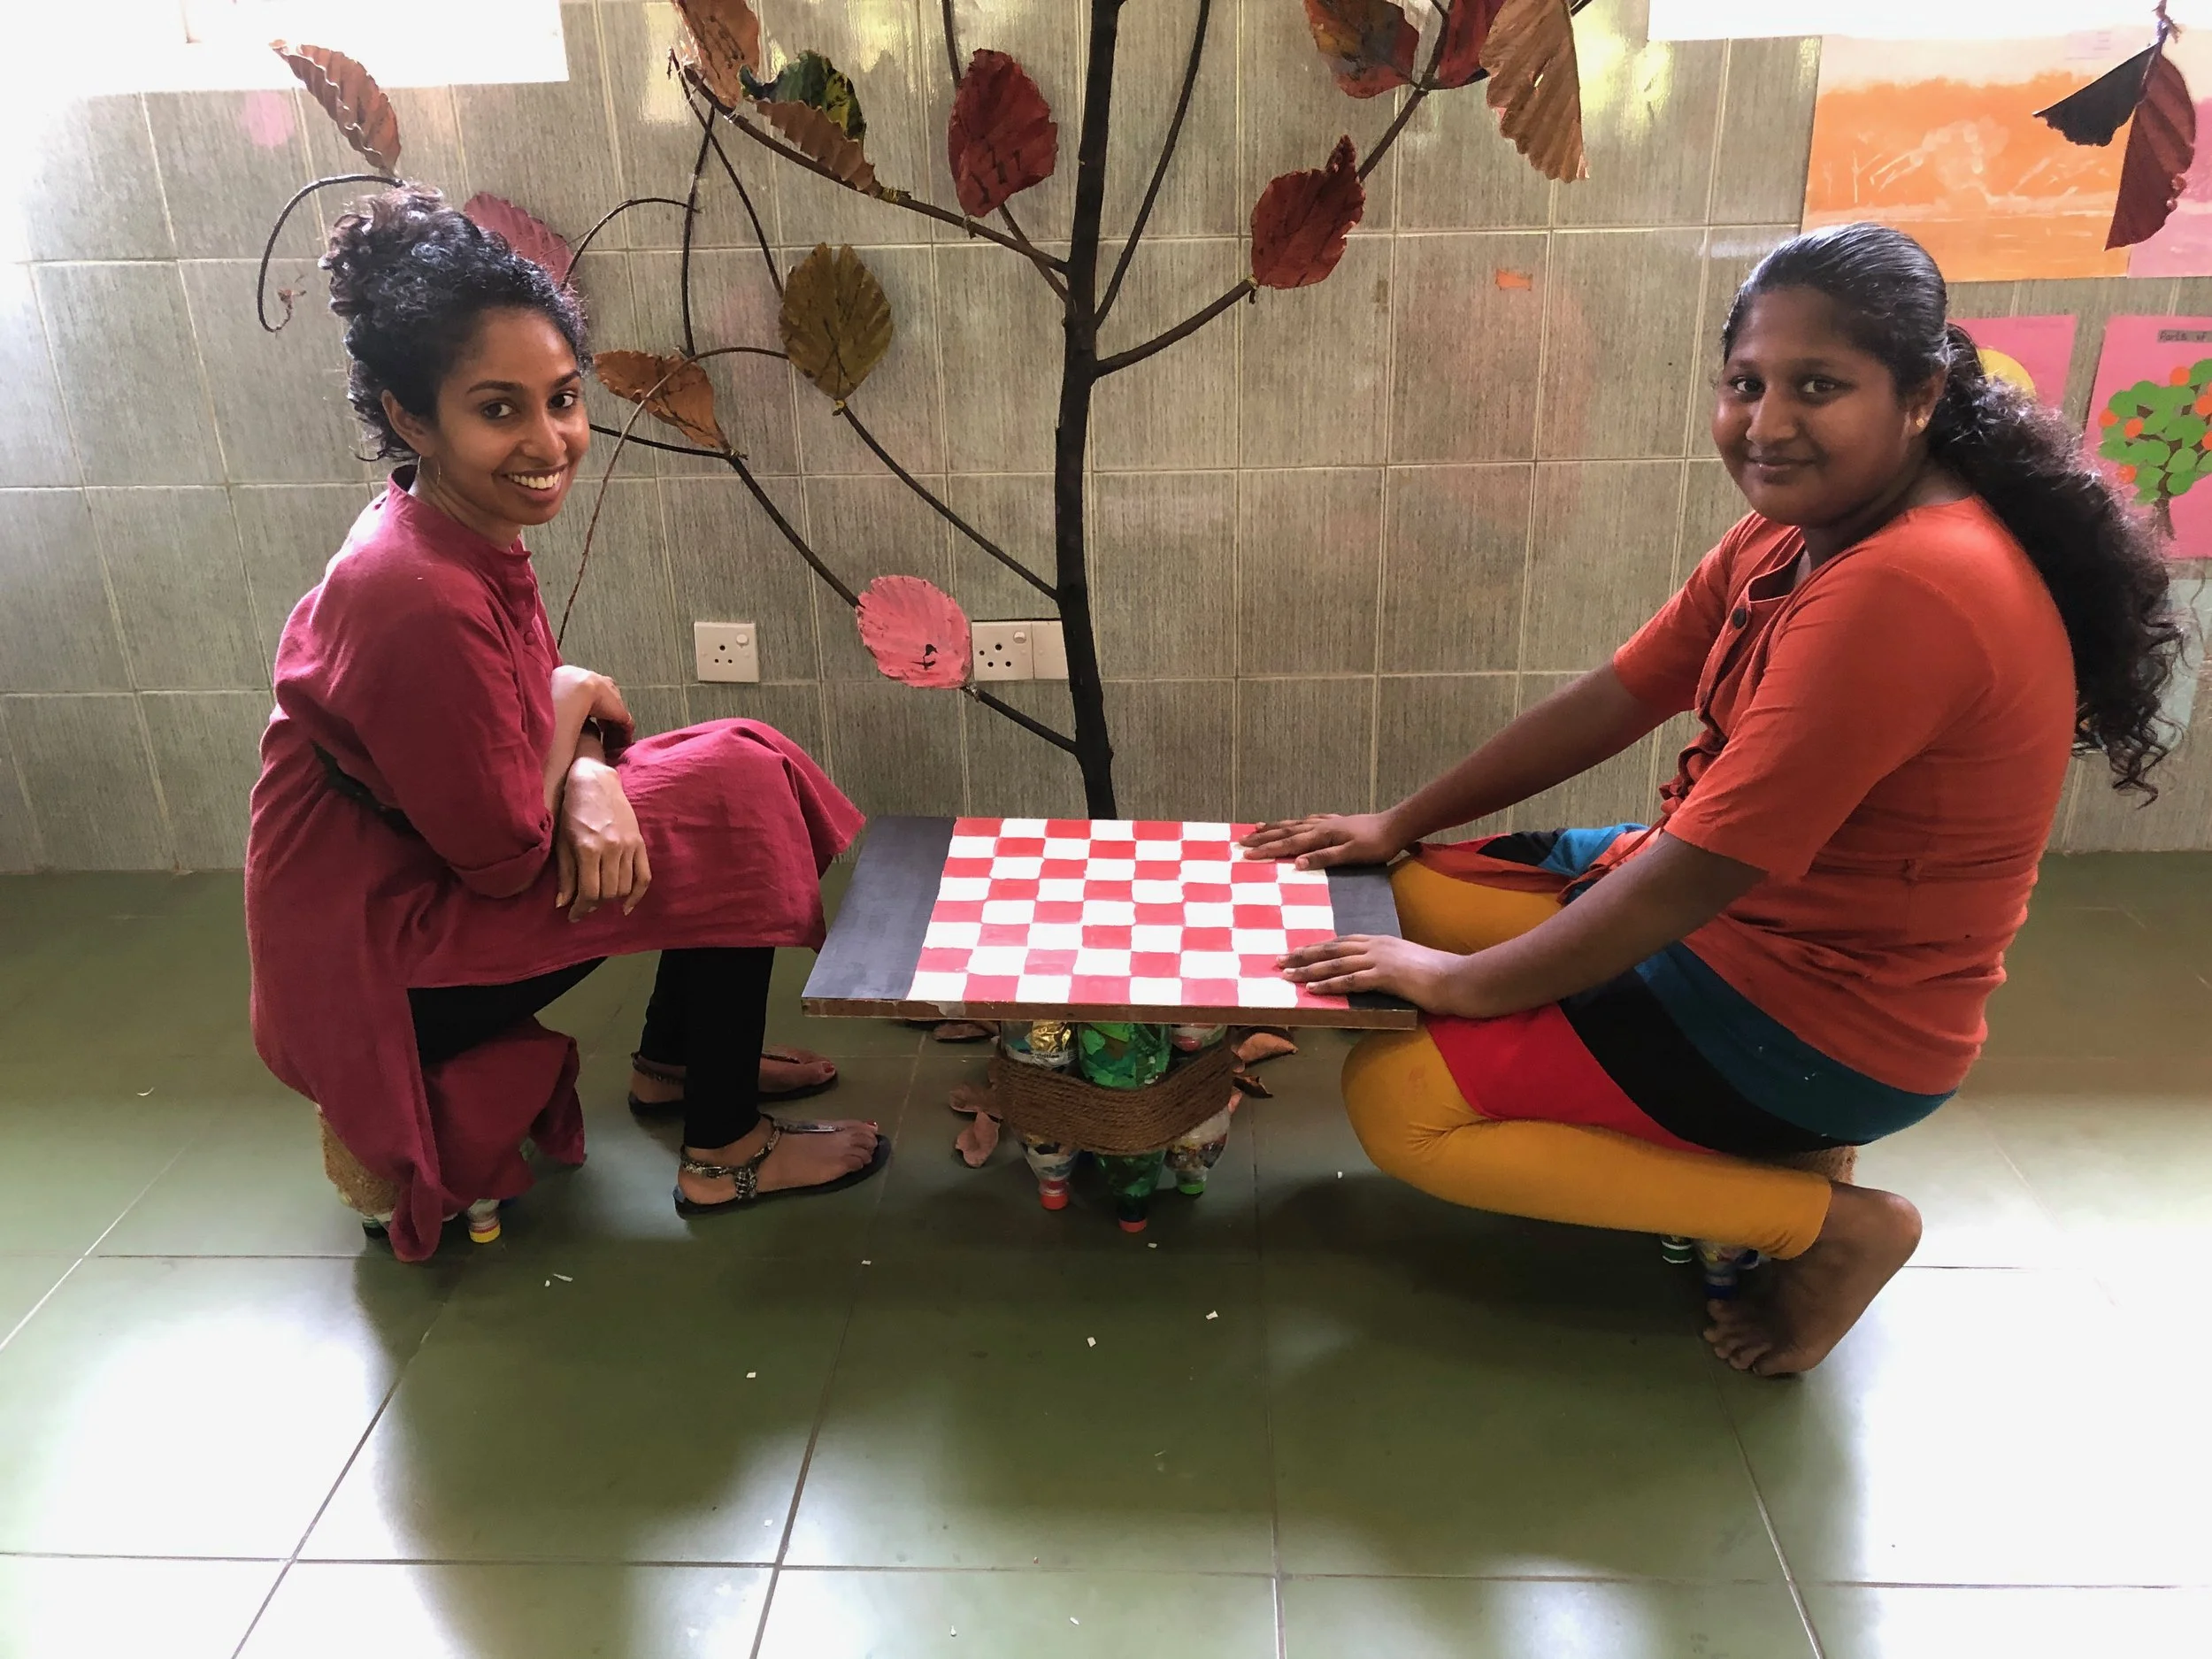
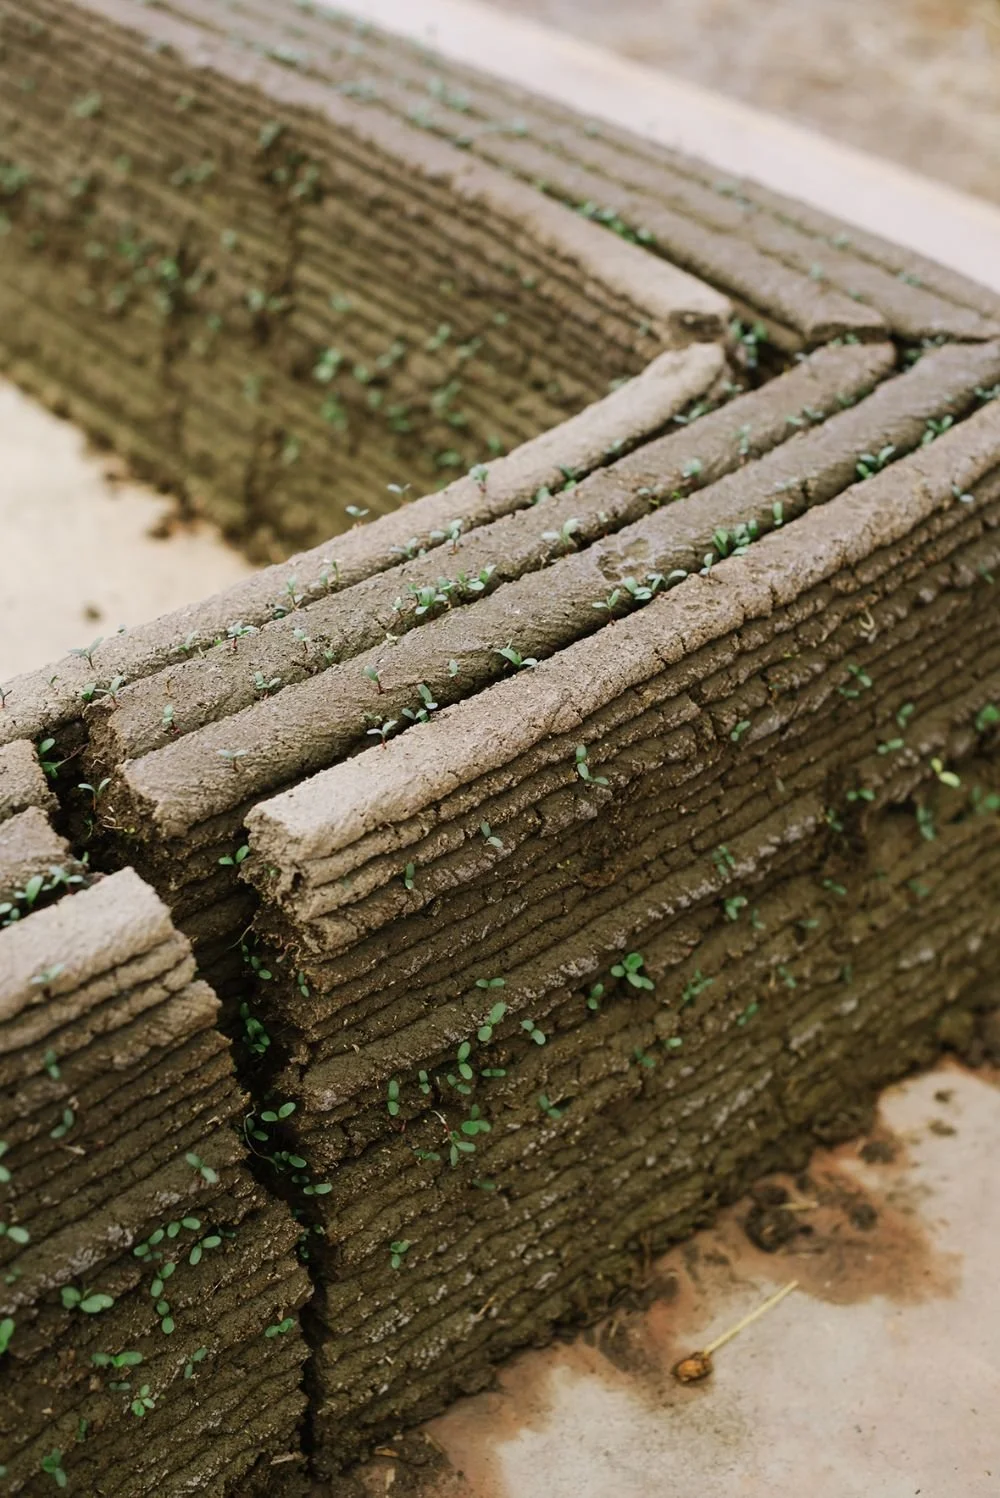
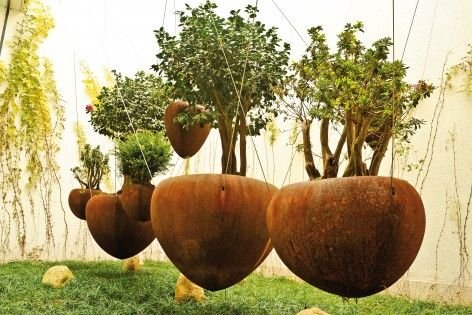
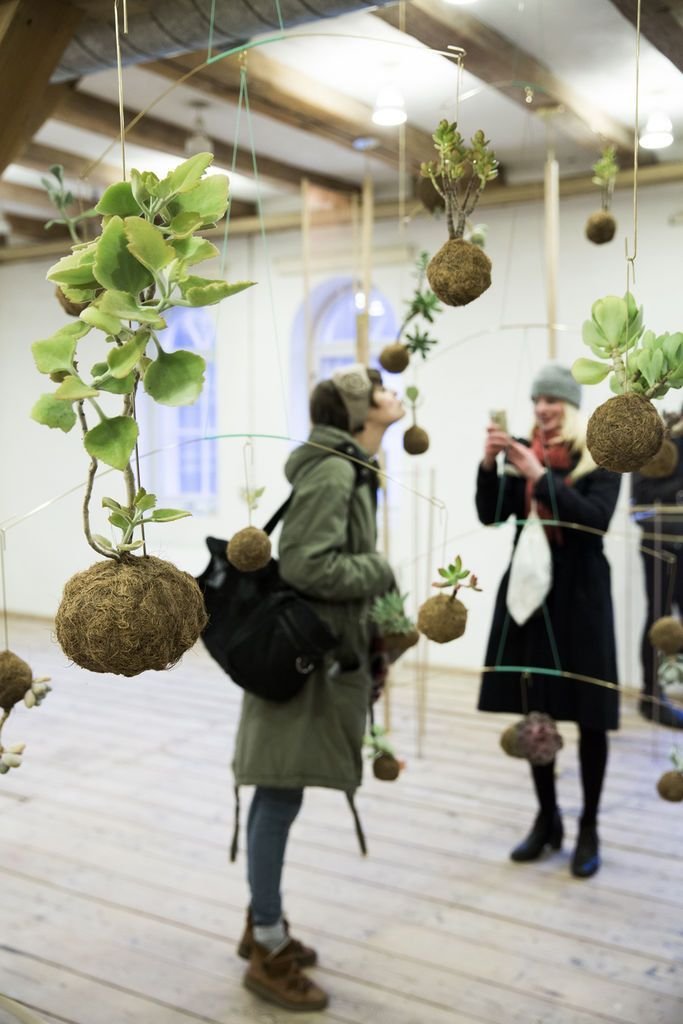
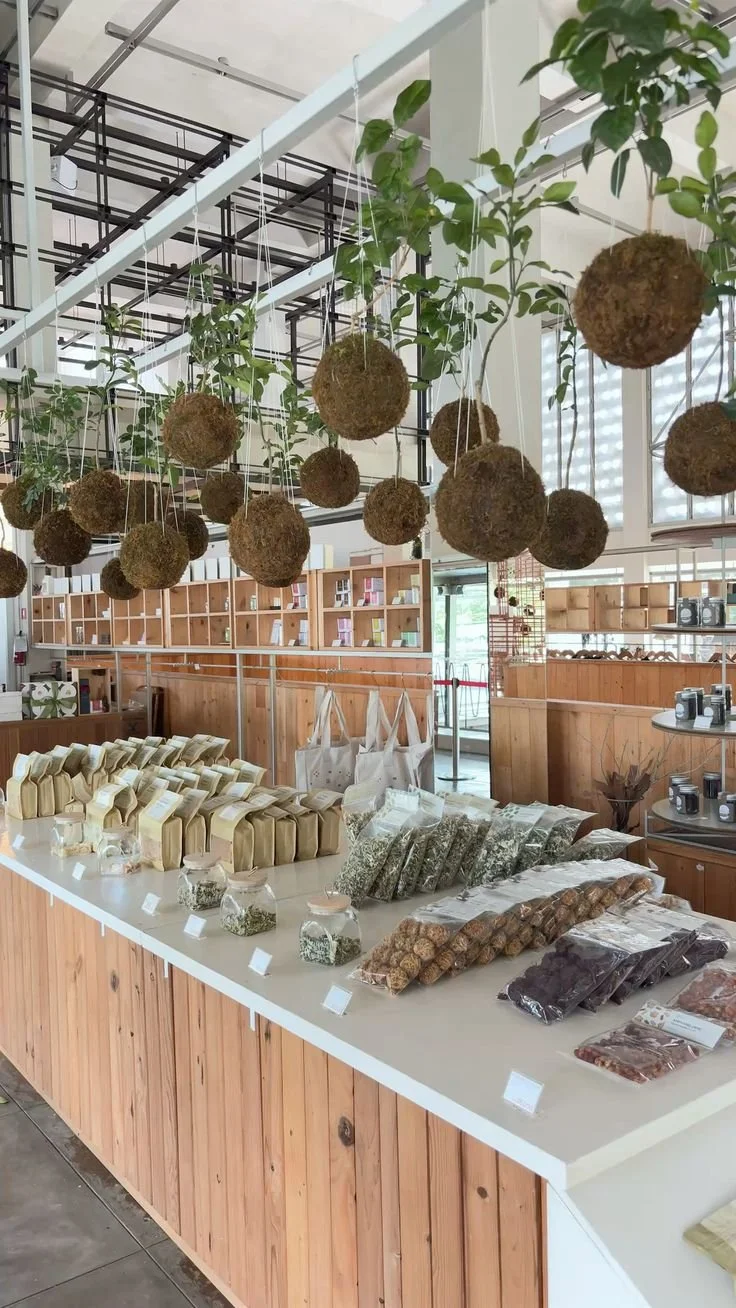
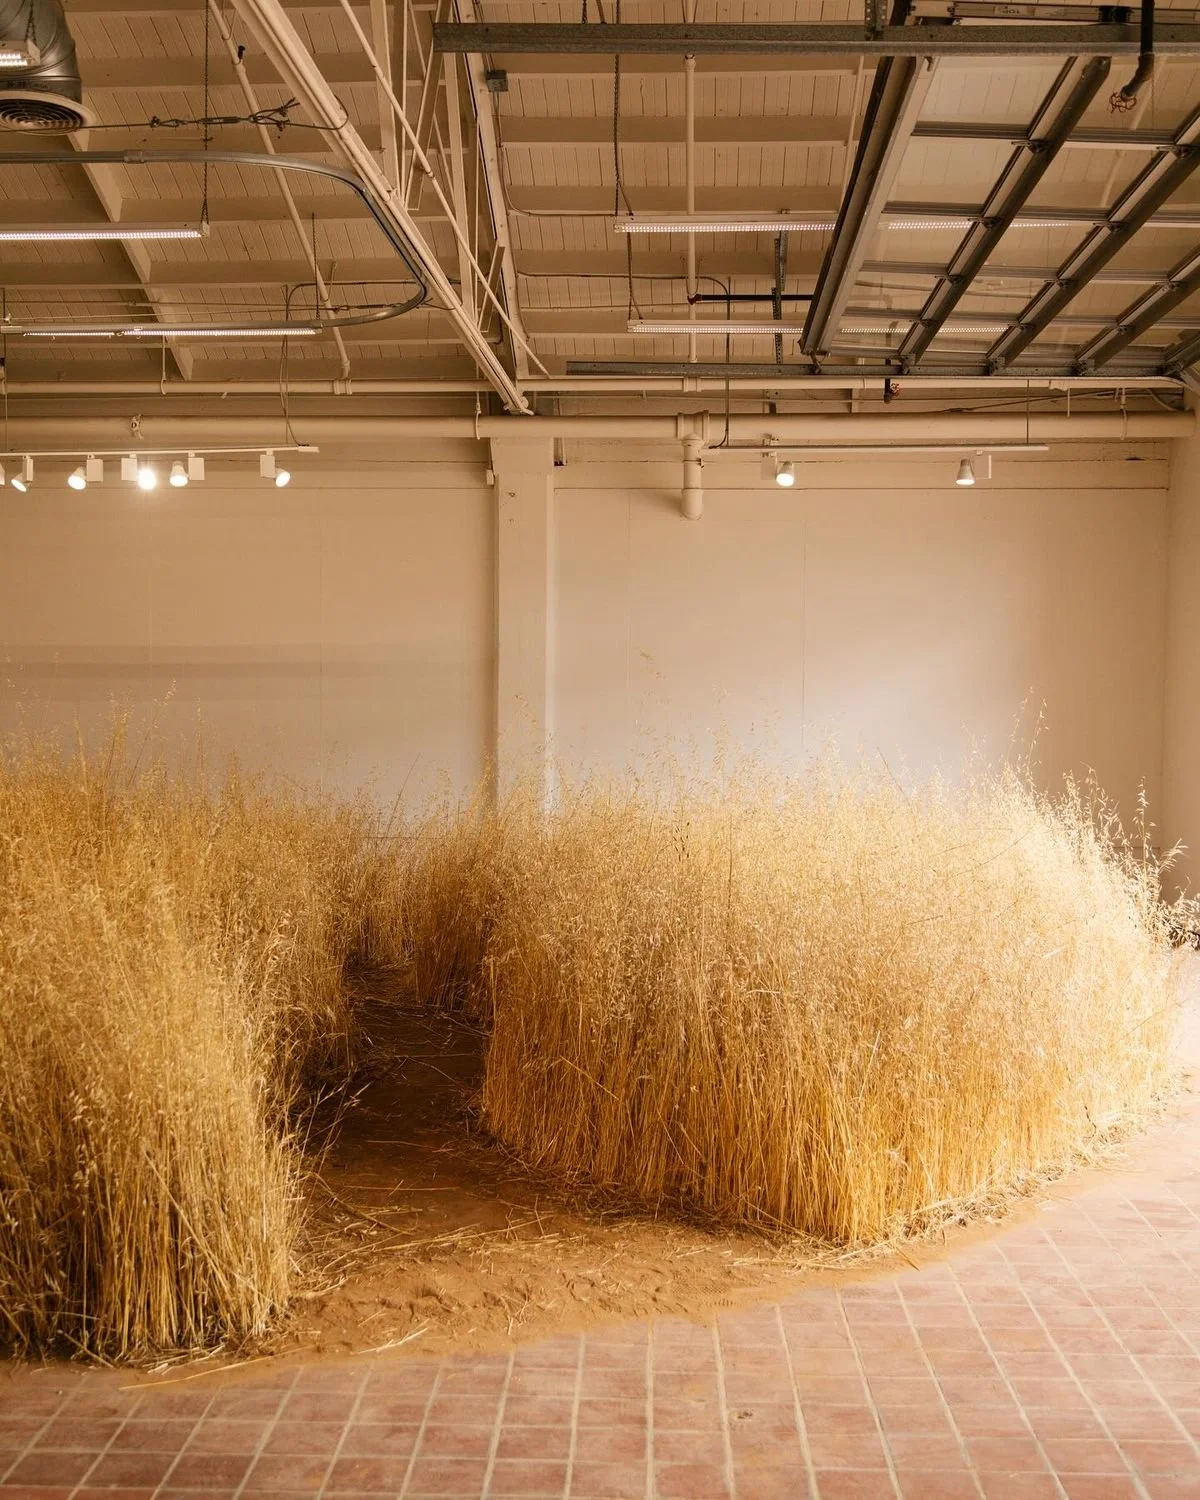
3.2 Nature / real plants
4. Cat + Bird house
5. Waterfall
6. Cozy Corner
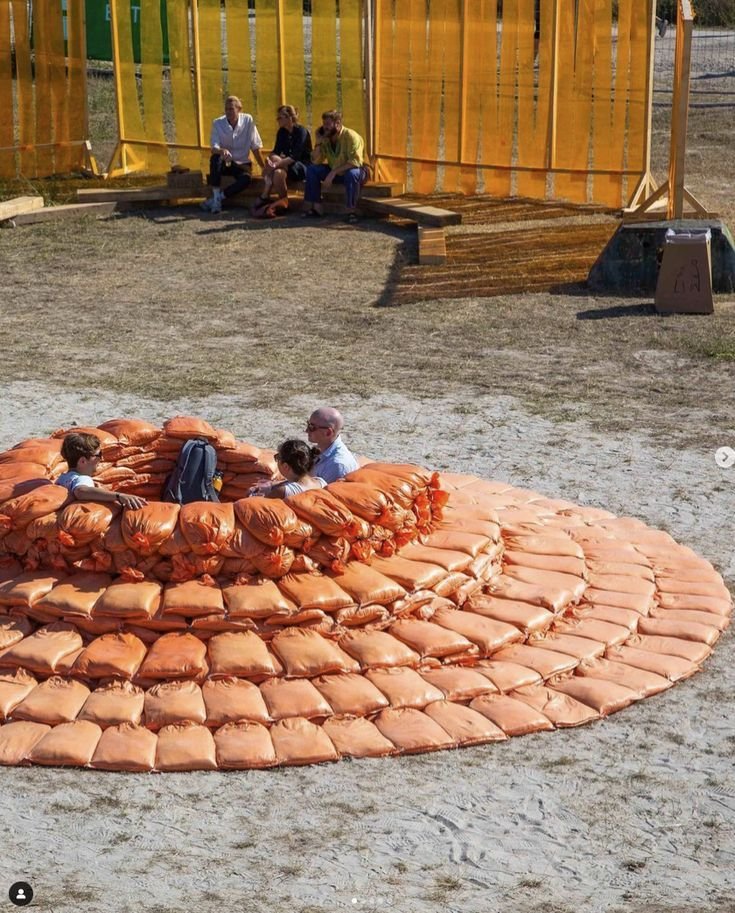
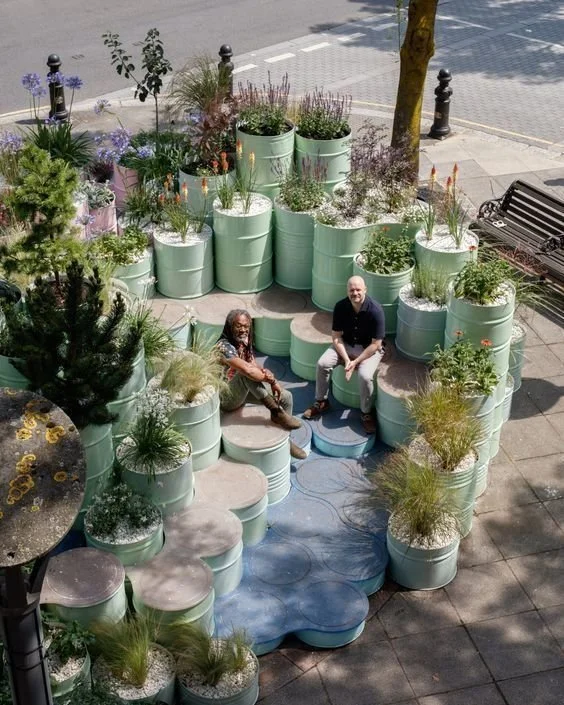
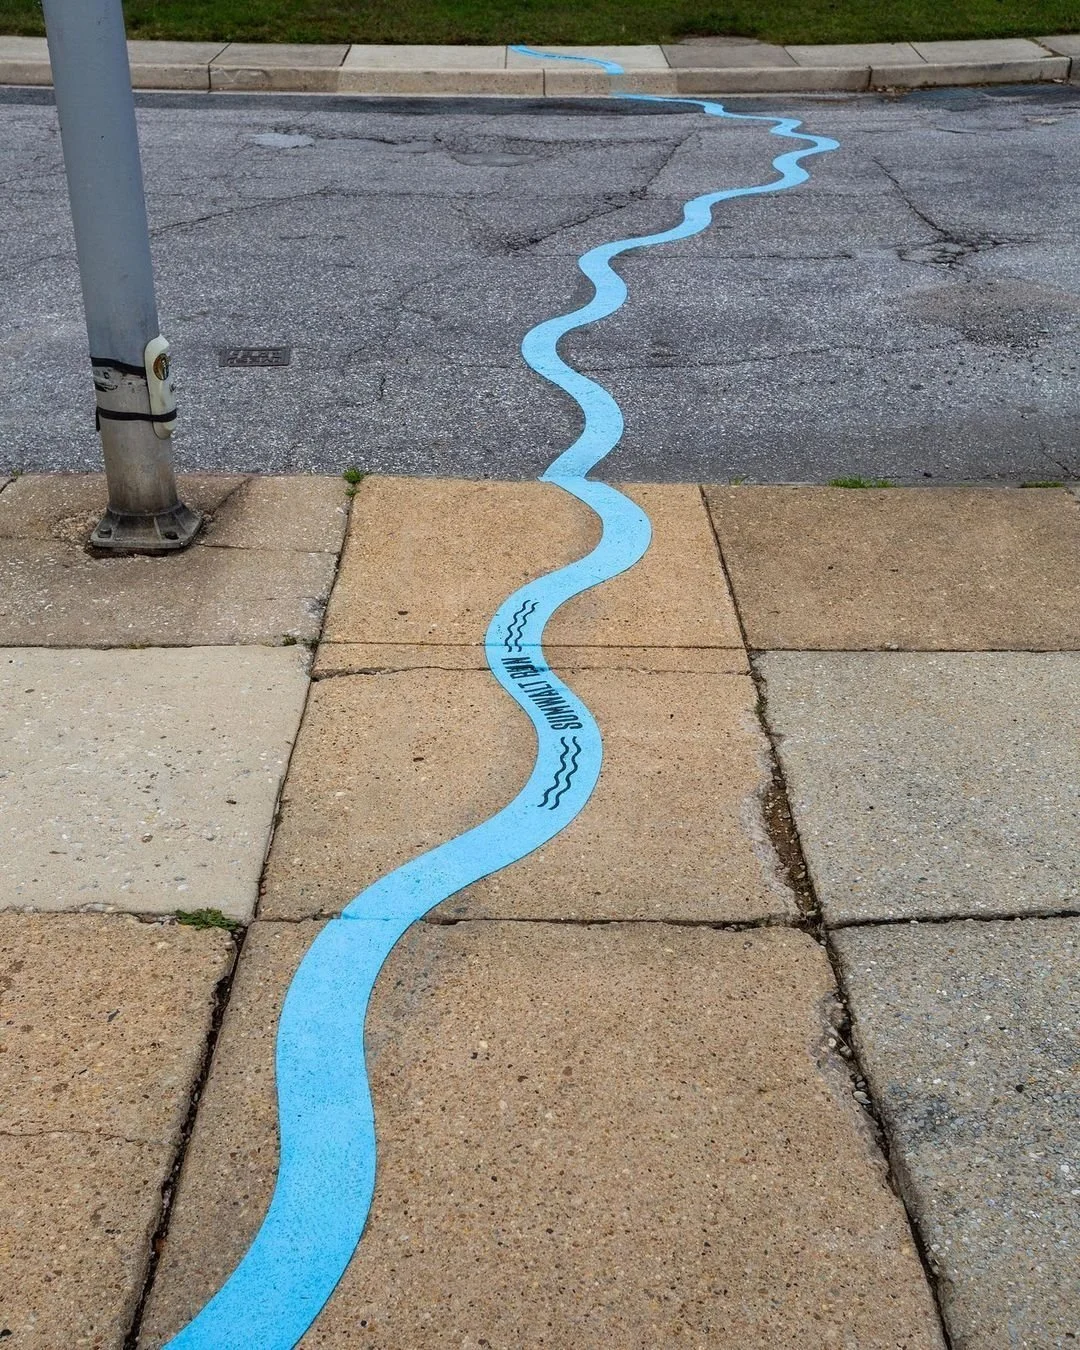
7. Sensory Carpet / Grass texture?
Fabric, dried leaves, chipboard panels, string paint are all options
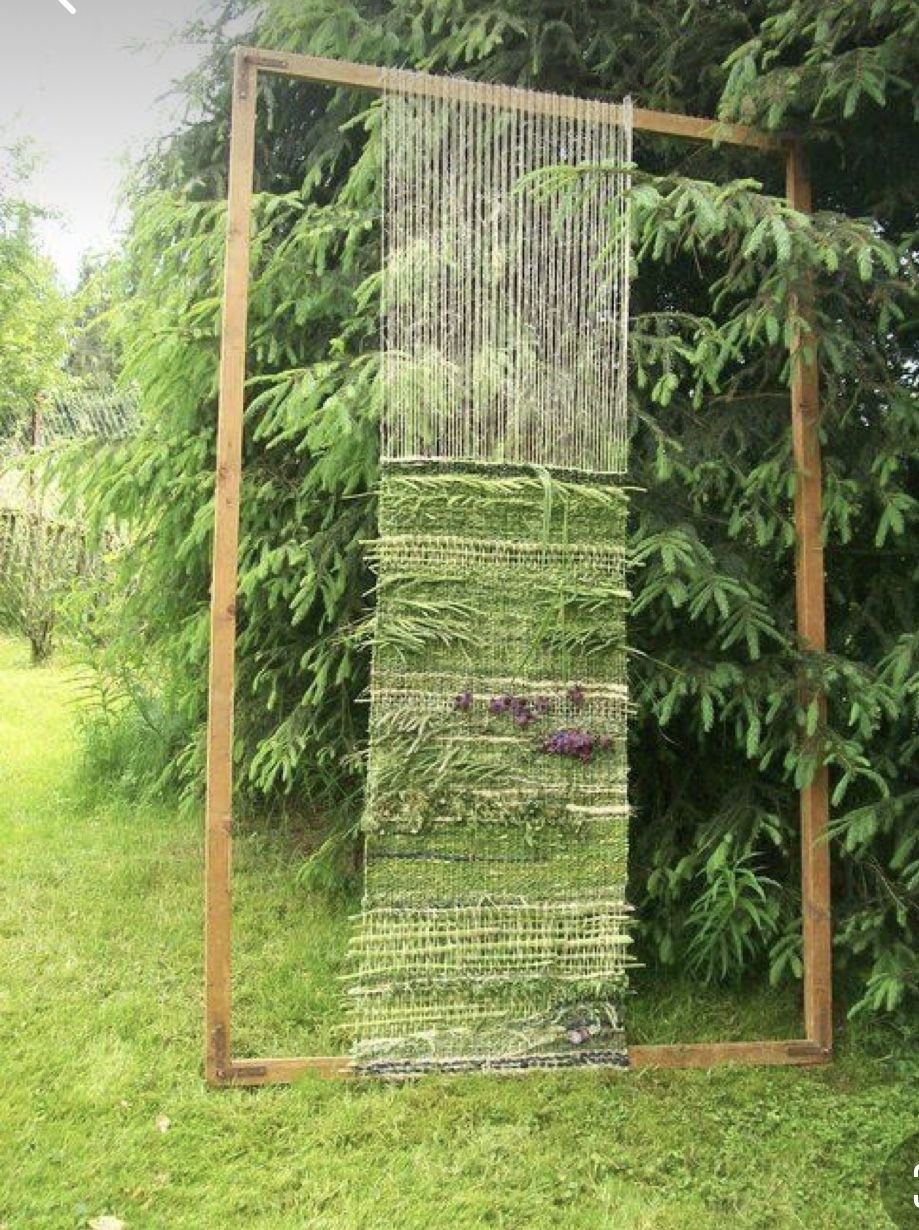
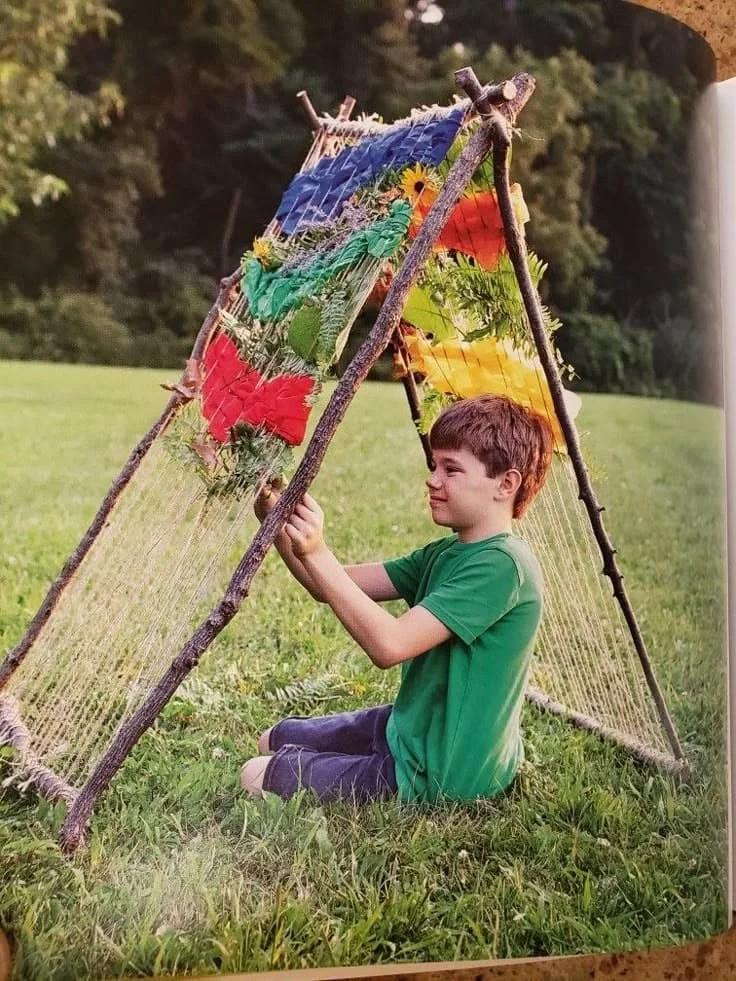
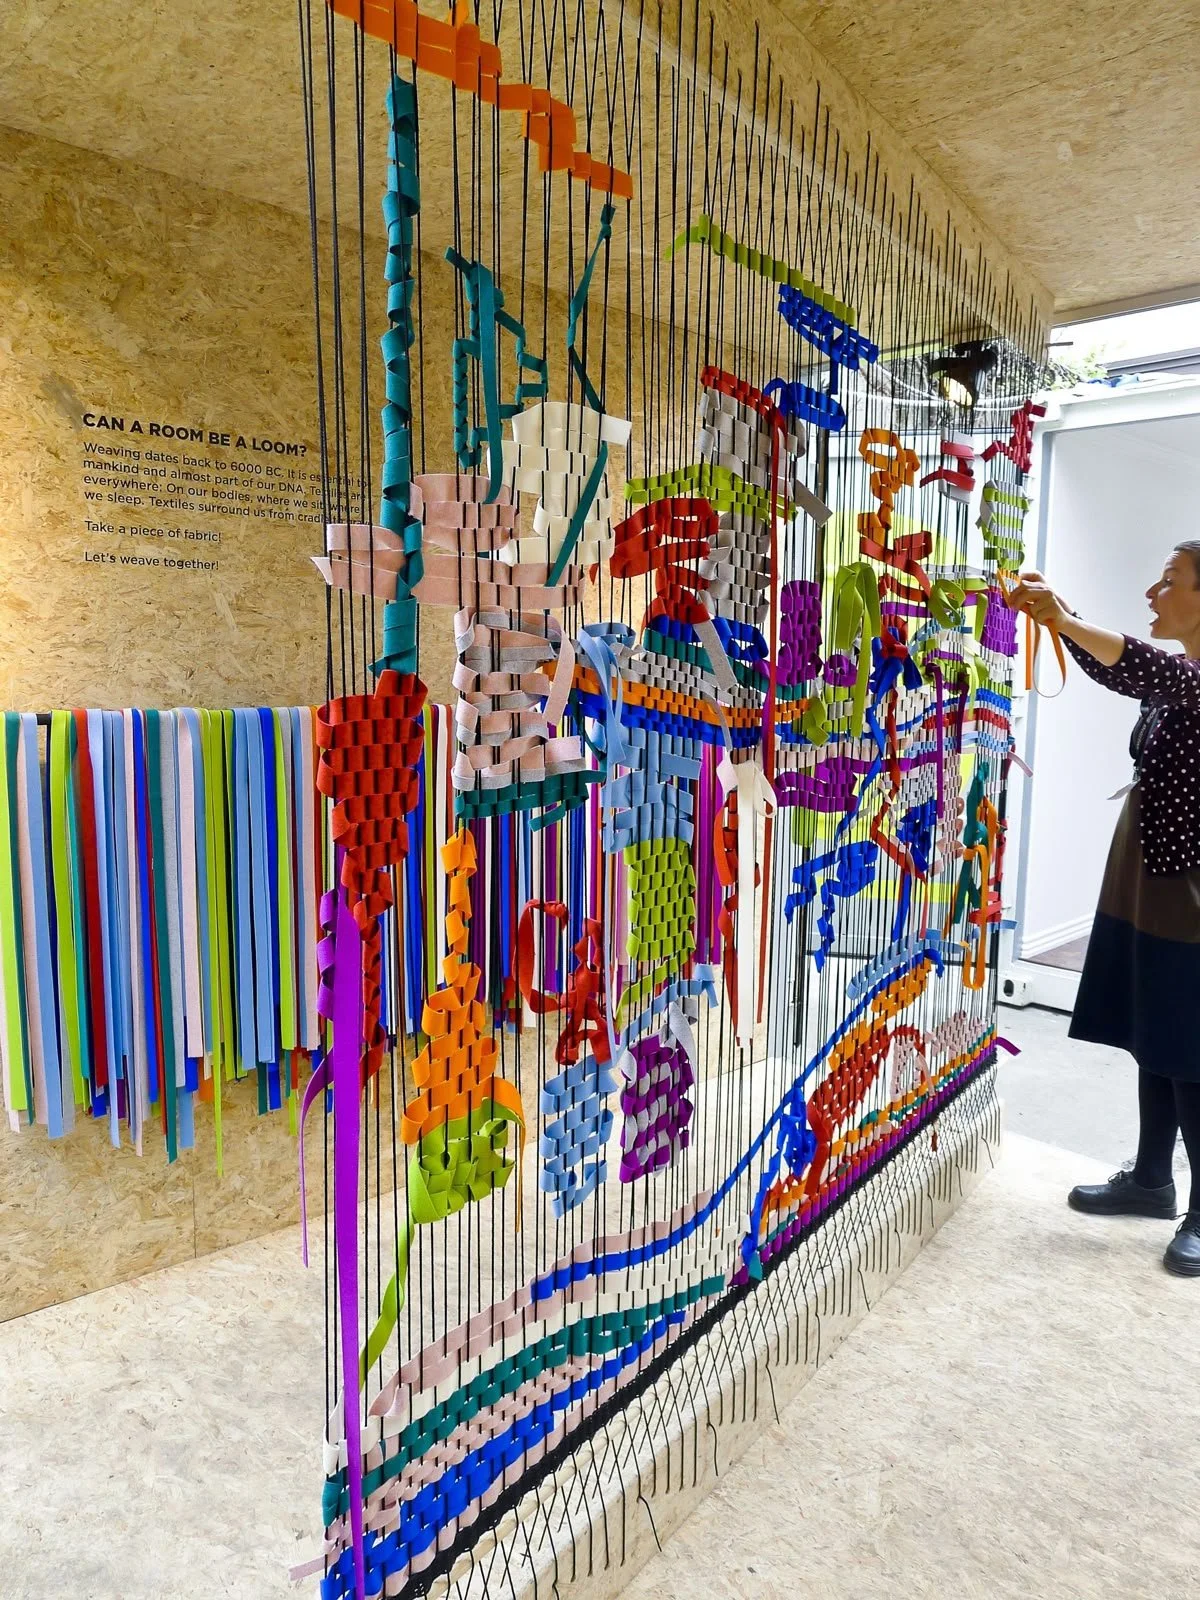
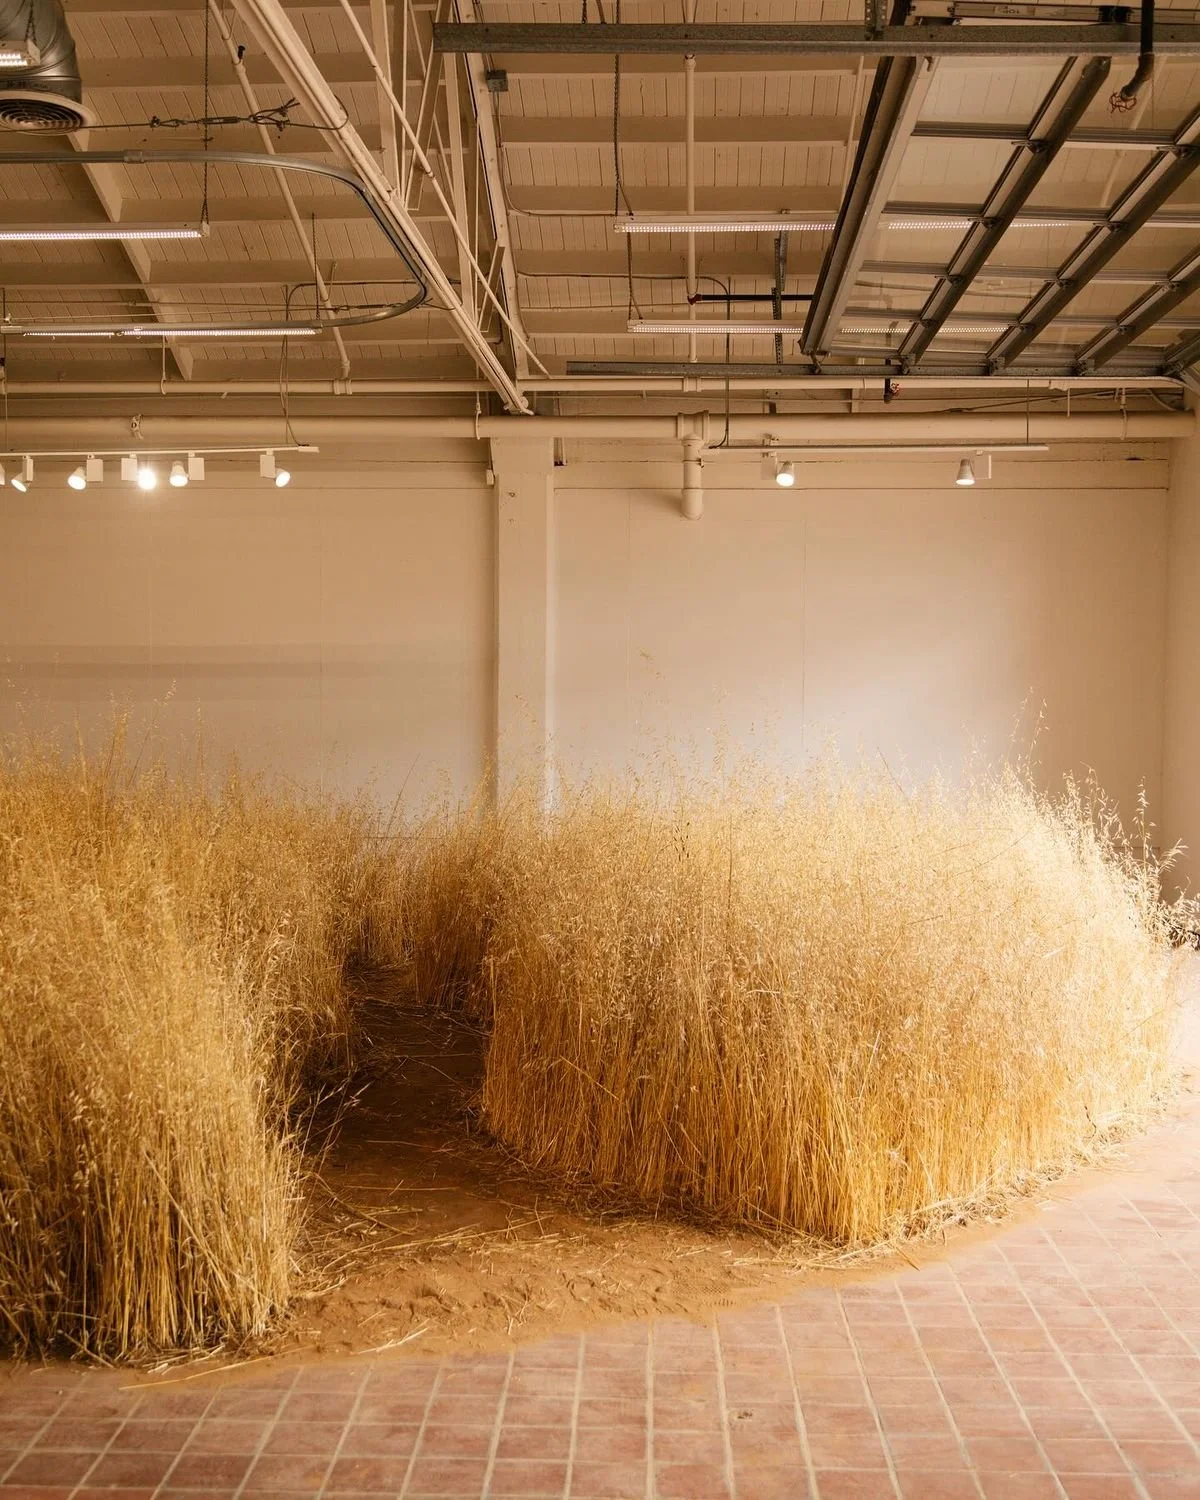
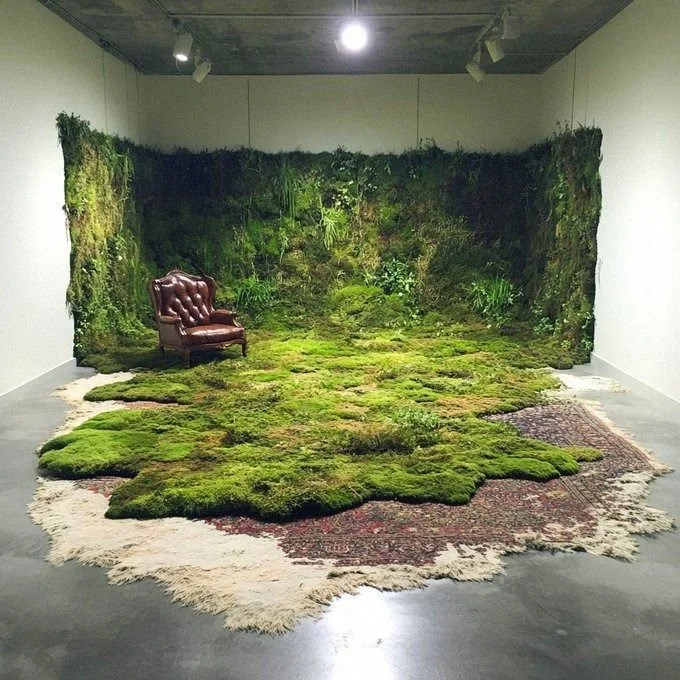
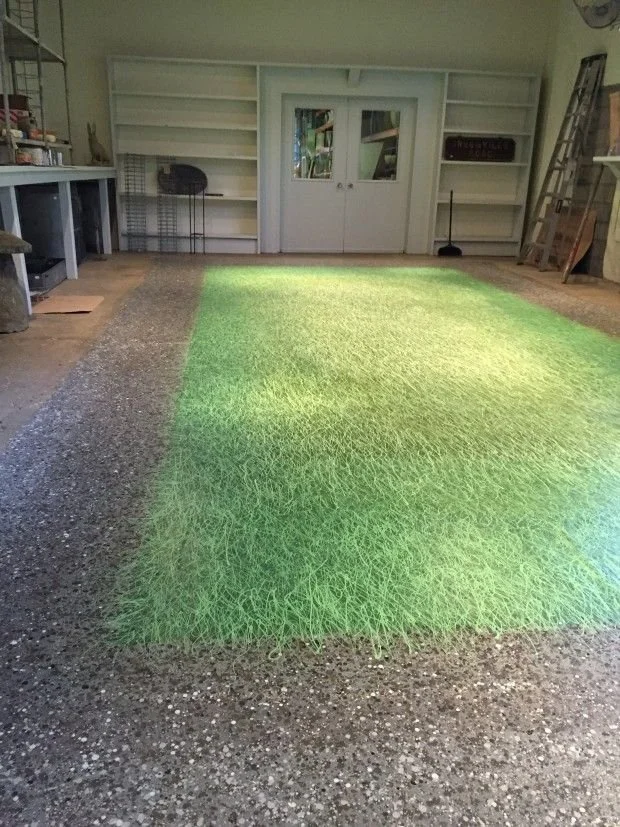
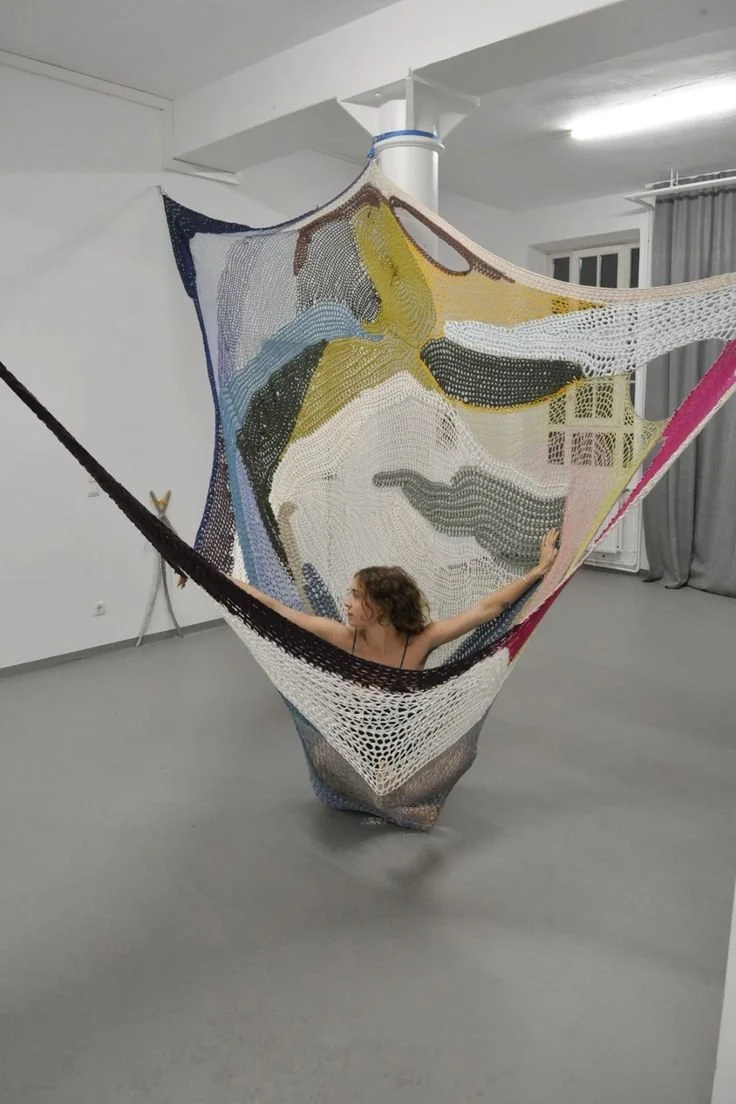
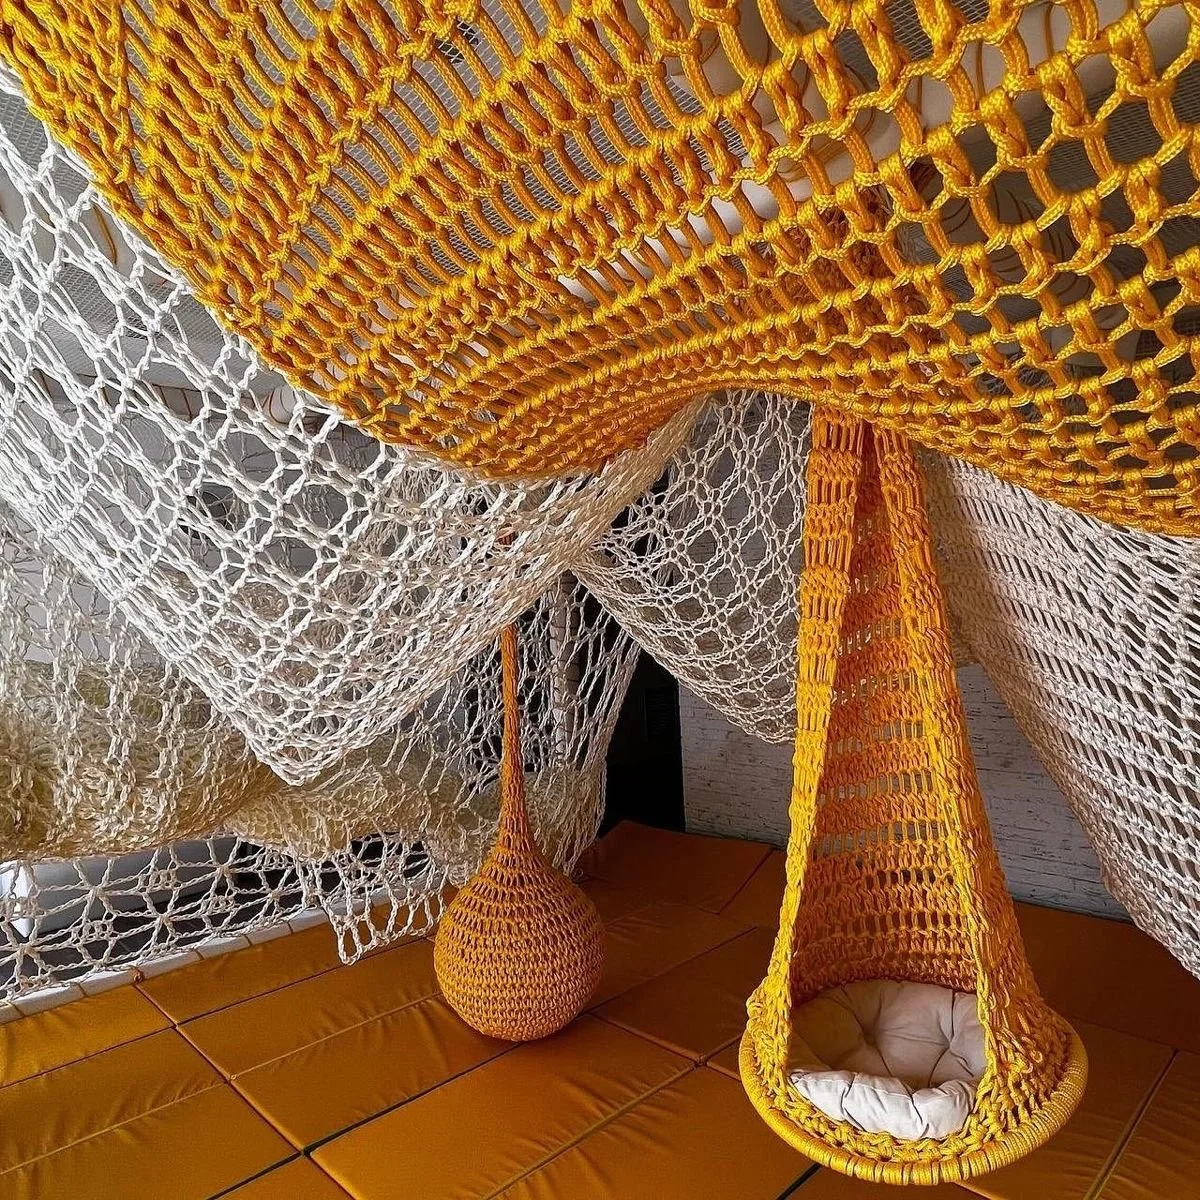
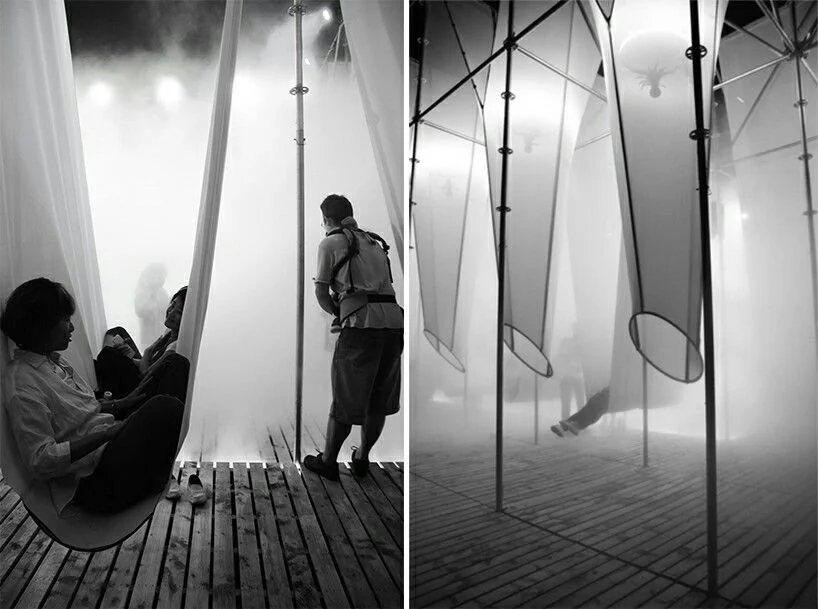
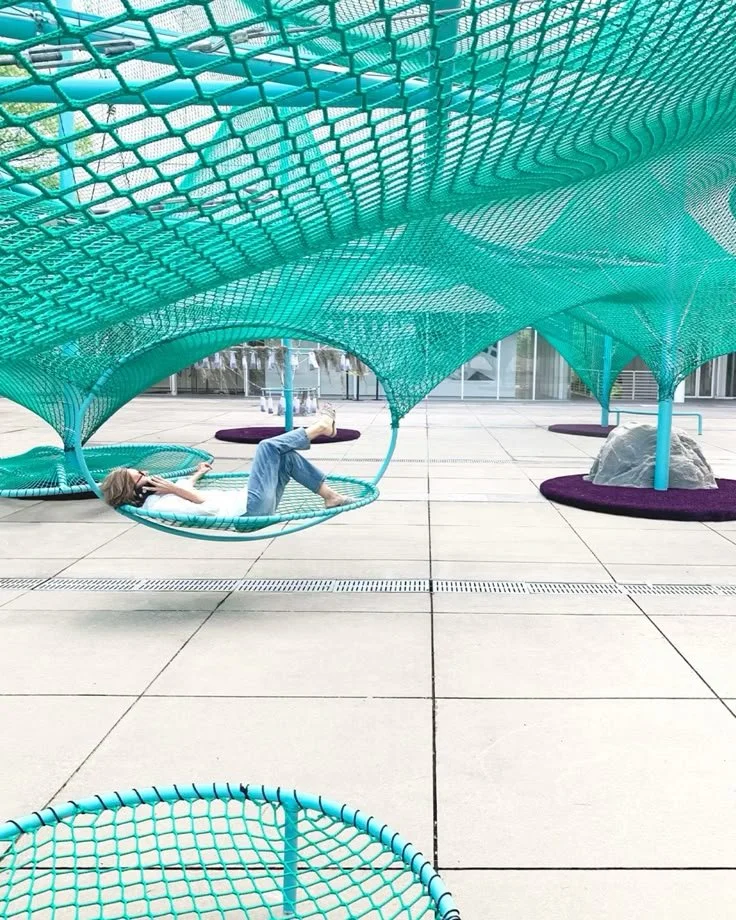
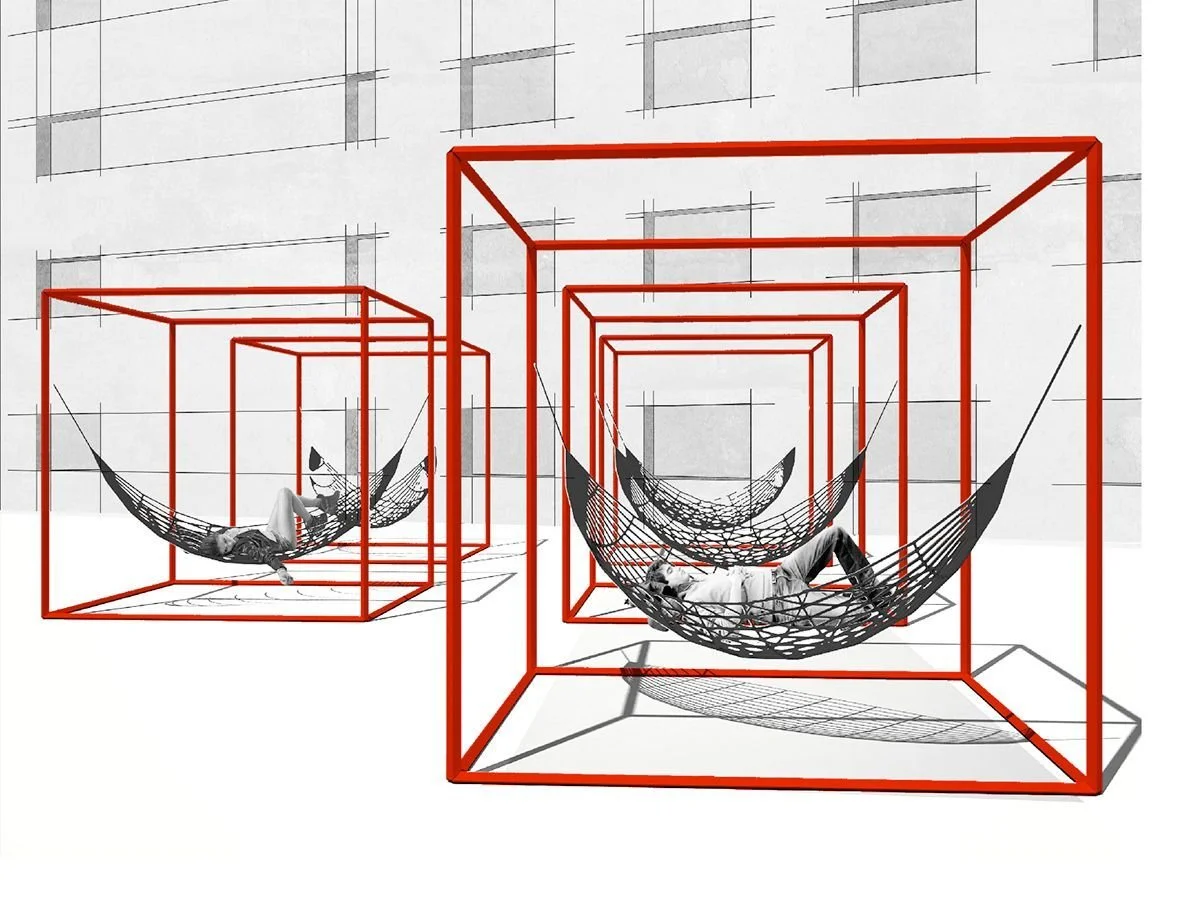
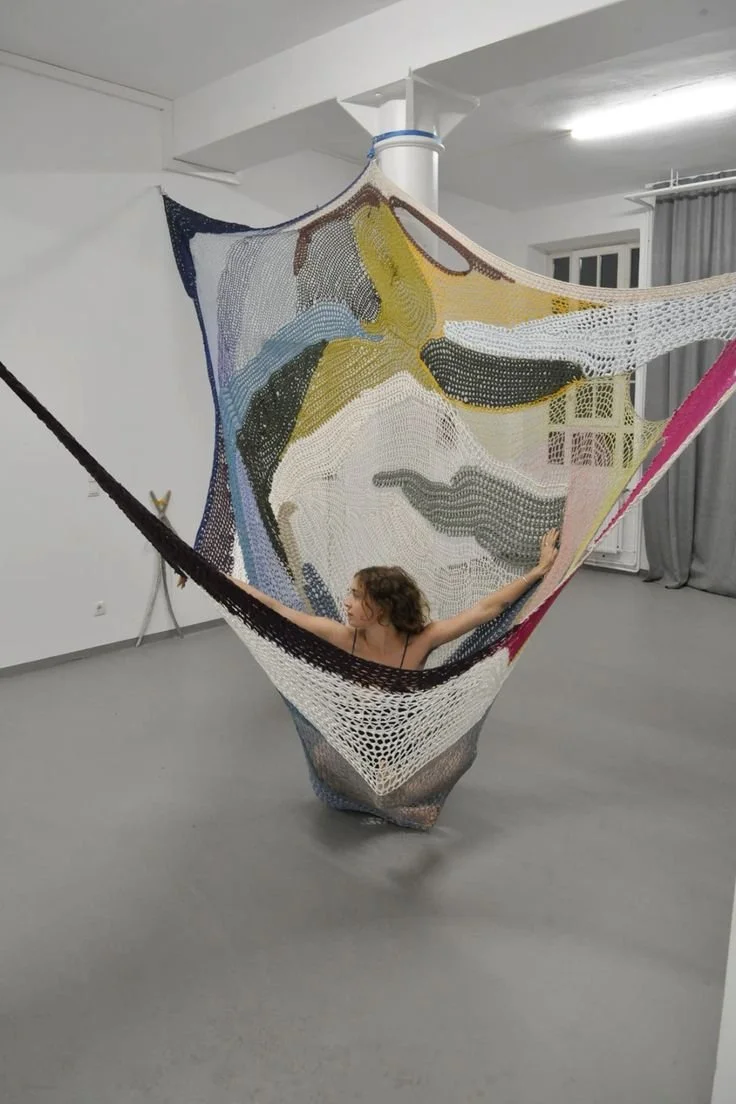
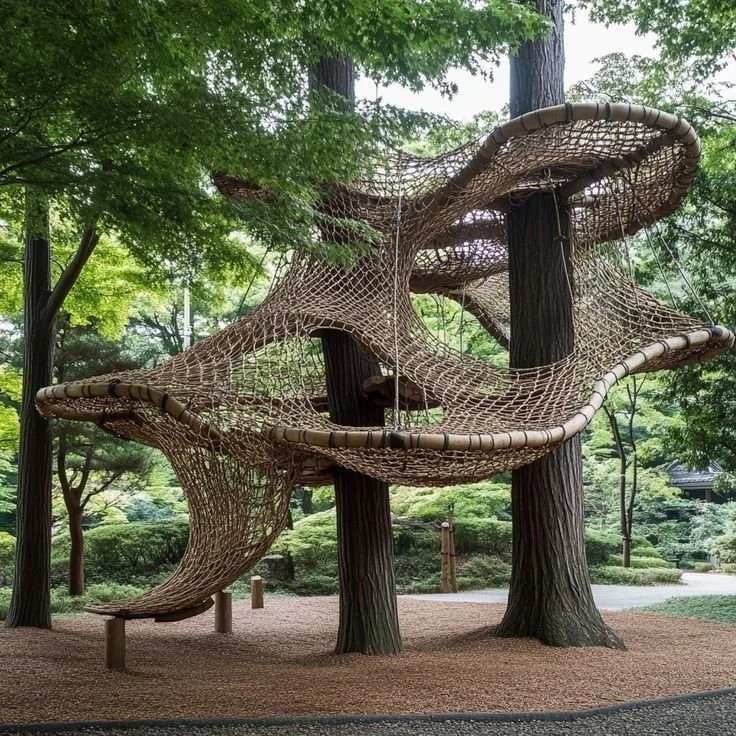
8. Weaverbird Hammock
Start small and explore rope knotting, macramé etc.
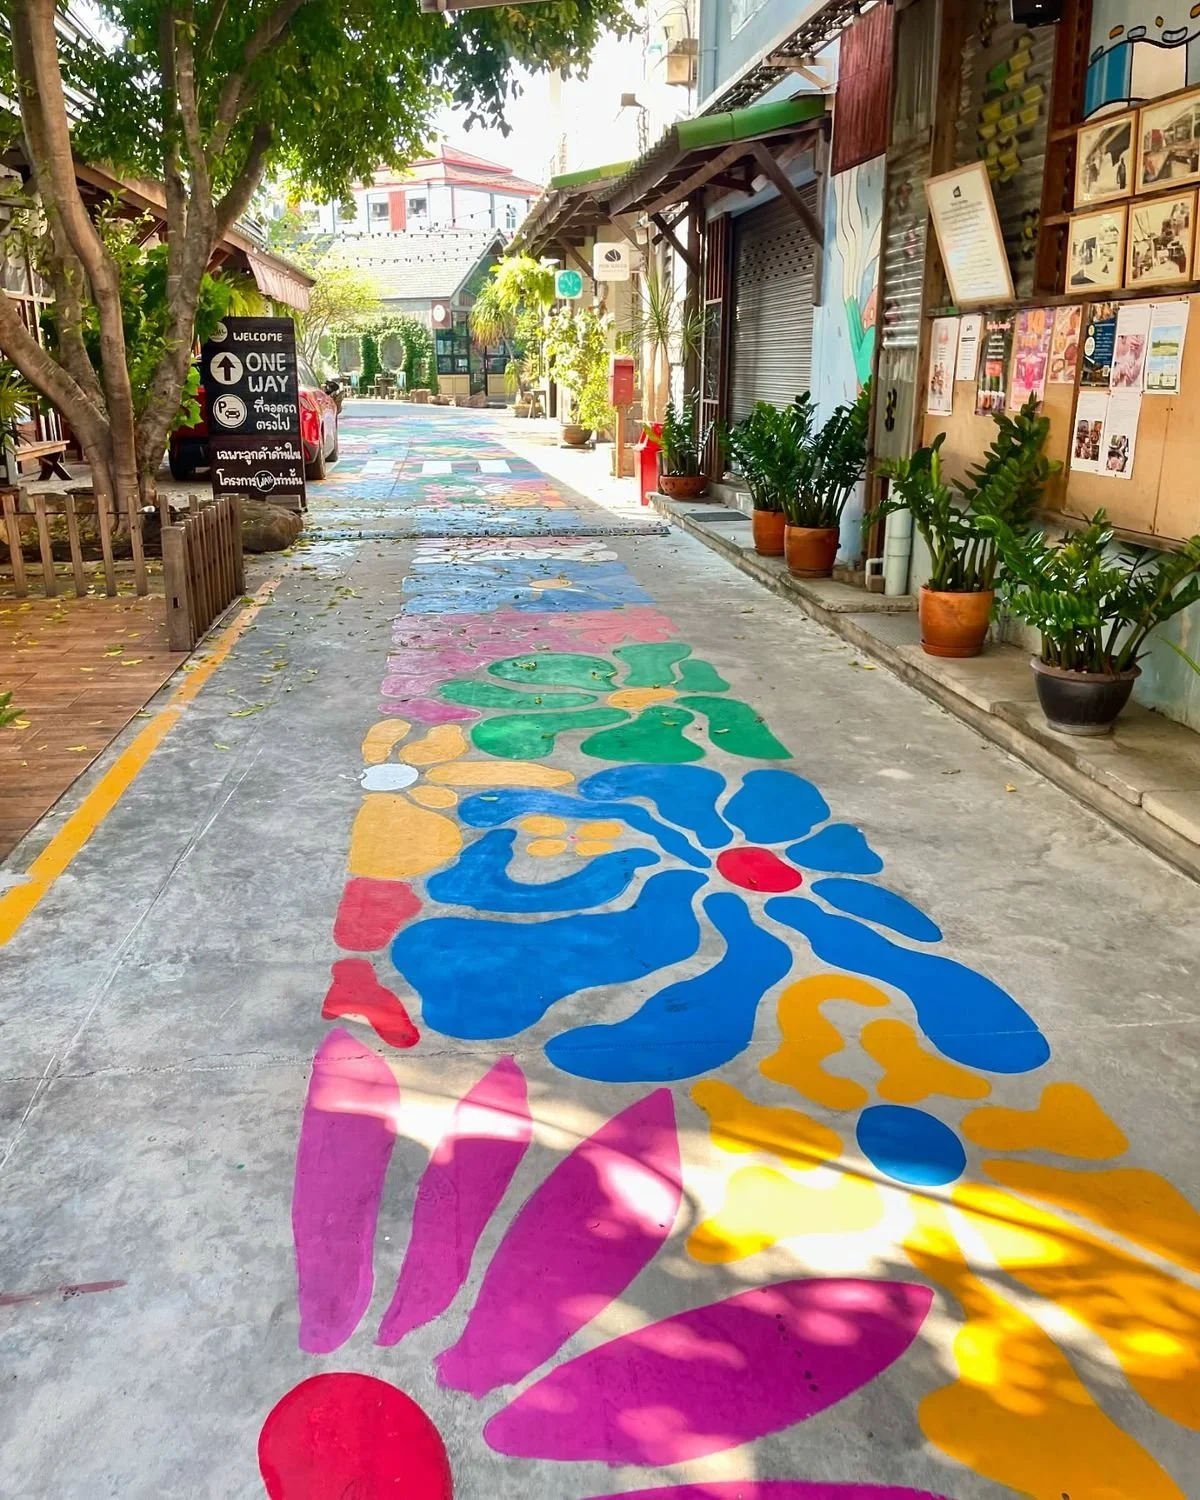
9. Mural…?
It takes a long time to paint one… so.. a workaround? Stencil? (maybe we don’t work on this during this session but discuss)
Prototype idea: combine two chipboards and paint a sample of what a section of the mural could look like at 1:1 scale
Reflection (cozy corner)
Each team shares their progress with the group. What worked, what didn’t?
What materials do we need to get for the life size prototype next week?