Title
Date:
Intro: Lorem ipsum dolor sit amet, consectetur adipiscing elit, sed do eiusmod tempor incididunt ut labore et dolore magna aliqua. In dictum non consectetur a erat nam. Porta nibh venenatis cras sed felis eget velit aliquet sagittis. Magna fringilla urna porttitor rhoncus dolor purus non. Cras sed felis eget velit aliquet sagittis id consectetur purus.


Step 1:
Step 2:
Step 3:
Step 4:
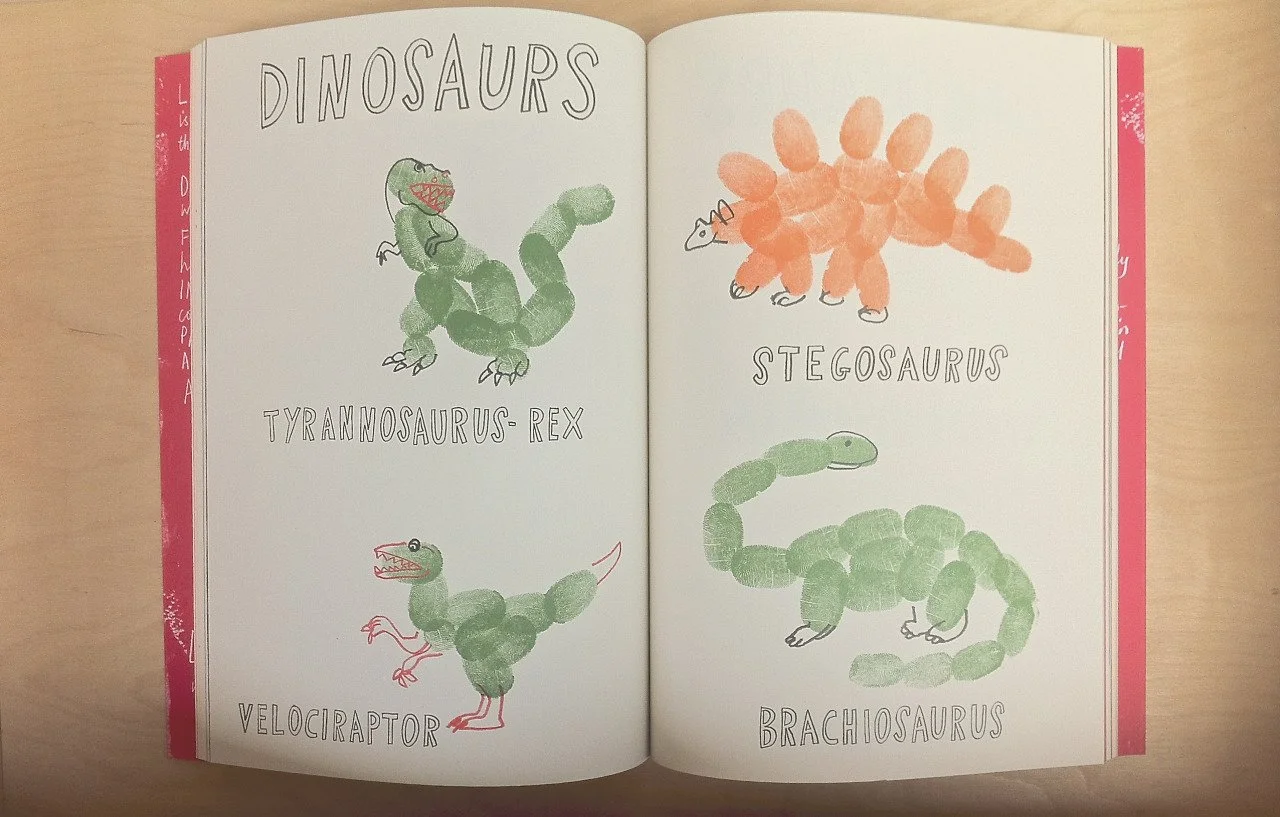
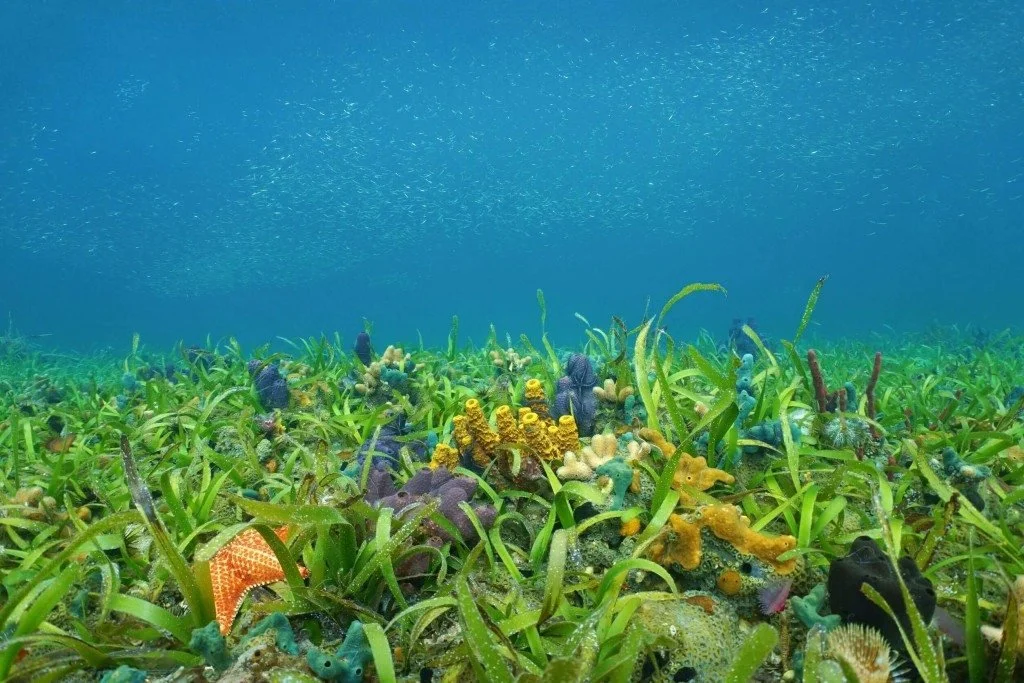
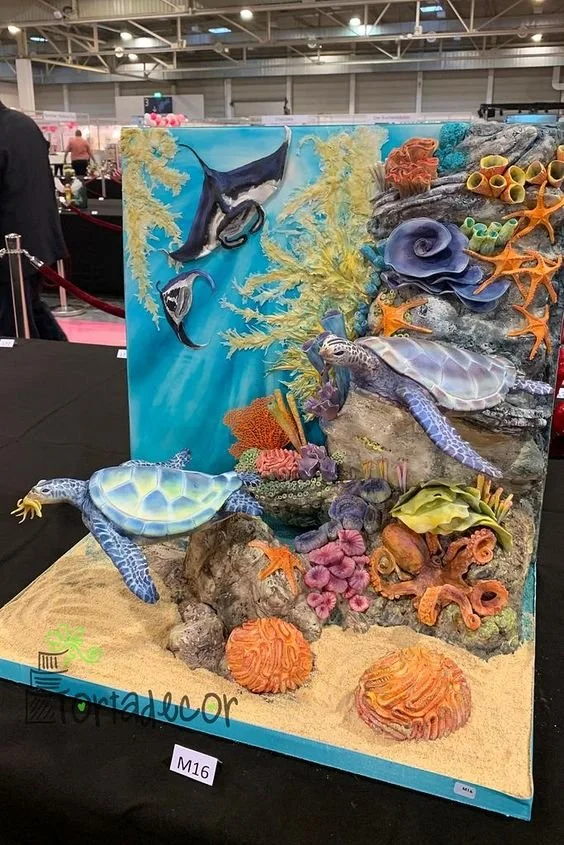
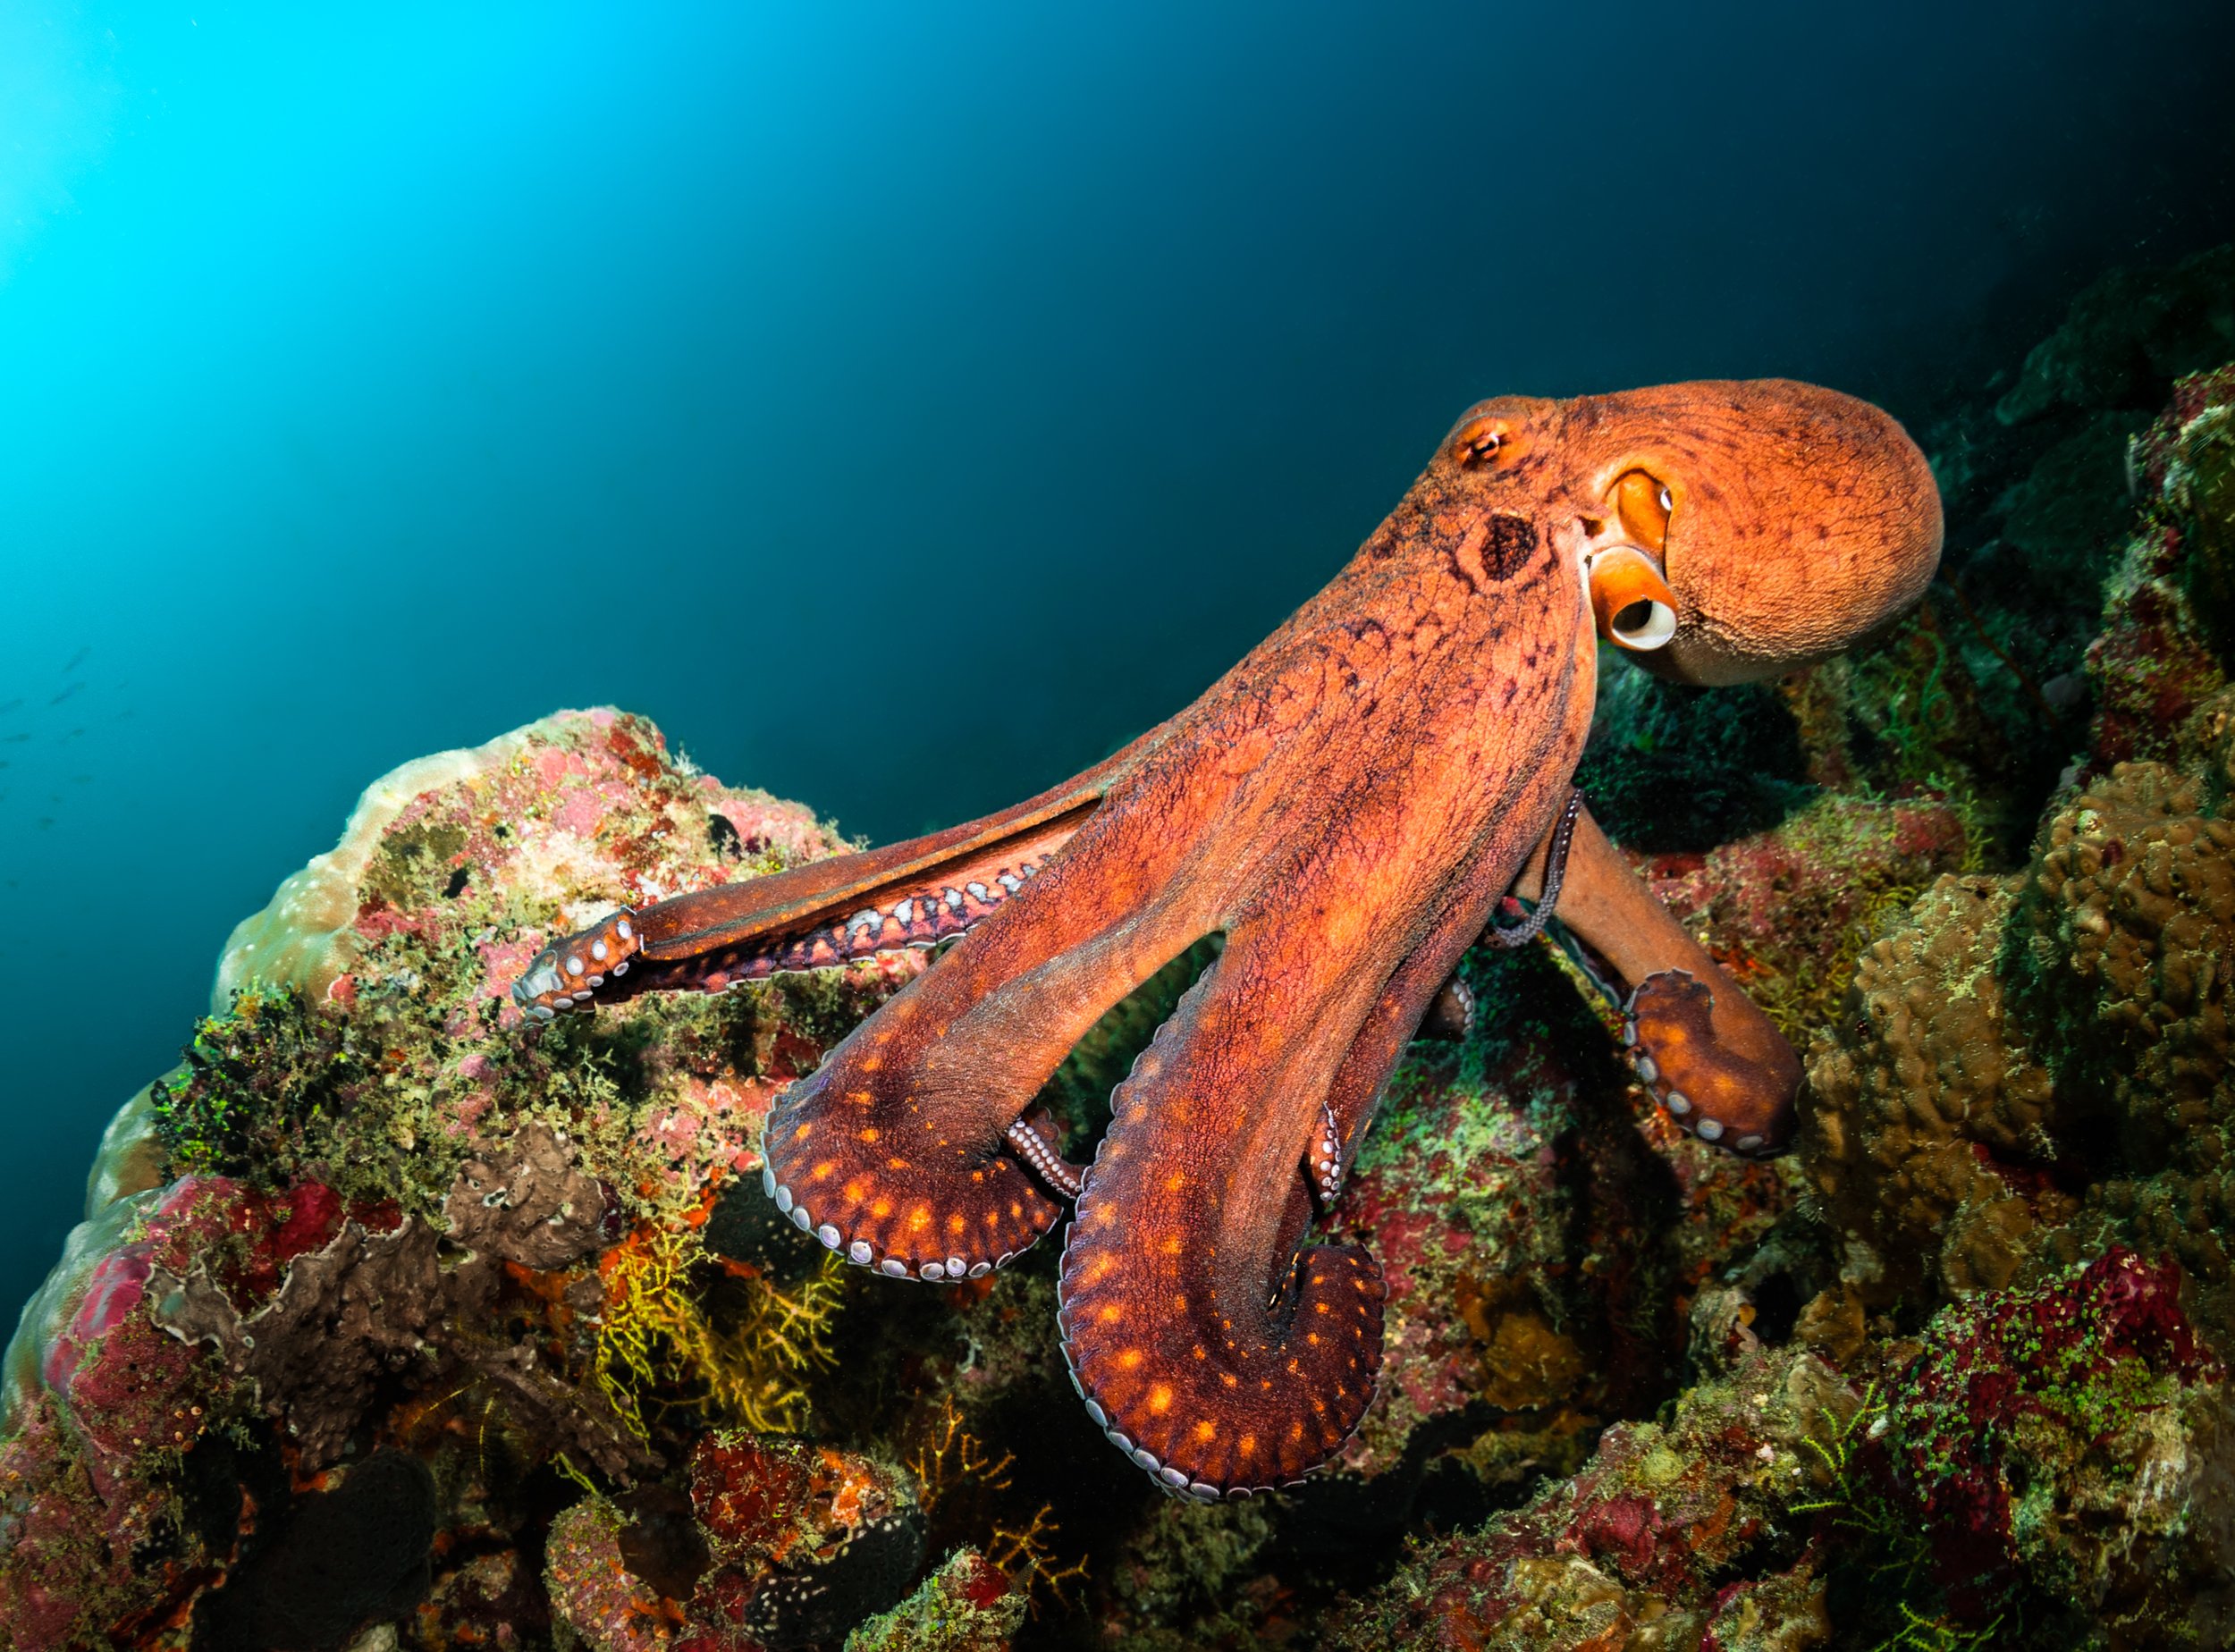
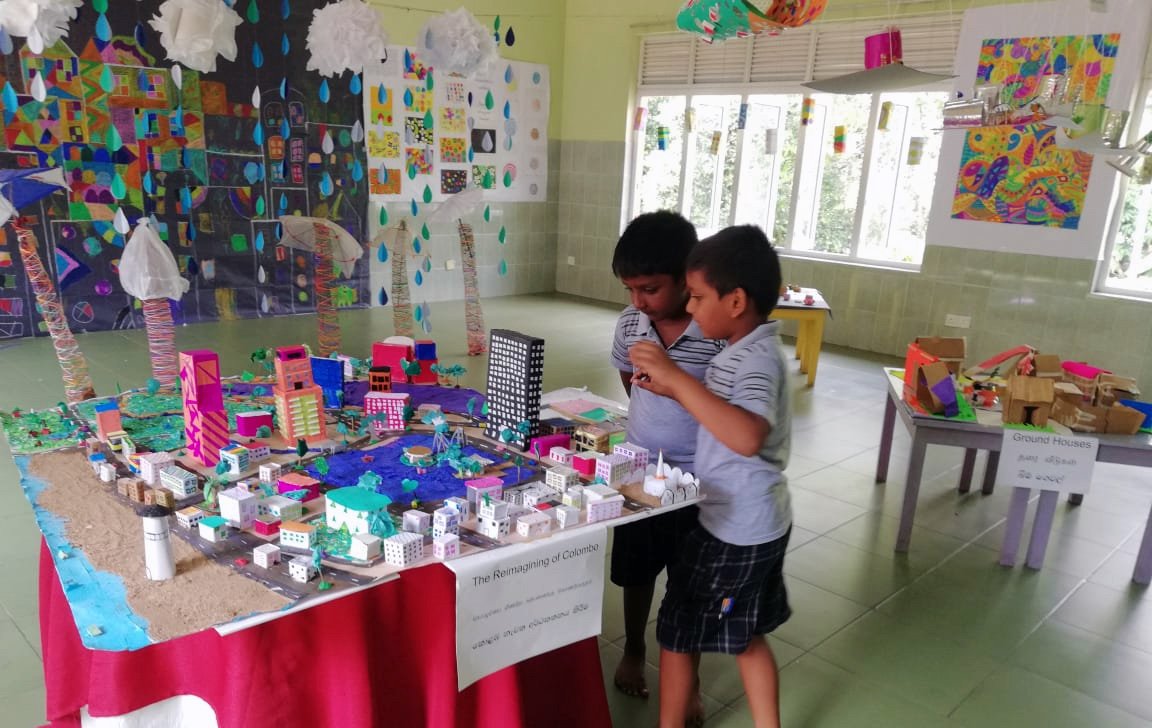
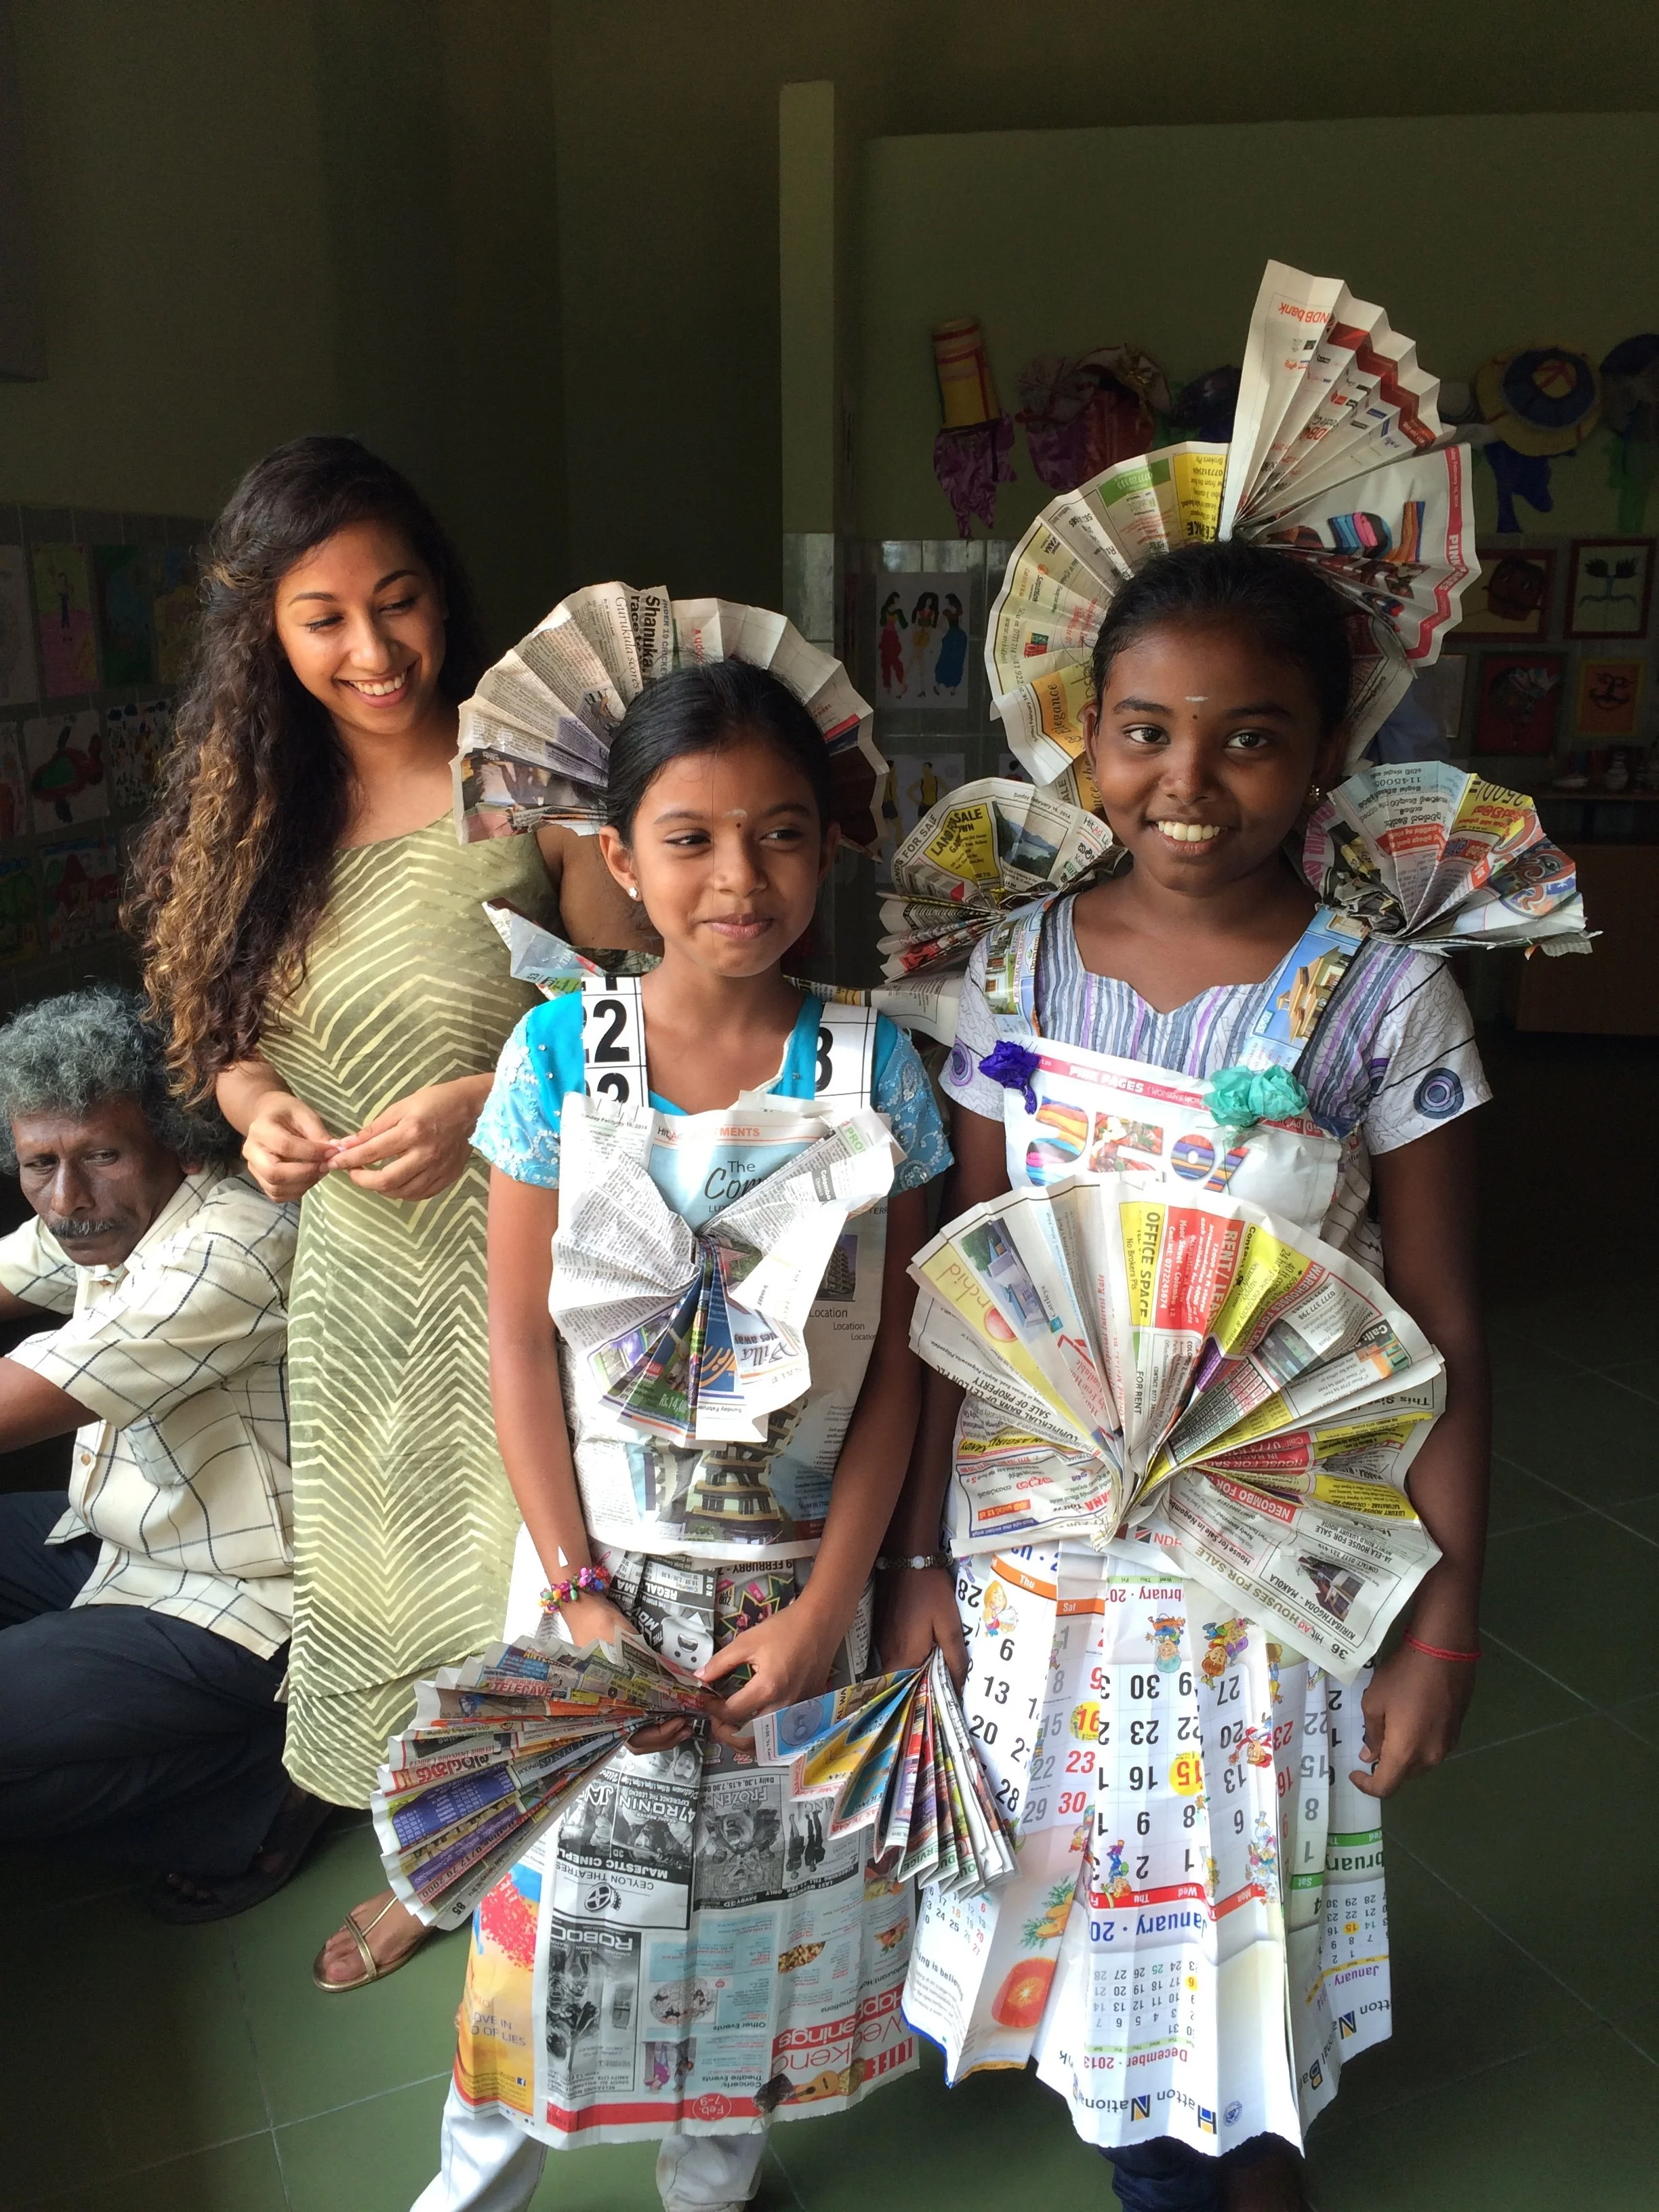
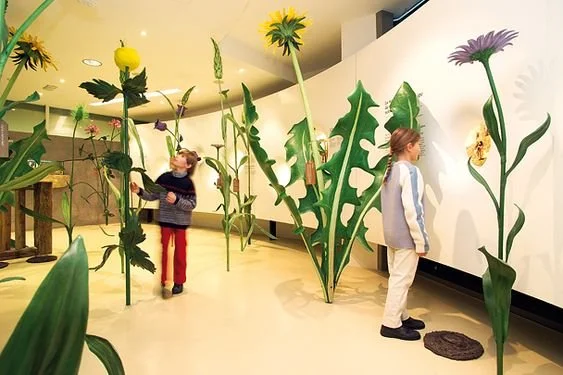
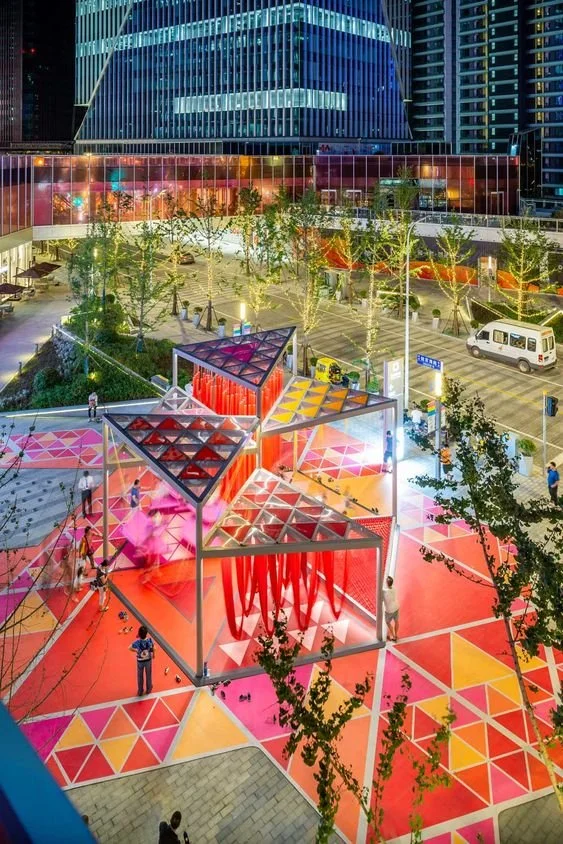
Here’s some inspiration:


Think further: